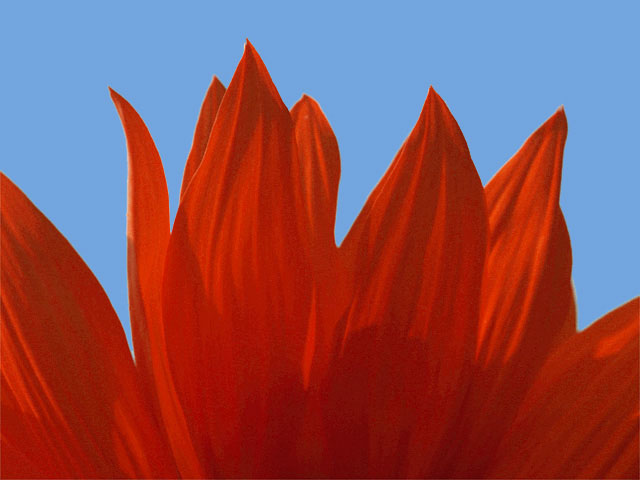
 |
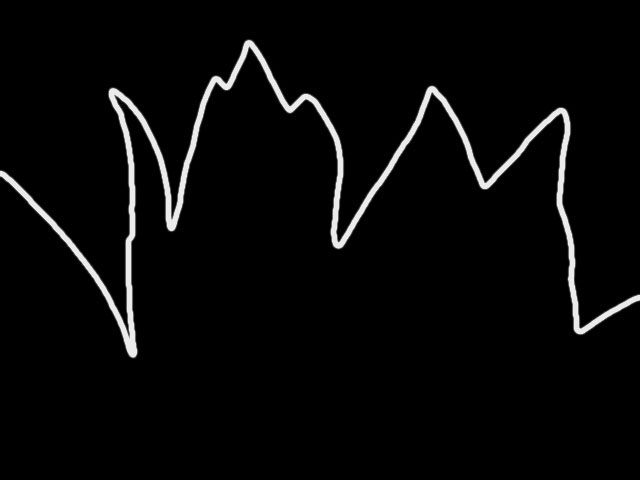 |
| Edge Source Layer | Filtered image |
Overview
The Cartooner filter allows you to draw an outline around the edges in one of an image’s color or alpha channels. You can also use the Cartooner filter to turn a video source into an outline animation.
Function
Presets and Common Controls
BCC filters come with a library of factory installed presets plus the ability to create your own custom presets and preview them with the BCC FX Browser™.
BCC filters also include common controls that configure global effect preferences and other host-specific effect settings.
For more information about working with presets and other common controls, Click Here.
The filter compares a selected channel in the source with a threshold value to create an edge map. Cartooner then blurs the map and strokes the edges in the map.
The results obtained with the edge filters vary depending on the media to which the filter is applied and the exact settings used. Because they create edge effects by emphasizing differences between adjacent pixels, edge filters are very sensitive to parameter adjustments. Often a very small change in a parameter setting can have a dramatic effect on the result.
- Warning: It is very important to preview at least some of the effect at full size and best quality. The effects of an edge filter, especially Cartooner, can vary greatly with the image scale.
Compare Mode
The BCC Compare Mode provides a convenient mechanism to compare the effect result with the original source layer. It provides several variations on basic split-screen views with the filtered clip placed next to the unedited original.
For more information on the Compare Mode, Click Here.
The Edge Source menu allows you to choose any clip or layer in the composition to use as the source for the edges.
The Edges From menu determines which channel in the Edge Source Layer is used to compute edges. You can create edges from the Alpha, Luma, Red, Green or Blue channels.
- Note: If you are not using an image with an alpha channel, or you do not want to use the edges in the alpha channel, select the color channel which contains the most contrast for best results.
 |
 |
| Edges From=Red | Edges From=Luma |
Threshold determines how sensitive the filter is to differences between pixels when finding edges in the Edge Source Layer. The affect of this setting depends on the nature of the source.
- Note: Threshold is intended more for adjusting the look of the edges than for animation. Some images change dramatically when Threshold is animated.
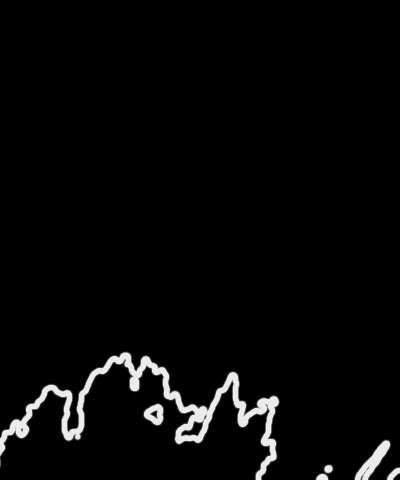 |
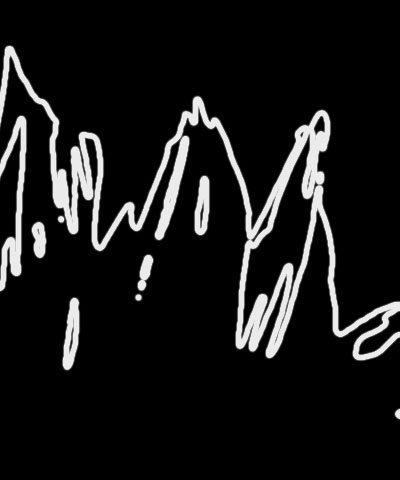 |
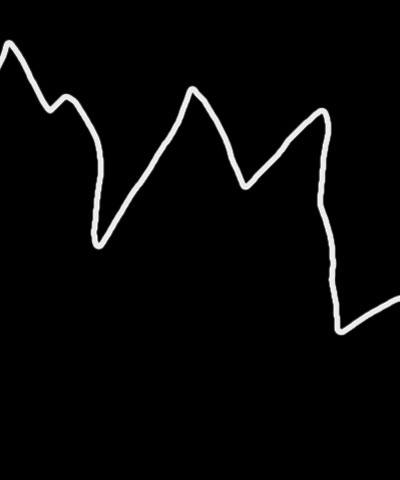 |
| Threshold=50 | Threshold=75 | Threshold=125 |
Pre Blur blurs the source image before the edges are computed.
The Width menu determines how the filter sets the width of the outlines.
- When Stroke Width From is set to Constant, Stroke Width sets the thickness of the stroked edges.
- When PixelChooser is selected, the filter uses the PixelChooser parameters to determine the stroke width instead of using them to determine which pixels are filtered. Pixels that are fully selected in the PixelChooser are rendered with the specified Max Stroke Width. Pixels that are fully unselected are rendered with the specified Min Stroke Width. Partially selected pixels are rendered with intermediate widths.
Min: PC Disabled, Average PC Disabled, and Max PC Disabled allow you to preview the specified Min and Max Stroke Widths.
Min: PC Disabled uses the Min Stroke Width for all pixels and ignores the PixelChooser selection. Average– PC Disabled uses the average of the Min and Max Stroke Width for all pixels and ignores the PixelChooser selection. Max – PC Disabled uses the Max Stroke Width and ignores the PixelChooser selection.
These options have the added feature of disabling the PixelChooser, so you can see what effect the PixelChooser has on the outlines without having the PixelChooser revert to its default state.
- Warning: When Width is set to PixelChooser, if the difference between Min Stroke Width and Max Stroke Width is large, the filter can use a lot of memory. Preview a frame at full resolution to make sure you have enough RAM assigned to the host.
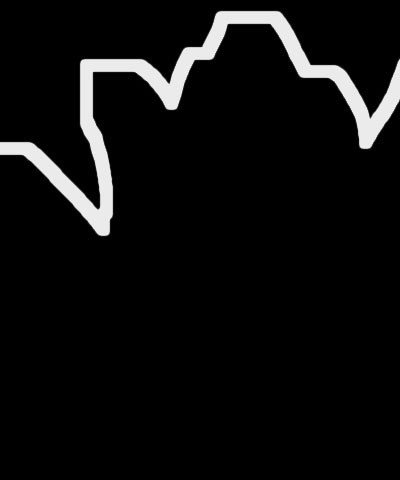
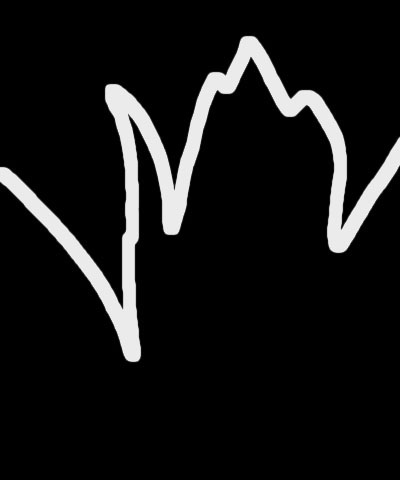
Stroke Distance controls the location of the stroked edges. Increasing positive values expand the outlines away from the edges. Decreasing negative values contract the outlines away from the edges.
- Note: If the outline is complex, the effect of Stroke Distance can be hard to predict, so make sure you preview at full size/quality when adjusting this parameter.
 |
 |
 |
| Stroke Distance=-25 | Stroke Distance=0 | Stroke Distance=25 |
Post Blur control the amount of Gaussian blur the filter applies before the edges are composited on the source.
Post Blur Quality adjusts the quality of the Post Blur. Choose Low, Medium, High, Higher or Highest. There is a significant rendering cost to using High, and considerably more for using Highest. Low and Medium are adequate for simple matte smoothing, but if you want to blur the edges of a high-contrast image or animate the blur, you may need to use Highest.
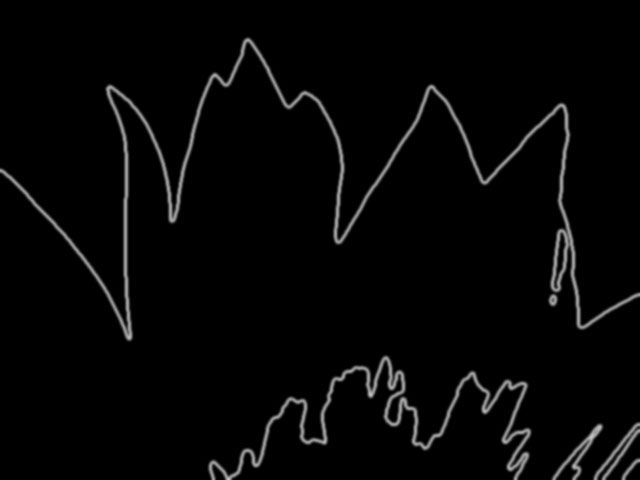
Intensity adjusts the intensity of the outlined edges.
 |
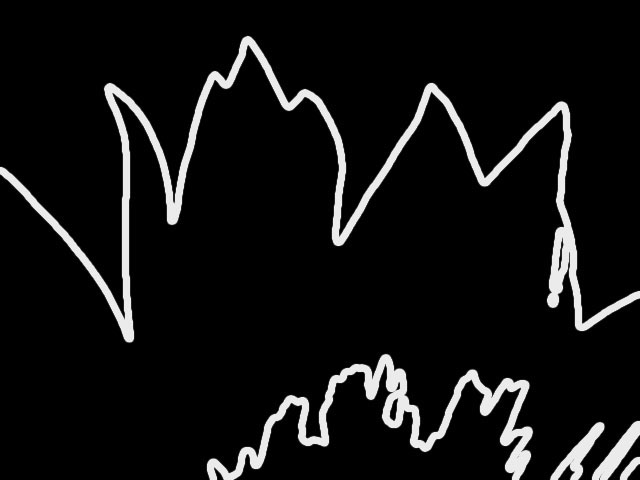 |
| Intensity=10 | Intensity=200 |
Color sets the color of the outlines.
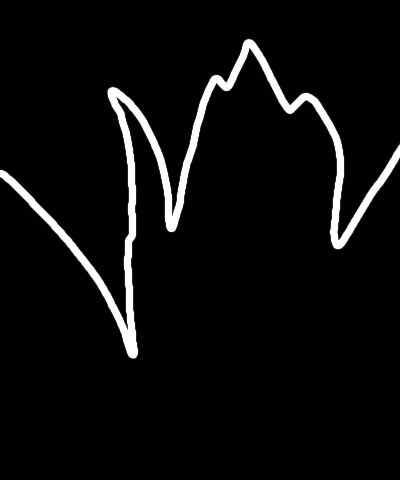
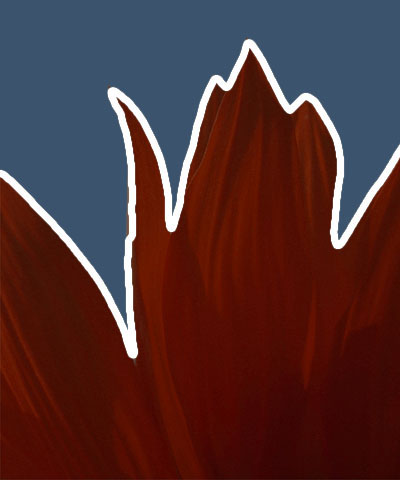
Ambient Light adjusts the total amount of diffuse light on the image. The default setting of 0 subtracts all ambient light from the source image, so only the outlines are visible. Increasing this setting illuminates the filtered layer so it is visible beneath the outlines.
 |
 |
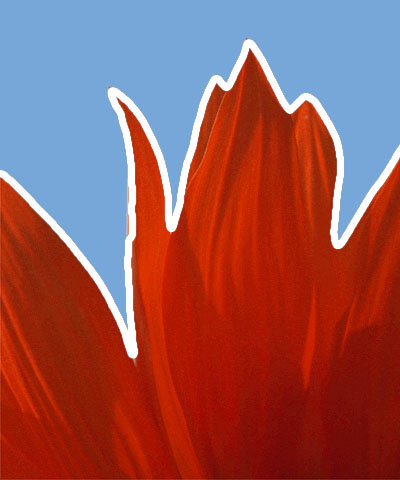 |
| Ambient Light=0 | Ambient=50 | Ambient Light=100 |
Increasing Ambient Follow causes the ambient light to fall off in the stroked regions of the image. Use Ambient Follow if you want the outline color to completely replace the background image. For example, suppose you have a blue source image and you are compositing red outlines over the source with the Screen apply mode. If Ambient Follow is 0, the outlines appear magenta (a mixture of red and blue). If Ambient Follow is 100, the outlines are red, because the ambient light which lights the blue object is reduced in the outline areas.
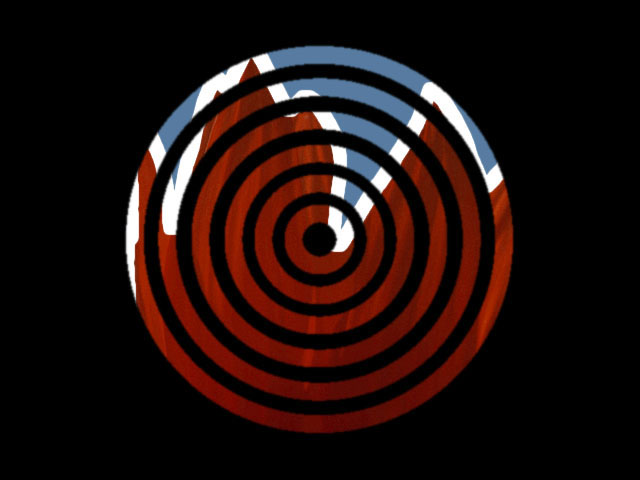
The Alpha menu determines how the Edge Source Layer’s input alpha channel and the outlined edges are composited to produce the output image.
- Source Alpha uses the source image’s alpha channel to composite the image after outlines are applied.
 |
- Edges Only composites only the outlines, ignoring the source alpha.
 |
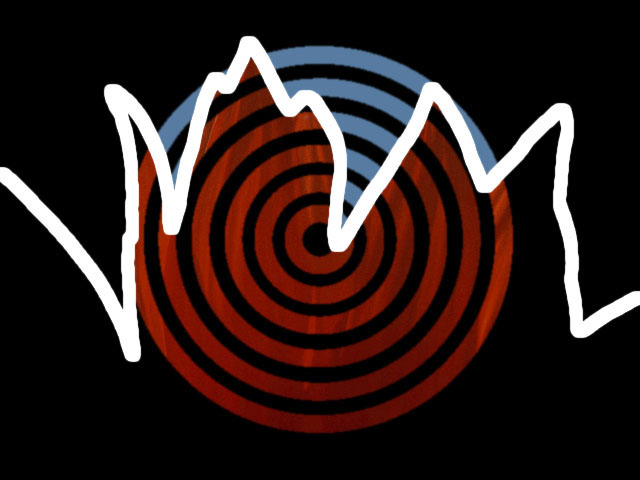
- Screen Alpha creates a new alpha channel from the stroked edges, in which the outlines form the opaque regions. This alpha channel is then screened with the source alpha channel. All areas that are opaque in at least one of alpha channels are opaque in the output.
 |
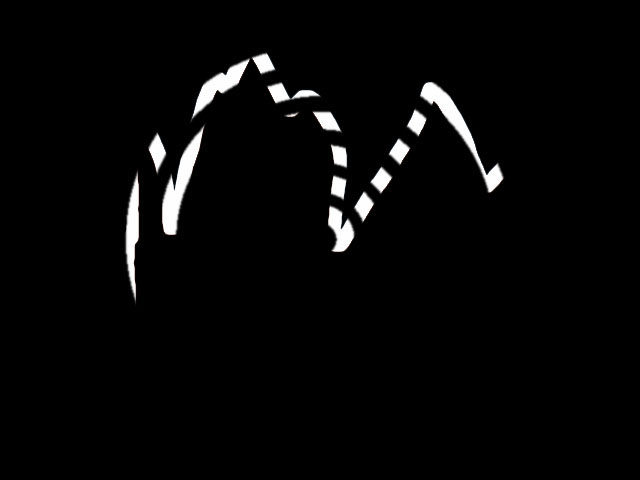
- Multiply Alpha creates a new alpha channel from the stroked edges, in which the outlines form the opaque regions. This alpha channel is then multiplied with the source alpha channel. Only areas that are opaque in both alpha channels are opaque in the output.
 |
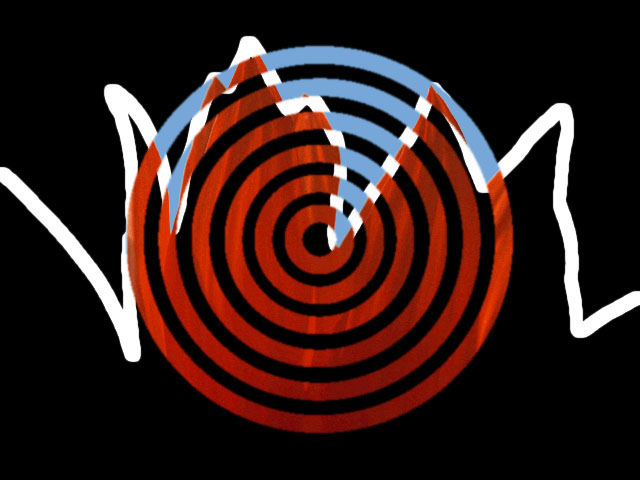
- Composite Under draws the outlines and then uses the source alpha to composite the source image on top. When Composite Under is selected, the Ambient Light setting has no affect.
 |
- Mask is similar to Multiply Alpha but uses the source pixels to draw outlines, ignoring the outline Color setting. In addition, when Mask is selected, the Ambient Light setting has no affect.
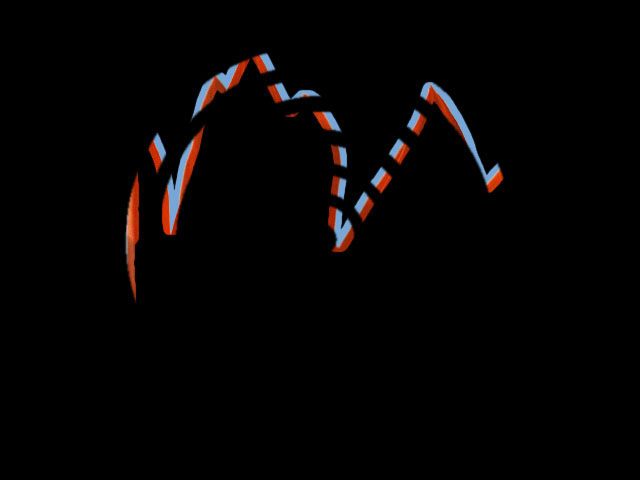 |
- Stencil is similar to Screen Alpha but uses the source pixels to draw outlines, ignoring the outline Color setting. In addition, when Stencil is selected, the Ambient Light setting has no affect.
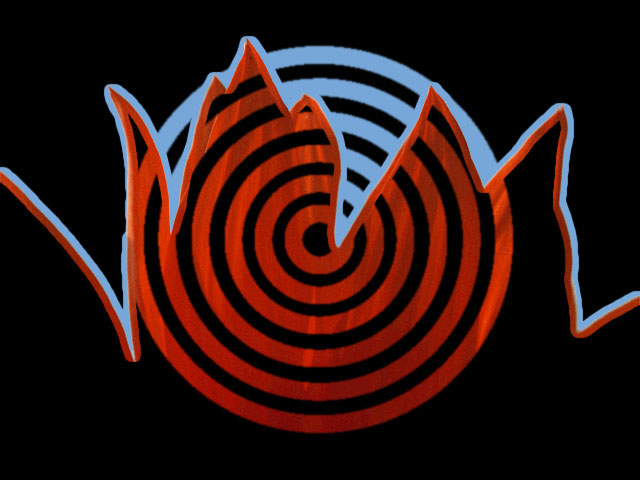 |
Many hosts process media one field at a time which can cause flickering to occur on filtered effects. The Reduce Flicker menu allows you to reduce flicker in the rendered image. The only way to evaluate a deflicker setting is to render and play back the effect on an NTSC monitor. Choose from the following options in the Reduce Flicker menu.
- 1-2-1 mixes each pixel with the pixels above and below it, with the input pixel getting twice the weight as the ones above and below. For After Effects users, this works the same as applying the AE Reduce Flicker filter at a setting of 0.5.
- 2-3-2 provides more softening than 1-2-1.
- 1-1-1 provides the most softening for effects that still contain flicker with the above options.
- Off is the default. If Off is chosen, no deflickering will be done.
The Apply Mode menu controls how the outlines are composited with the filtered layer. For descriptions of all the possible Apply Modes, Click Here.
Apply Mix controls the mix of the specified Apply Mode with the Normal apply mode. If the Apply Mode is Normal, Apply Mix has no affect. If Apply Mix is 0, Apply Mode has no affect. Increase Apply Mix to blend the Apply Mode setting with the Normal apply mode.
Mix with Original blends the source and filtered images. Use this parameter to animate the effect from the unfiltered to the filtered image without adjusting other settings, or to reduce the effect of the filter by mixing it with the source image.
PixelChooser
The BCC PixelChooser provides simple, built-in masking of the effect result. The PixelChooser is generally used to select a portion of the image and restrict an effect to just the selected area while maintaining the original image content in unselected regions. The selection can be based on geometric shapes or on the image’s luma/color properties.
For more information on the PixelChooser, Click Here.