Overview
The Colorize Glow Dissolve filter generates a glow from a single channel and then applies a gradient to the glow which automatically animates in intensity as your transition progresses to obscure the underlying dissolve between clips.
Parameter Controls
Presets and Common Controls
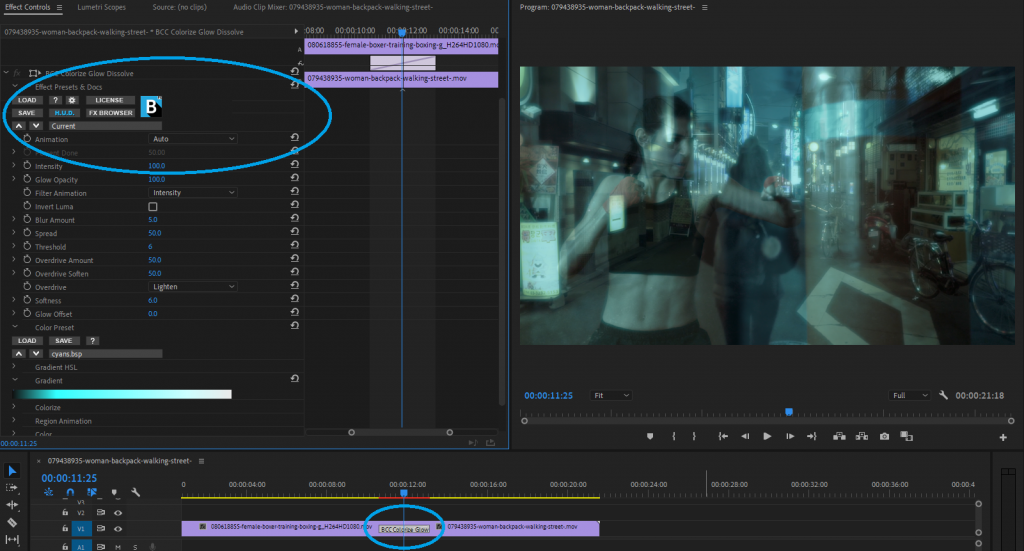
BCC filters come with a library of factory installed presets plus the ability to create your own custom presets and preview them with the BCC FX Browser™.
BCC filters also include common controls that configure global effect preferences and other host-specific effect settings.
For more information about working with presets and other common controls, Click Here.
Main Transition Group
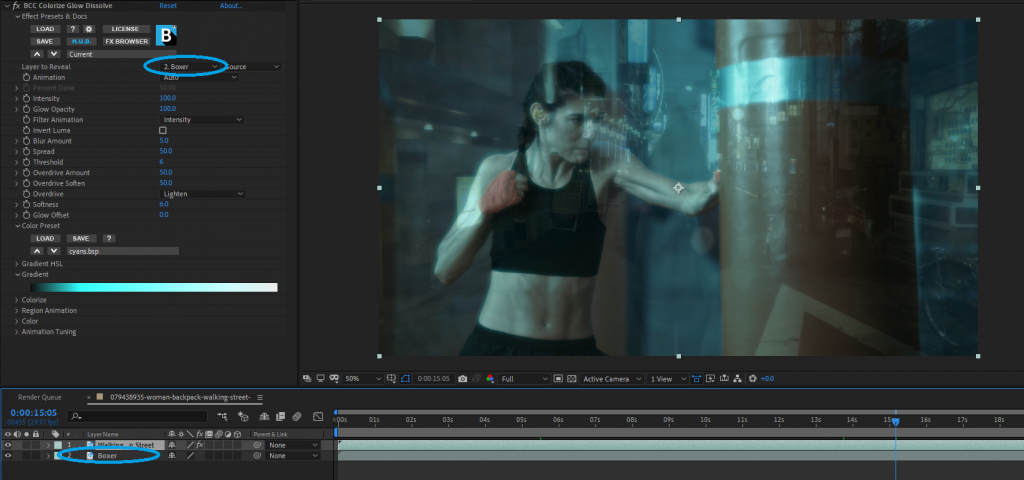
Layer to Reveal – This layer selection popup is not relevant when you have applied the filter as a true NLE-style transition and it will be hidden or disabled in that context. When applied as a normal “effect” as opposed to a transition, however, this menu is used to select the “Incoming” or “Reveal” layer for the transition.
Animation: Menu controlling what drives the animation of the transition.
- Auto – automatically generates a transition based on the transition length (when used as a transition) or the clip length (when used as a filter).
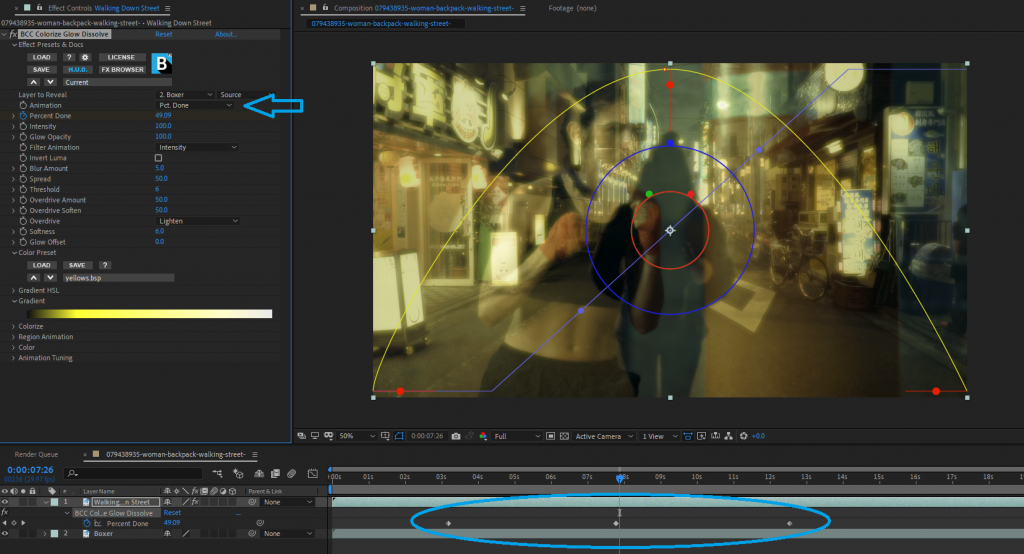
- Percent Done – requires the user to set keyframes to control the transition progression. Can be useful in customizing the exact timing of the transition or when applying the filter as a stylized effect as opposed to a direct NLE-style transition.
Percent Done: Disabled/Hidden by default. When the Animation menu is changed to Percent Done then this slider can be manually keyframed to control the transition progression.
Colorized Glow Parameters
Intensity:Used to control the intensity of the glow result. Higher values yield a stronger glow with a total white image when this parameter is set to it’s highest value.
Glow Opacity: Scales the opacity of the glow. Raising Glow Opacity causes more of the glow to be opaque, and the colors at the left end of the gradient will appear more prominently in the output.
Filter Animation: sets the animation style for the filter.
- Intensity: animates the transition based on intensity values only.
- Glow Opacity: animates the transition based on glow opacity values only
- Both: animates the transition based on both intensity and glow opacity values.
Invert Luma: uses the inverted luma channel.
Blur Amount: controls the amount of blur applied to the image to produce the glow effect. At a value of 0, no blur is applied, so no glow is visible. Higher values produce more blur and, therefore, more glow.
Spread: causes each point in the rendered output to be affected more by points farther away in the blur. Animating Spread can cause visible jumps in the animated effect.
Threshold: creates a black and white bitmap that the filter uses to determine which regions in the image will be affected by the glow. Increasing Threshold reduces the amount of glow created by weaker edges in the image, so less glow appears on smaller details in the source image.
- Note: Reducing this value to 0 tends to add noise to the image. For best results, use Threshold settings of 1 or above.
Overdrive Amount: adjusts the overall intensity of the glow created by the blur. Lower values producing a softer glow, mixing the blurred image with the resulting glow. Higher values produce a harder, more dramatic glow effect.
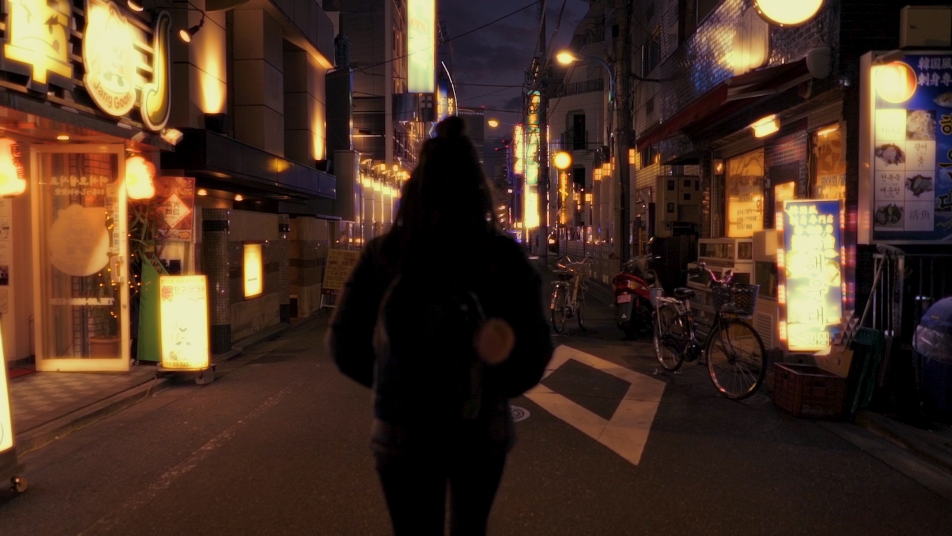
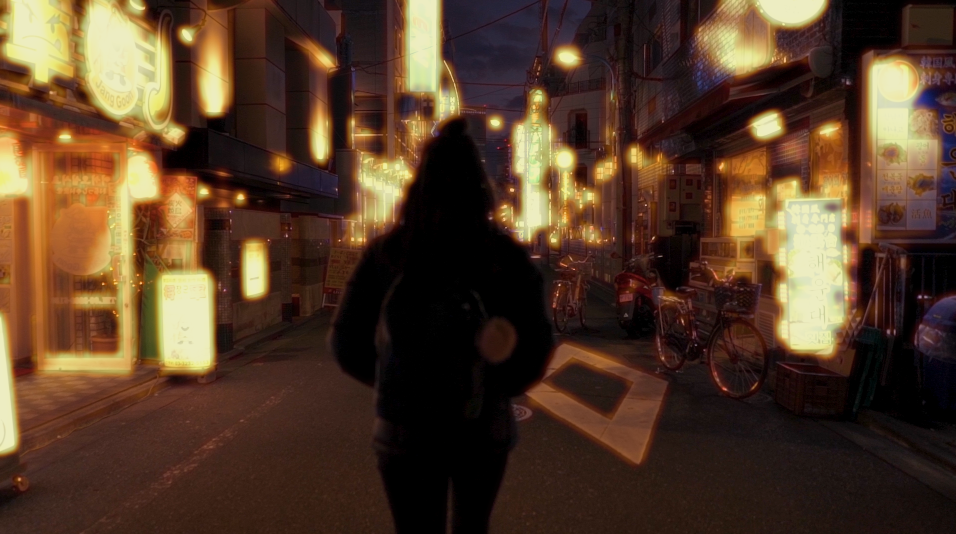
Overdrive Soften: softens the glow produced by the Overdrive parameter and pulls its edges in. Higher values of Overdrive Soften sharply reduce the edges of the glow. Negative values gently increase and soften the edges.
Overdrive: controls how the glow portion of the effect composites over the blurred portion of the effect. The resulting filtered image is then composited with the source image using the chosen Apply Mode. For information on the available apply modes, Click Here.
Softness: controls a blur that is applied to the glow after the first blur and the overdrive mix.
Glow Offset: offsets the glow. A positive value pushes some of the negative values positive and makes them visible in the output. A negative value reduces all the glow values, causing only the most glowing pixels to appear in the output.
Color Preset: allows you to choose a Colorize preset (a gradient of up to six colors to tone the effect). If the Mode menu is not set to Colorize, the presets have no affect.
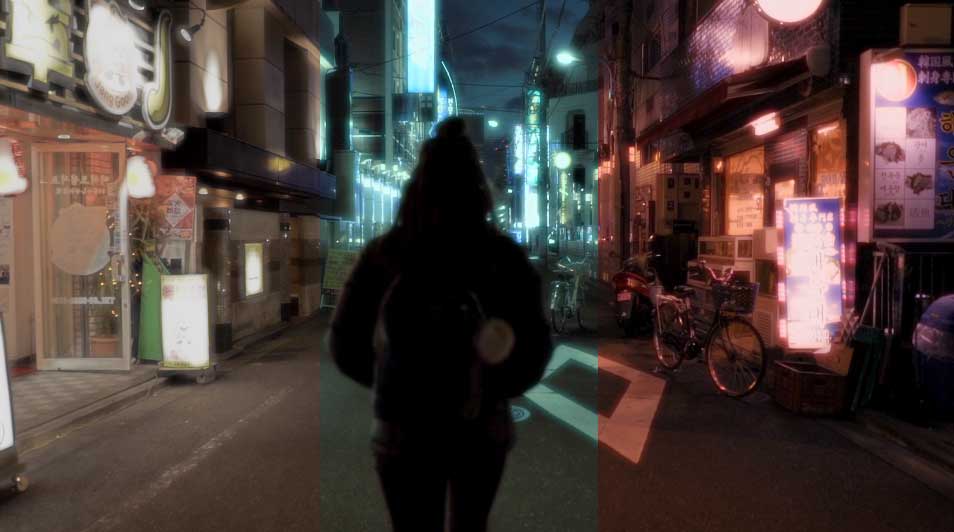
Gradient: The BCC Gradient group enables complex, multi-color gradients for use in a variety of effect settings such as colorizing light sources. For more information on the BCC Gradient tool, Click Here.
Region Transition Group
Region Animation allows you to fine tune the style and direction of the transition effect with various settings. These settings are disabled by default until an animation type is selected.
Animation Type sets the direction of the transition animation.
- None will set the transition animation to affect the entire image at once. This is the default setting.
- Out: the transition will begin at a central point and move outwards towards a edges.
- In: the transition will begin along the outer edge and move inwards towards a central point.
- Out & In: The transition will animate outwards and then rebound inwards over the course of the animation.
- In & Out: The transition will animate inwards and then rebound outwards over the course of the animation.
Region Type: determines the shape of the transition effect.
- Circle will cause the effect to appear as a circular wipe over the dissolve.
- Line will cause the transition to appear as a letterbox wipe over the dissolve.
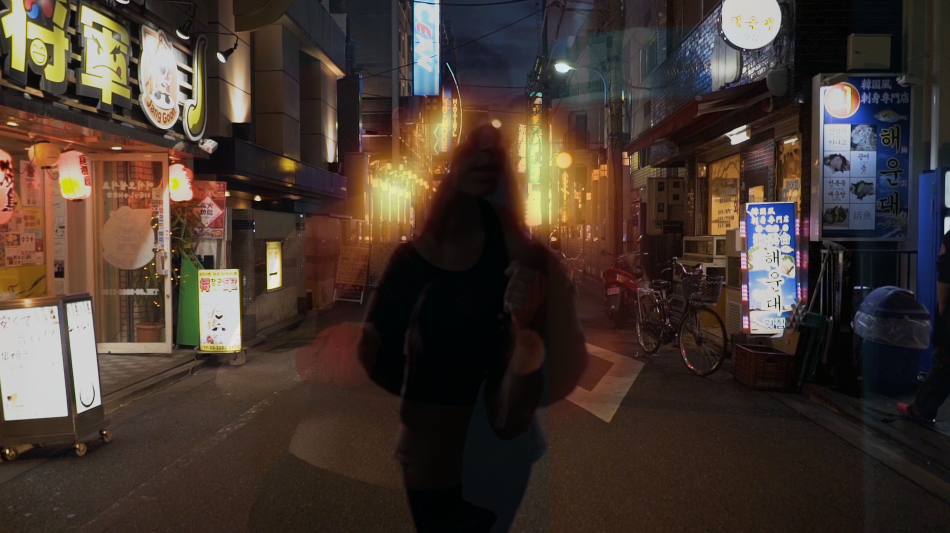
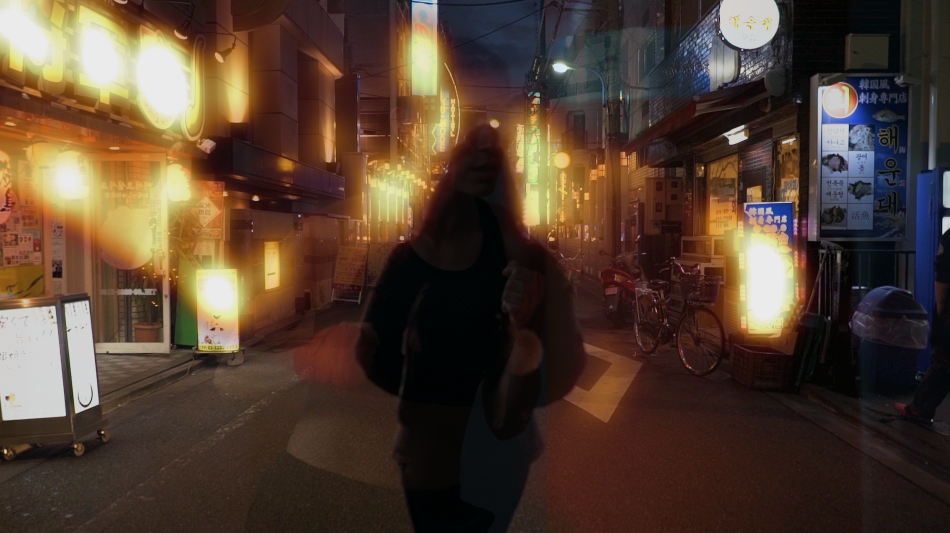
When the region is set to Line, the transition wipes through the scene.
Direction: Sets the angle of the transition. Only available when the Region Type is set to Line.
Softness: sets the edge feathering of the transition region. Lower values will produce a sharper edge.
Center Point: Sets the XY position of the transition’s animation.
Color settings allow you to set the brightness and contrast values of the transition at it’s peak point. Values will increase as the effect transitions in and then decrease as the new layer is revealed.
Brightness Peak: Sets the maximum brightness value for the transition.
Contrast Peak: Sets the maximum contrast value for the transition.
Animation Tuning Group
These parameters control the overall timing of the transition. On hosts which permit on-screen heads up display widgets (such as AE, Premiere, and Avid) you should never need to modify these sliders directly since they can be configured in a more convenient and intuitive manner by manipulating the widgets directly in your comp/preview pane. On hosts without heads up display widgets you can use these sliders directly to fine tune your animation timing, taking advantage of the View Ease Curve option to help visualize the animation rates.
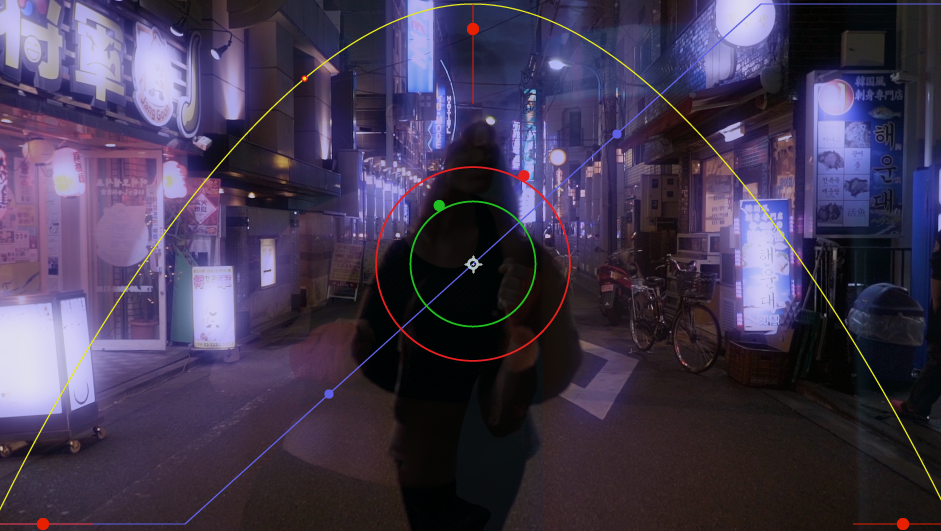
Glow Ease In: Control how quickly or slowly the glow amount increases at the beginning of the transition.
Glow Ease Mid:Control the rate of change of the glow amount (how quickly it reaches its peak amount and how long it holds there) during the middle of the transition.
Glow Ease Out: Control how quickly or slowly the glow amount decreases at the end of the transition.
Dissolve Duration: Control the timing of the underlying dissolve relative to the timing of the rest of the transition.View Ease Curve: (Only visible/enabled in hosts that don’t support heads up display widgets for manipulating these controls directly on screen.) Enable this control to display a preview graph of the the animation curves rendered into in the composite window.
