 |
Overview
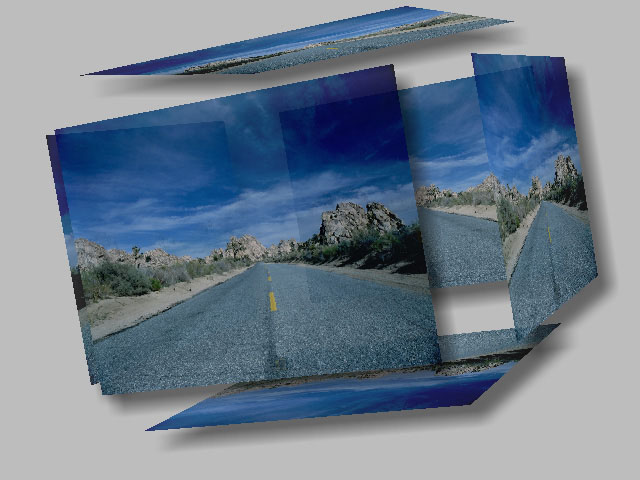
The Cube filter models the source image onto one or more faces of a cube. You can use a separate media source for each of the six faces.
Function
Presets and Common Controls
BCC filters come with a library of factory installed presets plus the ability to create your own custom presets and preview them with the BCC FX Browser™.
BCC filters also include common controls that configure global effect preferences and other host-specific effect settings.
For more information about working with presets and other common controls, Click Here.
Position XY Parameter Group
Position XY sets the X and Y coordinates of the center point of the layer.
Position Z adjusts the apparent depth. Decreasing negative values move the layer closer to the viewer, while increasing positive values move the layer farther away from the viewer. Very low Position Z values move the plane behind the viewer, making it invisible.
Scale X, Scale Y, and Scale Z change the size of the layer along the X, Y, and Z axis, respectively. These parameters are scaled as percentages of the layer’s original width and height. Thus, an X Scale value of 200 produces an layer twice as wide as the original layer. Select the Lock to Scale X checkbox to keep the Scale values in proportion.
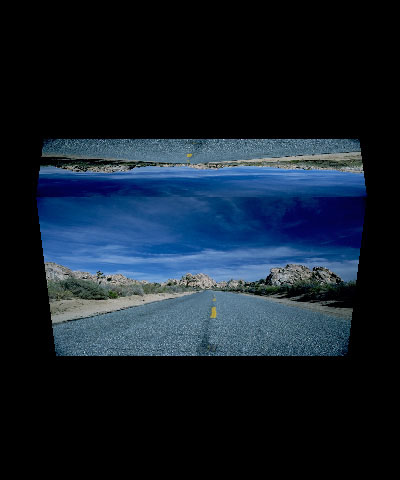
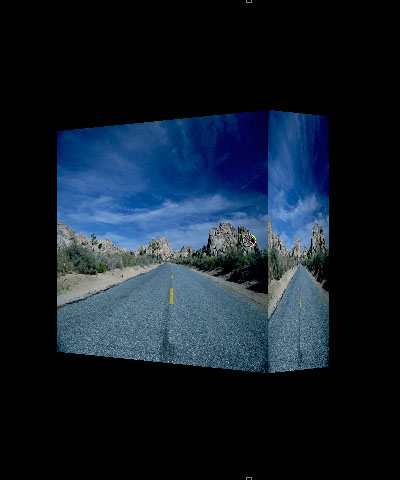
Tumble, Spin, and Rotate move the image around the X, Y, and Z axis respectively. Tumble, Spin, and Rotate can animate over values greater than 360° to make the image complete more than one full revolution.
 |
 |
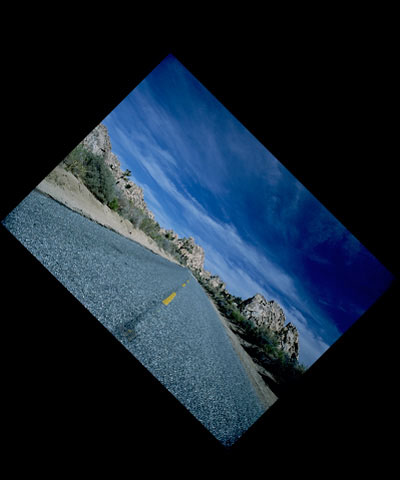 |
| Tumble | Spin | Rotate |
When the Lock Pivot checkbox is selected, the image tumbles, spins, and rotates around its own center. If this option is deselected, you can set an external pivot point around which to tumble, spin, or rotate.
Pivot XY Parameter Group
Pivot XY sets the X and Y coordinates of the pivot point. If Lock Pivot is selected, moving the pivot point has no affect.
Pivot Z sets the Z coordinate of the pivot point. If Lock Pivot is selected, moving the Pivot Z point has no affect.
Cube Displacement detaches the faces of the cube from each other. You can animate this setting to create an effect in which all six faces move toward or away from each other to form or disperse the cube. A setting of 0 keeps the faces in contact. A setting of 1.0 moves each face apart by the dimension of the attached faces. In other words, a Cube Displacement of 1.0 moves the top and bottom by the height of the source image, and the other faces by the width.
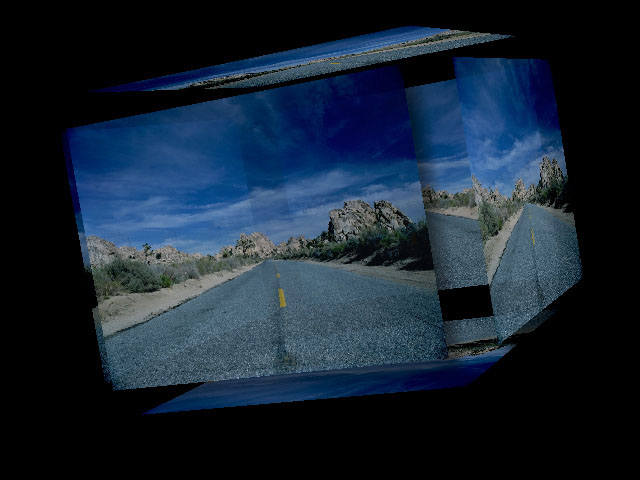 |
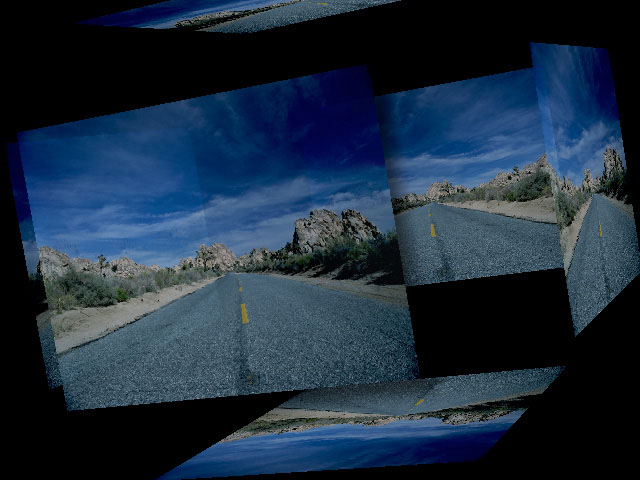 |
| Cube Displacement=0.1 | Cube Displacement=0.3 |
Opacity sets the opacity of the image, and is scaled as a percentage. A setting of 0% makes the image completely transparent; a setting of 100% makes the image completely opaque. You can easily fade objects in or out by animating this parameter.
Front Opacity sets the opacity of the portion of the cube closest to the viewer. Use this parameter to make the front of the cube partially or fully transparent to reveal an image on the back side. A setting of 100 makes the cube completely opaque; a setting of 0 makes the front of the cube completely transparent.
Shadows Parameter Group
The Shadow parameters allow you to add a drop shadow to the cube effect.
The Shadows On checkbox turns on the shadows.
Shadow Distance sets the distance (in pixels) between the shadow and the image.
Shadow Intensity sets the opacity of the drop shadow, scaled as a percentage. At a value of 100, the shadow is completely opaque. Lower Shadow Intensity values make the background image visible through the shadow. At a value of 0, the shadow is invisible.
Shadow Softness controls the softness of the edges of the shadows. A setting of 0 produces a sharply defined shadow with hard edges. Increasing Shadow Softness produces shadows with softer edges.
Shadow Angle sets the direction of the drop shadow. A setting of 0° places the shadow to the right of the image; a setting of 90° places it directly below the image.
Shadow Color sets the color of the shadow.
Camera & Lights Parameter Group
Select the Lights On checkbox to turn on the applied light.
Camera XY sets the horizontal and vertical position of the focal point of the camera (the point on the image plane at which the camera is pointed).
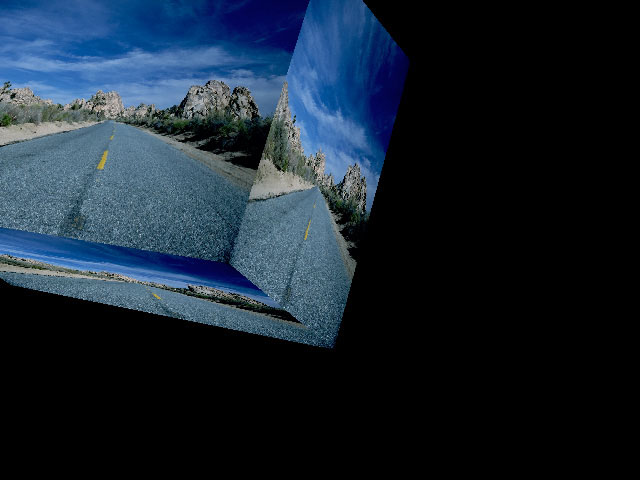 |
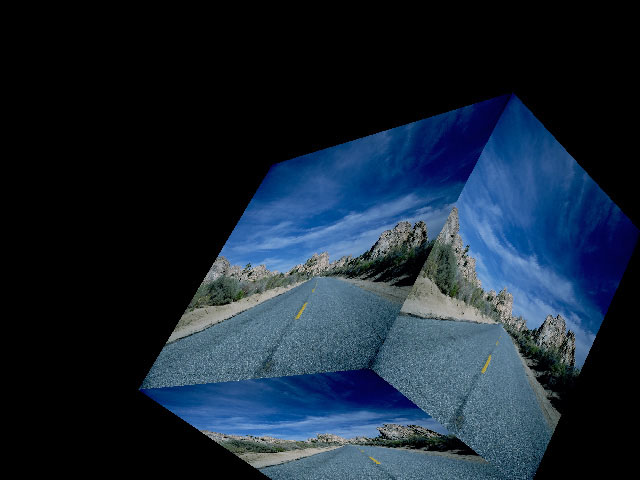 |
| Camera XY=10,10 | Camera XY=630,470 |
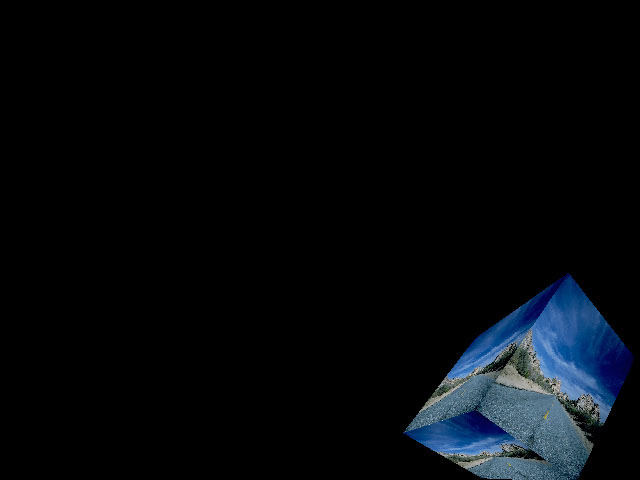
Camera Z sets the model camera’s distance from the layer. Decreasing this setting places the camera closer to the layer, exaggerating the perspective on portions of the layer that are closest to the camera.
 |
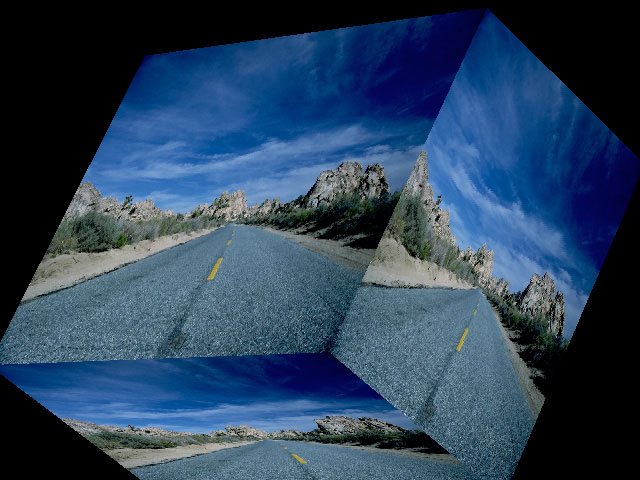 |
| Camera Z=0.5 | Camera Z=5 |
Light XY positions the light source in space by moving the light parallel to the image plane along the X and Y axes.
Light Z positions the depth of the light source relative to the image plane. A Light Z value of 100 places the light one source width above the image plane. Light Z can be negative, which places the light behind the image plane. If Light Z is negative, the light is seen only if the object is rotated or displaced so that all or part of it is behind the light source (that is, the light source always points in toward the object, never out at the viewer).
Ambient Light adjusts the total amount of diffuse light on the image. The default setting of 100 does not add or subtract ambient light from the source image. Decreasing this setting makes the image darker before the other lights are applied. Ambient Light illuminates or darkens the image evenly, and is unaffected by any other lighting parameters.
Diffuse Light determines the amount of non-directional diffuse light applied to the object. Increasing Diffuse Light brightens the object uniformly.
Specular Light simulates lighting a glossy surface from a point source, creating a small spot of intense light whose falloff can vary. Increasing this value adds reflected light to the surface.
Light Falloff controls the rate at which the Specular Light falls off from the center of the lit region. A higher Light Falloff value creates a more concentrated highlight, simulating a shiny, highly reflective surface. A lower Light Falloff value spreads light more evenly throughout the lit region, simulating a rougher, less reflective surface. Only Specular Light is affected by Light Falloff.
Light Color controls the color of the applied light (which includes the Specular and Diffuse Lights, but not Ambient Light).
Faces Parameter Group
The Faces menu and the Front, Back, Left, Top, Right, and Bottom Face menus allow you to map different media on all six faces of the cube.
- Current Track uses the filtered layer, including any other effects applied to the layer above the Cube filter, on all six sides of the cube.
- Use Front applies the chosen Front layer to all six faces of the cube. This setting allows you to quickly change the layer mapped to the cube without individually specifying a layer for each face.
- Independent allows you to chose any layer in the timeline for each face of the cube using the corresponding Front, Back, Left, Top, Right, and Bottom menus. You can create a transparent face by choosing None in the corresponding face menu.
- Note: If one or more faces of the cube are never visible in your effect, you can save rendering time by making those faces transparent. Set the Select Faces menu to Selected Layer, and then set the appropriate Face menus to None.
Beat Reactor
The BCC Beat Reactor is an animation control suite which drives effect properties based on the contents of an audio track. This lets you seamlessly tie visual FX to an audio soundtrack without the need for ANY manual keyframing.
For more information on the Beat Reactor, Click Here.