Overview
Film Damage simulates the appearance of old film stock. You can add scratches, grain particles, hair or fibers, and dirt, dust, or water spots. Film Damage also allows you to simulate camera shake and a flickering image.
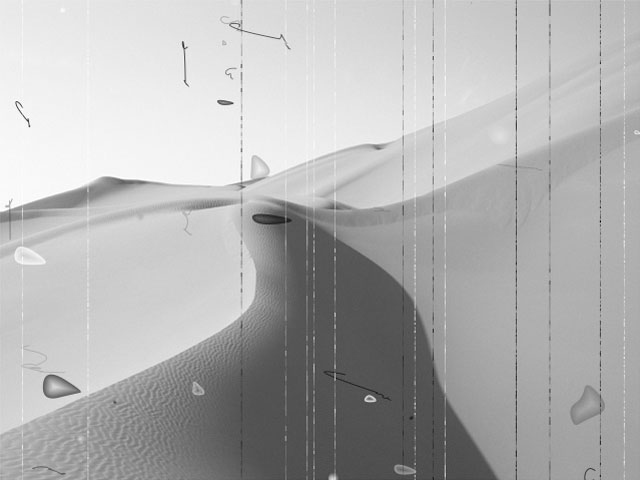 |
Hair: Squiggle lines in image above
Scratch: Vertical lines of damage in image above
Dirt: Spots of damage in image above
Function
Presets and Common Controls
BCC filters come with a library of factory installed presets plus the ability to create your own custom presets and preview them with the BCC FX Browser™.
BCC filters also include common controls that configure global effect preferences and other host-specific effect settings.
For more information about working with presets and other common controls, Click Here.
Compare Mode
The BCC Compare Mode provides a convenient mechanism to compare the effect result with the original source layer. It provides several variations on basic split-screen views with the filtered clip placed next to the unedited original.
For more information on the Compare Mode, Click Here.
Selecting the Color On checkbox turns on the Tint Color in the Color parameter group. If the Color On checkbox is not selected, the Tint Color and Tint Amount parameters have no affect.
Color Parameter Group
These controls tint the image and allow you to adjust the brightness, contrast, and saturation.
Brightness adjusts the brightness of the image. Increasing the Brightness setting pushes colors toward white, and decreasing the setting pushes colors toward black.
Contrast adjusts the contrast of the image. Increasing the Contrast setting pushes colors toward pure colors, and decreasing the setting pushes colors toward 50% gray.
Saturation adjusts the intensity of each color’s hue in the image. Negative values remove color from the image, and positive values add color to the image.
Tint Color sets the color that tints the image. If the Color On checkbox is not selected, this parameter has no affect.
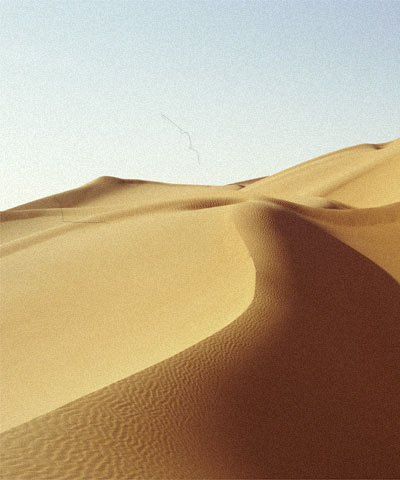
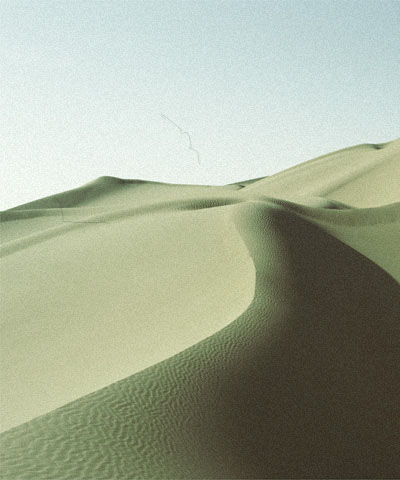
Tint Amount adjusts the amount of the Tint Color that is applied to the image. At a value of 0, the Tint Color has no affect. At a Tint Amount value of 100, the image is fully tinted with the selected color. Intermediate values produce a partially tinted image. If the Color On checkbox is not selected, this parameter has no affect.
 |
 |
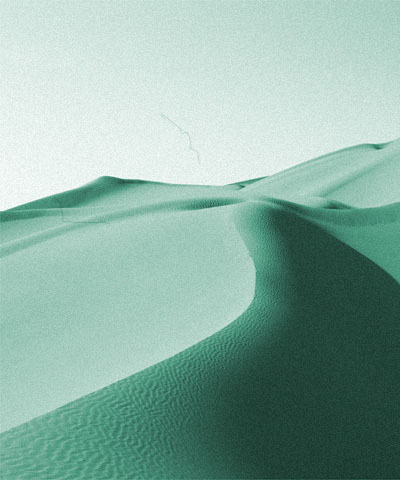 |
| Tint Amount=0 | Tint Amount=50 | Tint Amount=100 |
Select the Flicker On checkbox to add flicker to the effect. Leave this option deselected to maintain the brightness of the image. If this option is deselected, the parameters in the Flicker parameter group have no affect.
Flicker Parameter Group
These controls allow you add a flicker to the effect, so the brightness of the image varies constantly from frame to frame.
Flicker Amount adjusts the amount of flicker applied to the effect. Higher values produce more pronounced variations in the brightness of the image.
Flicker Speed determines how quickly the brightness of the image changes. Higher values cause the brightness to change more quickly, producing rapid flickering.
The Brightness Clamp checkbox limits the amount of variation in brightness. When this option is selected, extreme variations in brightness are excluded, so the image is never solid black or white.
Select the Shake On checkbox to add Shake to the effect. If this option is deselected, the parameters in the Shake parameter group have no affect.
Shake Parameter Group
The Shake parameters move the image slightly from side to side and up and down, simulating a shaking camera.
Shake X and Shake Y control the amount that the image displaces along the X and Y axis as it shakes. Higher values move the image more.
Shake Speed determines how quickly the image moves as the shake is applied. Higher values produce faster movement.
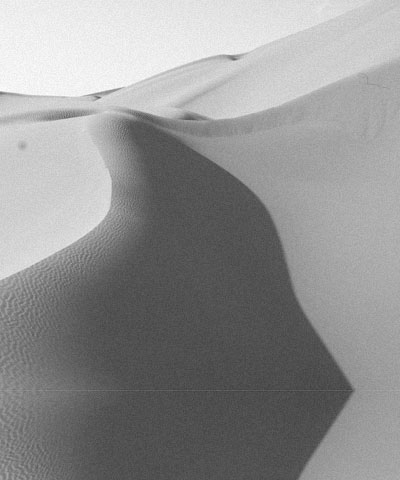
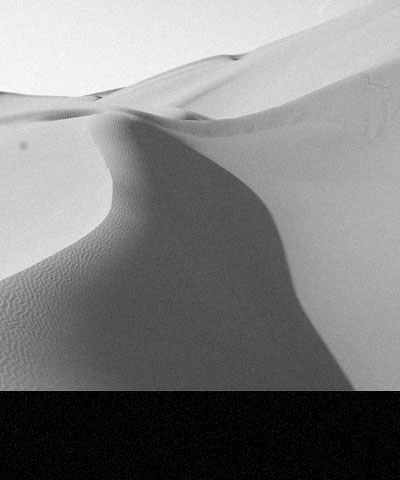
The Edge Type menu determines how the filter produces new edges on the image as it shakes. For example, suppose the image is shaking vertically. As the image moves toward the top of the frame, the bottom edge of the image is raised above the bottom edge of the frame. The Edge Type setting determines how the filter creates pixels to fill the space between the bottom of the image and the bottom of the frame.
- Mirror produces a mirror image copy of the pixels adjacent to the edge.
- Black produces a solid black bar on the edge of the image.
- Transparent leaves the space transparent, revealing the layers below.
- Smear repeats the pixels on the edge of the image, producing a smeared effect.
 |
 |
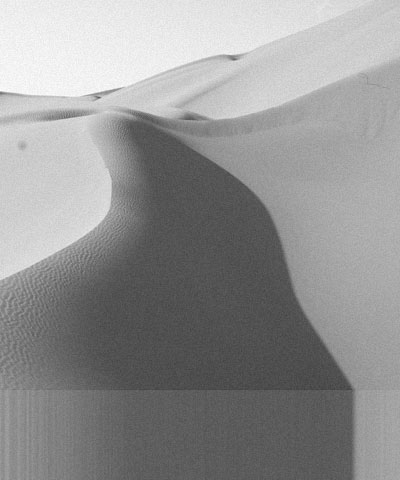 |
| Edge Type=Mirror Edge | Edge Type=Black Edge | Edge Tyoe=Smear |
The Position Clamp checkbox limits the position variation so the image never moves fully offscreen.
Select the Grain On checkbox to add grain to the effect. If this option is deselected, the parameters in the Grain parameter group have no affect.
Grain Parameter Group
The grain parameters create noise which simulates the appearance of grain particles in the emulsion of movie film.
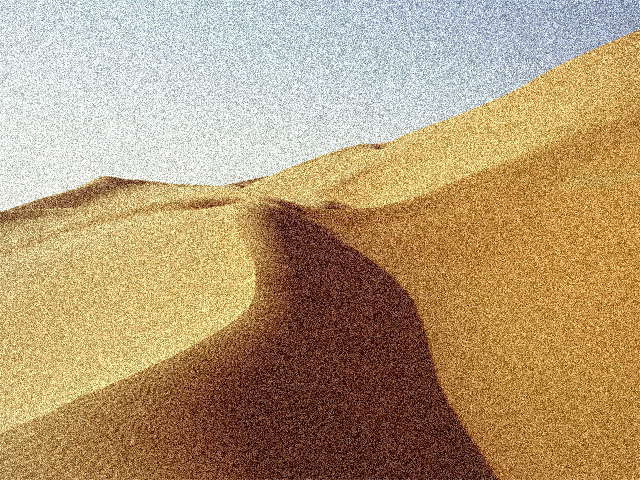
When the Monochromatic checkbox is selected, the Red Amount, Green Amount, and Blue Amount settings add luma noise to each color channel, creating a grayscale grain effect. When this checkbox is deselected, the Amount settings add colored noise to each color channel.
 |
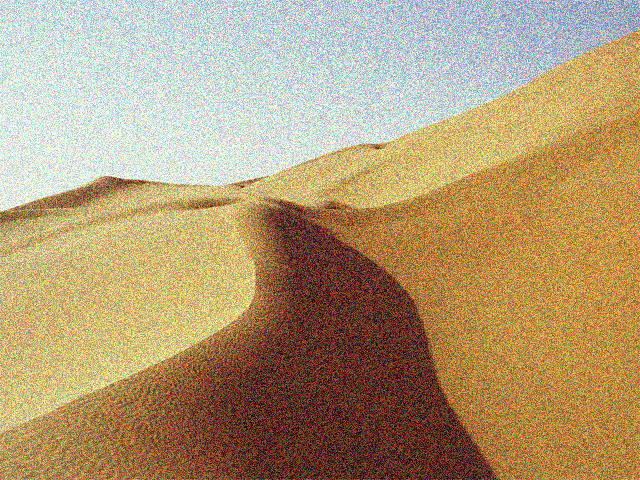 |
| Monochrome On | Monochrome Off |
- Note: For the most realistic film grain effects, select Monochromatic for grayscale images, and deselect this option when working with color footage.
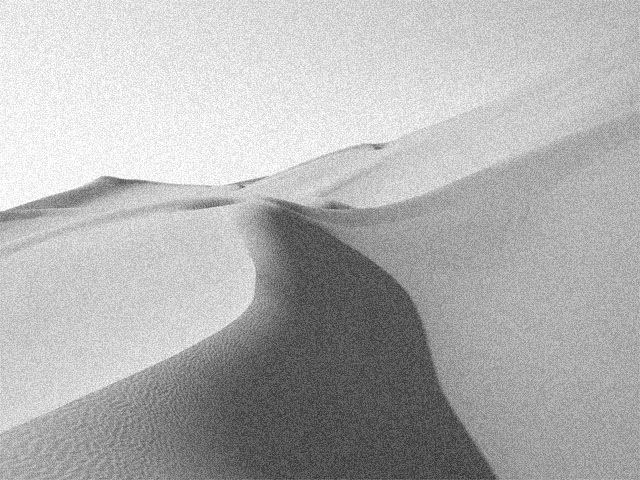
Red Amount, Green Amount, and Blue Amount adjust the amount of grain added to each respective color channel.
 |
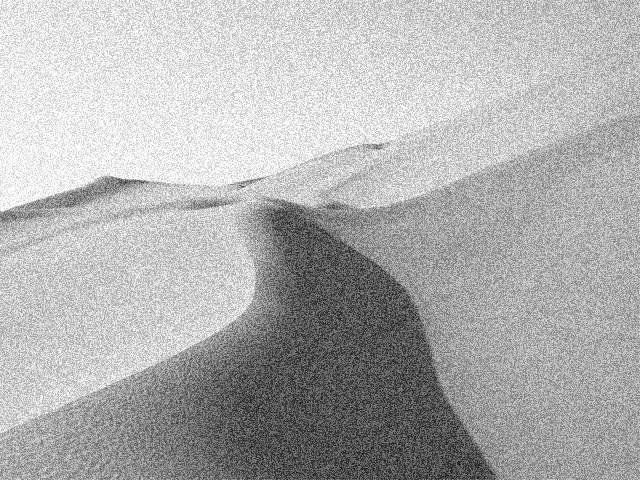 |
| Red Amount=50 | Red Amount=100 |
Red Grain Size, Green Grain Size, and Blue Grain Size set the size of the grains in each respective color channel.
Select the Dirt On checkbox to add dirt spots to the effect. If this option is deselected, the parameters in the Dirt parameter group have no affect.
Dirt Parameter Group
The dirt parameters create spots which simulate dust, dirt, and water spots on film.
Dirt Density sets the number of dirt spots in the effect. Higher values add more spots.
Dirt Random Seed determines which value is input to the random number generator used by the filter. Adjust this value when you like the overall effect but want to adjust the random configuration of the dirt spots.
Min Dirt Radius and Max Dirt Radius adjust the size of the dirt spots by setting a range of possible radius values for the spots. The spots created cannot have radii smaller than the Min Dirt Radius or larger than the Max Dirt Radius value.
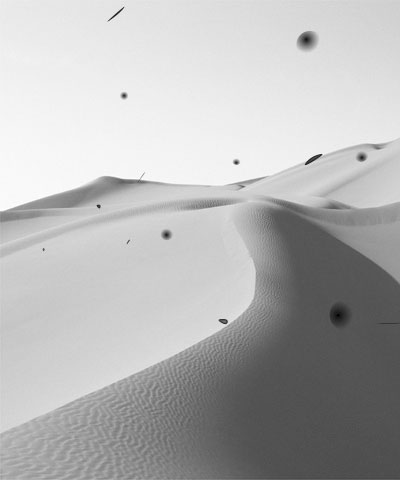
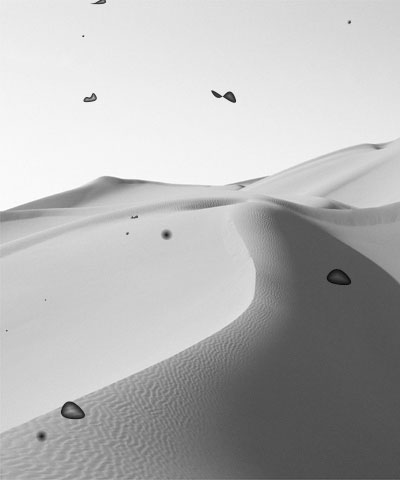
Dirt Complexity adjusts the complexity of the dirt spots in the image. Lower values produce spots with smoother edges and simpler shapes. Higher values produce more complex shapes with irregular edges.
 |
 |
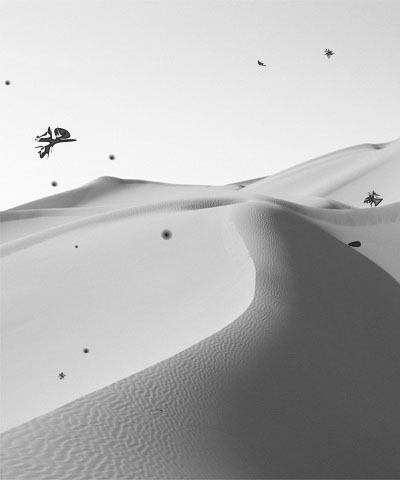 |
| Dirt Complexity=1 | Dirt Complexity=10 | Dirt Complexity=20 |
Dirt Gradient adjusts the opacities of the centers of the dirt spots in relation to the edges of the spots. At a value of 0, the centers of the spots are fully transparent. Higher values increase the opacity of the centers. When Dirt Gradient is 20, the centers use the same opacity value as the edges.
The opacity of the edges of the spots is controlled by Min Dirt Opacity and Max Dirt Opacity. These parameters set a range of opacities which are used to create the spots.
Dirt Black Color and the Dirt White Color set the two colors used for the dirt spots. Select the Hair On checkbox to add hair to the effect. If this option is deselected, the parameters in the Hair parameter group have no affect.
Hair Parameter Group
These controls create short lines which simulate pieces of hair or another fibrous material on the film.
Hair Density determines the number of hairs in the effect. Higher values add more hairs.
Hair Random Seed determines which value is input to the random number generator used by the filter. Adjust this value when you like the overall effect but want to adjust the random configuration of the hairs.
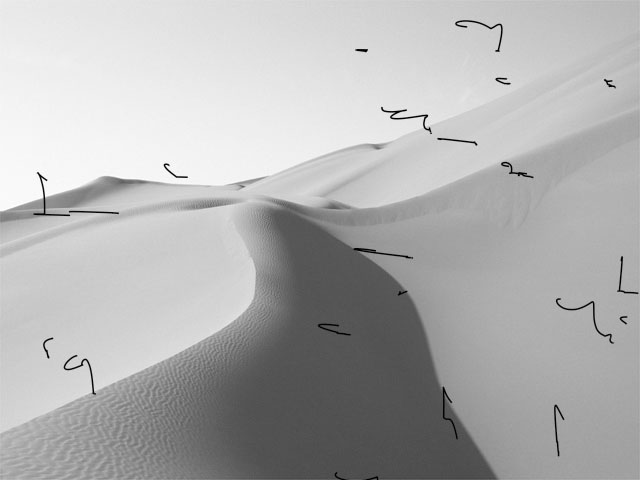
Hair Thickness adjusts the thickness of the hair lines. Higher values produce thicker lines.
 |
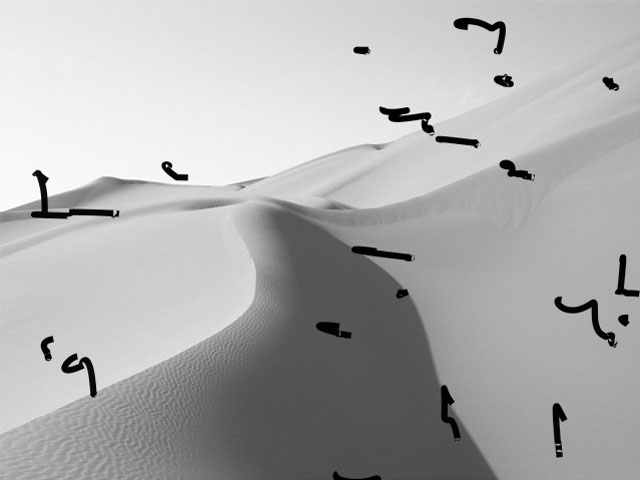 |
| Hair Thickness=0.25 | Hair Thickness=1.0 |
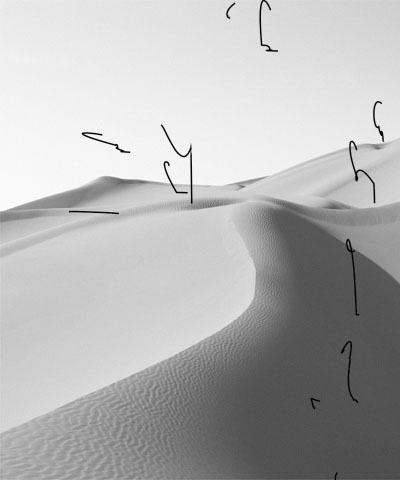
Hair Length adjusts the vertical length of the pieces of hair.
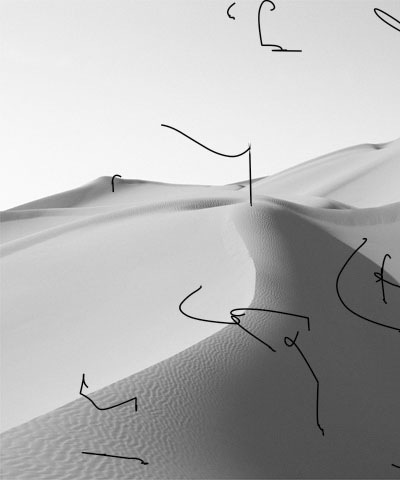
Hair Width adjusts the horizontal length of the pieces of hair. This value does not affect the thickness of the hair lines themselves.
 |
 |
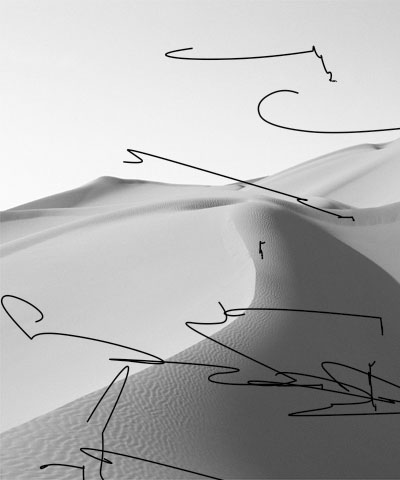 |
| Hair Width=10 | Hair Width=25 | Hair Width=50 |
The opacity of the hair lines is controlled by Min Hair Opacity and Max Hair Opacity. These parameters set a range of opacities which are used to create the hair lines.
Select the Scratches On checkbox to add scratches to the effect. If this option is deselected, the parameters in the Scratches parameter group have no affect.
Scratches Parameter Group
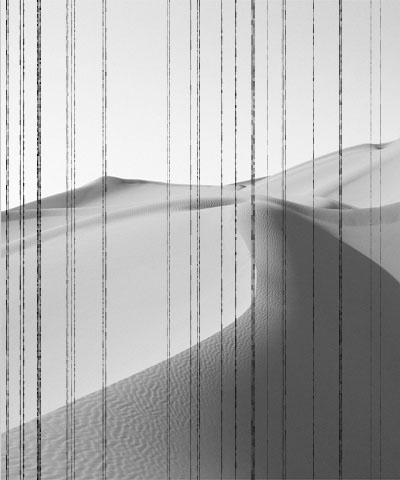
These parameters create vertical lines in the image which simulate scratches in the emulsion of film.
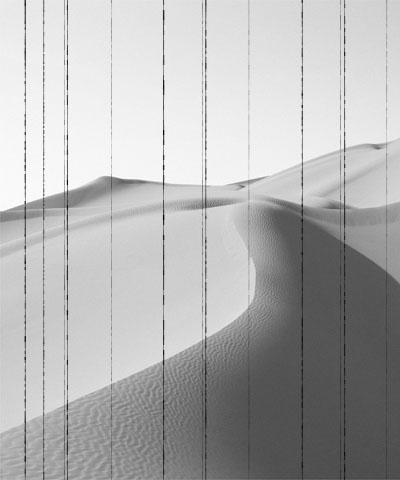
Scratch Density determines the number of scratches in the effect. Higher values add more scratches.
 |
 |
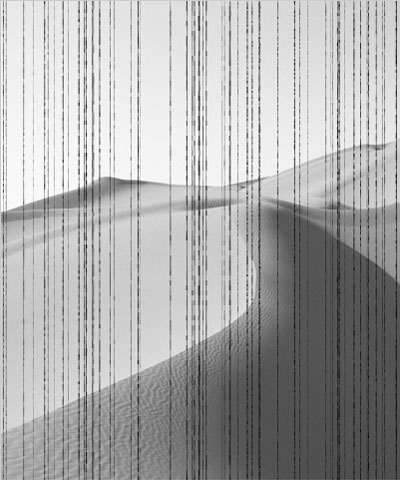 |
| Scratch Density=10 | Scratch Density=25 | Scratch Density=50 |
As the effect progresses, each scratch line moves around horizontally for a period of time, the disappears. Min Lifetime sets the minimum amount of time a scratch can remain onscreen, and Max Lifetime sets the maximum amount of time.
Scratch Random Seed determines which value is input to the random number generator used by the filter. Adjust this value when you like the overall effect but want to adjust the random configuration of the scratch lines.
Scratch Width adjusts the thickness of the scratch lines. Higher values produce thicker lines.
The opacity of the scratch lines is controlled by Min Scratch Opacity and Max Scratch Opacity. These parameters set a range of opacities which are used to create the scratch lines.
Scratch Speed adjusts the rate at which scratches move horizontally. Increasing positive values move the scratches faster. Decreasing negative values slow the scratches.
Scratch White Color and the Scratch Black Color set the two colors used for the scratch spots.
PixelChooser
The BCC PixelChooser provides simple, built-in masking of the effect result. The PixelChooser is generally used to select a portion of the image and restrict an effect to just the selected area while maintaining the original image content in unselected regions. The selection can be based on geometric shapes or on the image’s luma/color properties.
For more information on the PixelChooser, Click Here.
