Overview
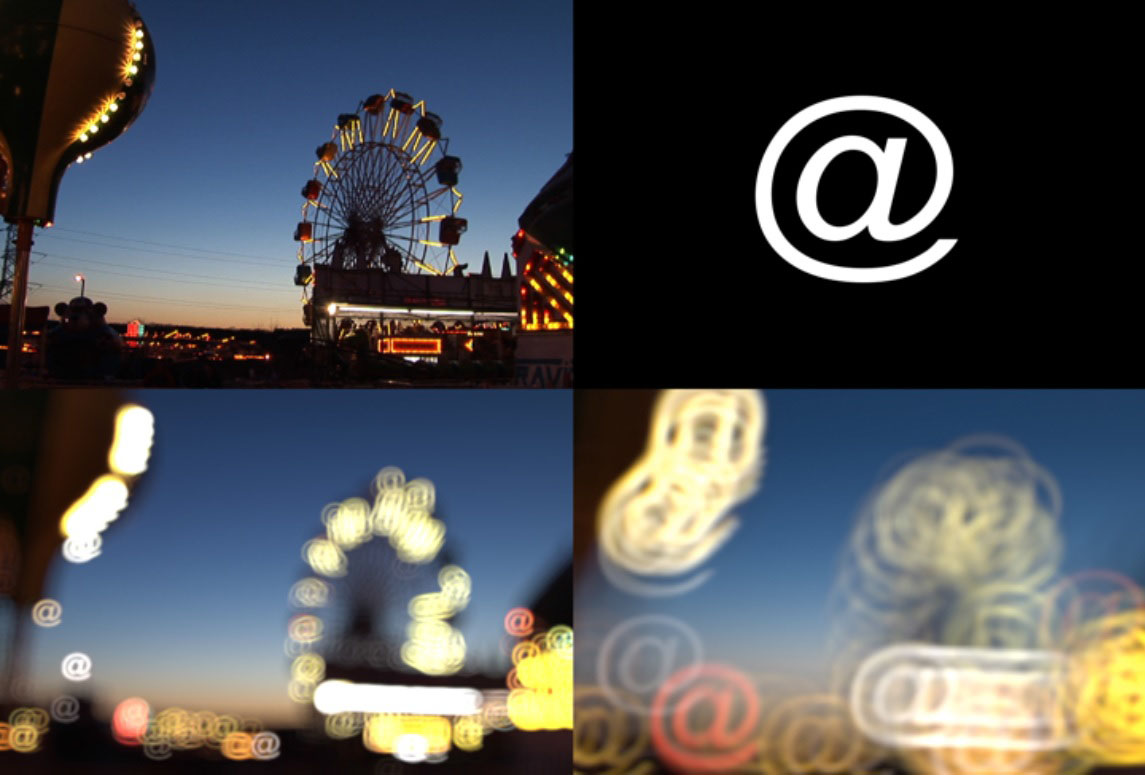
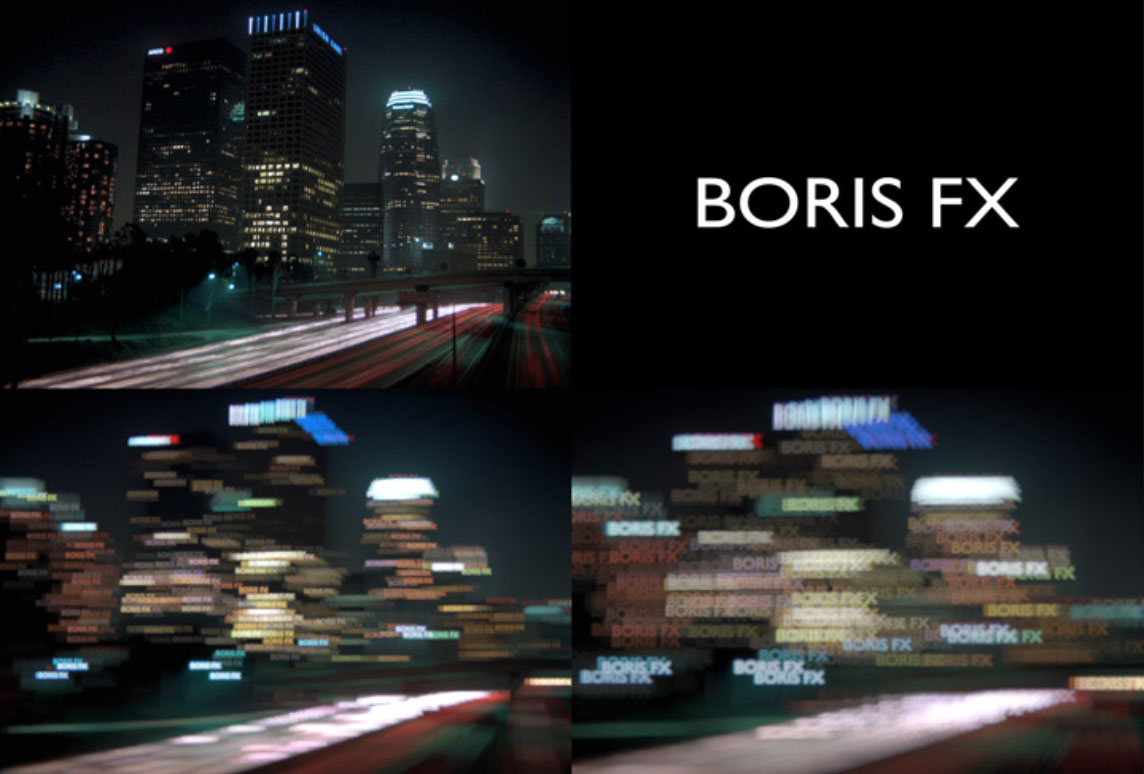
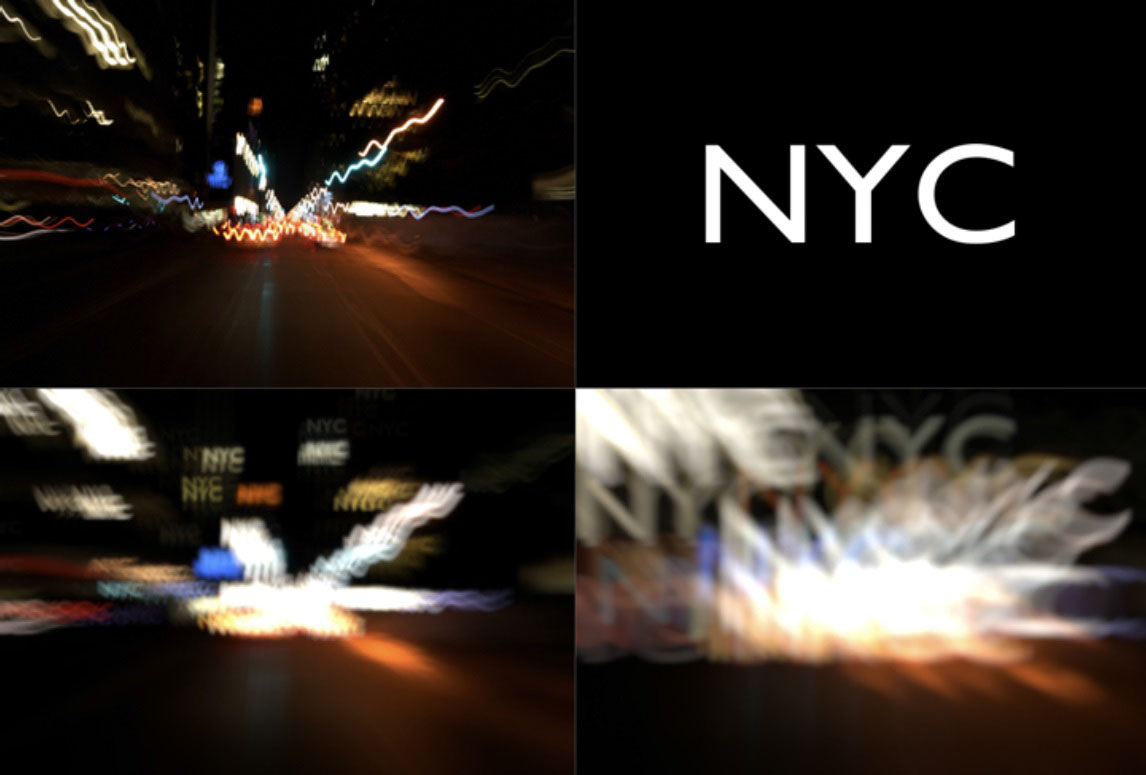
The BCC Lens Shape filter (like the Lens Blur filter) emulates a lens blur defocus/rack-focus effect where out of focus highlights of an image clip take on the shape of the lens diaphragm, however, the Lens Shape filter takes an image input and uses this for the highlight shape. When a lens is used at it’s maximum aperture (fully open / set to the smallest f stop number) the out of focus highlights are typically in the shape of a circle, however, when the lens is stopped down (set to something other than the smallest f stop number) the blades inside the lens shape the out of focus highlights into multi-sided shapes. This filter includes a pop-up that can be used to match the different looks that can be achieve in the physical world based on the lens aperture setting. This pleasing optical result is referred to in photographic terms as Bokeh.
The BCC Lens Shape filter also includes a comprehensive depth of field (Z-Depth) option, whereby a separate image can be used to control the depth and position of the focus field.
Function
Presets and Common Controls
BCC filters come with a library of factory installed presets plus the ability to create your own custom presets and preview them with the BCC FX Browser™.
BCC filters also include common controls that configure global effect preferences and other host-specific effect settings.
For more information about working with presets and other common controls, Click Here.
Compare Mode
The BCC Compare Mode provides a convenient mechanism to compare the effect result with the original source layer. It provides several variations on basic split-screen views with the filtered clip placed next to the unedited original.
For more information on the Compare Mode, Click Here.
Compare Mode pop-up: Controls what is displayed by the Compare Mode. The options are:
- Off: Shows the output of the filter.
- Wipe: Enables the user to interactively wipe the effect across the image. The left side of the wipe bar on the image output shows the unfiltered image, while the right side of the wipe bar shows the filtered result. When in Wipe mode, the corresponding Wipe slider becomes available.
- Side By Side: The left side of the output shows half of the incoming image, and the right side shows the same half of the image as processed by the filter. When in Side-By-Side mode, the corresponding Slide and Right Offset sliders become available.
- Wipe/Slide: Operates as a Wipe function when Wipe is selected in Compare Mode, and as a Slide function when Side-By-Side is selected in Compare Mode. When in Wipe mode, adjustments to this parameter moves the vertical wipe bar across the image; the region on the left of the wipe bar shows the original unfiltered image, while the region on the right shows the filtered result. When in Slide mode, adjustments to this parameter pans the image in the viewer window, maintaining the spatial relationship in the viewer between the before and after images.
- Right Offset: Provides a way to adjust the spatial relationship between the unfiltered original image and the filtered result in the viewer window. Adjustments to this parameter will offset the position of the filtered image in the viewer.
Quality pop-up: 3 way pop-up containing options that affect the edges of the generated highlights.
- Normal
- Sharp
- Sharper
Iris Scale: Used to set the size of the highlight blur effect.
Scale X: Scales the highlight along the X axis only.
Scale Y: Scales the highlight along the Y axis only.
Gamma: Used to control the image highlight gamma.
Show Iris Widget checkbox: When checked, displays the on-‐screen interactive iris scale widget.
Iris Shape pop–up layer selector: Used to select a layer from the timeline, which is used as a basis for the iris shape.
View Iris checkbox: When checked, displays the iris shape on a black background.
Iris Shape Group
Contains parameters to control the shape and look of the generated highlights.
Channel pop-up: Used to select the channel from the Iris Shape input that is used to define the iris shape.
- Luma - Uses only the Luma values of the Iris Shape input.
- Alpha - Uses only the Alpha channel values.
- RGB Independent - Uses the combined RGB channel values of the Iris Shape input, ignoring the alpha channel values.
- Red - Uses only the Red channel values.
- Green - Uses only the Green channel values.
- Blue - Uses only the Blue channel values.
Iris Auto Center: When enabled, centers the generated highlight shapes over the original highlights that they were generated from.
Iris Offset X: Used to offset the generated highlight shapes along the X axis.
Iris Offset Y: Used to offset the generated highlight shapes along the Y axis.
Iris Threshold: Used to set the breakpoint, or threshold that determines what is considered a highlight by the filter.
Z Map Group
Contains parameters to enable and control Z-Depth compositing within the filter.
Mode pop-up: Used to set the mode of the Z-Map function
- Off – Default, the Z-Map function is disabled
- On – The Z-Map function is enabled
View Focus Map: Displays the current state of the depth of field image
View Z Map: Displays the Z-Map input image
Mask Defocused Pixels: Displays a ruby red mask which is overlaid on the main image showing the pixels that are out of focus
Z Layer: Used to select the layer that is used as the depth map image Z
Channel: Used to select a channel from layer that is used as the depth map
image
- Luminance
- Alpha
- Red
- Green
- Blue
- Lightness
- PixelChooser
Smoothness: Higher values produce a smoother blur result
Focal Point: Used to set the point along the Z axis which is in focus.
Depth of Field: Controls the depth of the focus field, or the amount of pixels that remain in focus
Z Gamma: Used to adjust the gamma levels of the Z Map input image Near
Scale: Use to increase the size of the blur applied to the pixels that are closest to the camera
Far Scale: Use to increase the size of the blur applied to the pixels that are farthest from the camera
Highlights Group
Contains parameters to control the highlights that are generated by the filter.
Boost/Sup Mode pop-up: Used to determine the way the highlights are composited into the image.
- RGB Max – Boosts the RGB values of the highlights.
- RGB Glow – Boosts the RGB and Saturation values of the highlights.
- Luma Boost to White – Boosts the Luminosity values and desaturates the highlights.
- Luma – Boosts the Luminosity values of the highlights.
Highlight Boost: Used to set the intensity of the highlight boosting – higher values result in brighter highlights.
Highlight Threshold: Used to set the cut off point for highlight boosting.
Suppress Threshold: Used to set the intensity of the shadow boosting – higher values result in darker shadows.
Boost Soften: A slope control that softens the highlight and shadow boosting effect.
Post group: Contains parameters for post processing the image.
Apply Mode pop-up: Contains 27 image apply modes for compositing the filtered result with the original image.
Apply Mix: Used to create a blend between the current apply mode and the Normal apply mode.
Mix with Original: Used to blend the filtered result with the unfiltered original image.
Opaque Source checkbox: Disable to affect the image alpha channel.
Motion Tracker
The BCC Motion Tracker allows you to track the motion of an object, then use the motion path to drive other geometric properties of the effect without the need for keyframing.
For more information on the Motion Tracker, Click Here.
PixelChooser
The BCC PixelChooser provides simple, built-in masking of the effect result. The PixelChooser is generally used to select a portion of the image and restrict an effect to just the selected area while maintaining the original image content in unselected regions. The selection can be based on geometric shapes or on the image’s luma/color properties.
For more information on the PixelChooser, Click Here.


