Overview
Light Matte uses applied light to create or modify an alpha channel. Rays of light spread from the light source point in all directions. As the rays expand, their intensities are affected by the luminosities of the pixels that they cross. The farther from the source the rays extend, the less they are affected by the intensities of new pixels that they crosses. This process is referred to as attenuation, since the affect of the pixels on the intensity of the rays attenuates, or lessens, over time.
Parameter Controls
Presets and Common Controls
BCC filters come with a library of factory installed presets plus the ability to create your own custom presets and preview them with the BCC FX Browser™.
BCC filters also include common controls that configure global effect preferences and other host-specific effect settings.
For more information about working with presets and other common controls, Click Here.
- Note: An easy way to familiarize yourself with this filter is to adjust Attenuation Type and Ray Length. After you become more familiar, use the Noise controls or the PixelChooser to create unique textured lights and mattes.
Compare Mode
The BCC Compare Mode provides a convenient mechanism to compare the effect result with the original source layer. It provides several variations on basic split-screen views with the filtered clip placed next to the unedited original.
For more information on the Compare Mode, Click Here.
Light Source sets the location of the simulated light source on the X and Y axis, respectively.
Intensity adjusts the intensity of the light source.
The Attenuation Type menu chooses the mathematical process used to determine how the influence of pixels affecting the intensity of the rays of light changes over time. The choices are Exp Dist SQ, Exp Distance, Expon Dist Sqrt, Dist SQ, Distance, and Dist Sqrt. Experiment with the various modes to see which works best with your effect.
These illustrations show the affect of various Attenuation Types on the matte created by the filter.
 |
 |
 |
| Expon Distance SQ | Expon Distance | Distance SQ |
Ray Length adjusts the length of the rays of light that emanate from the source. The length of the rays is also affected their Attenuation Type. A longer ray length causes the light or color that rays pick up at each point to travel further along the rays.
 |
 |
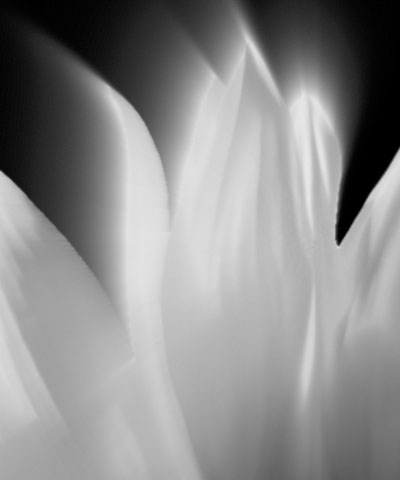 |
| Ray Length=35 | Ray Length=50 | Ray Length=100 |
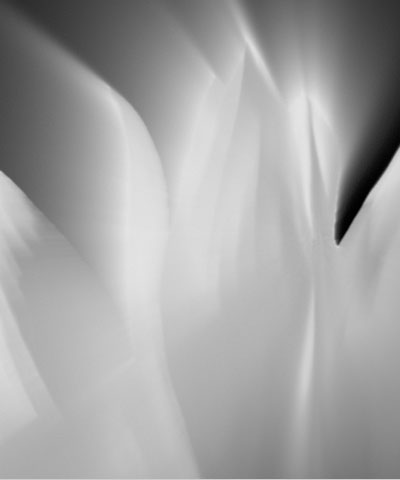
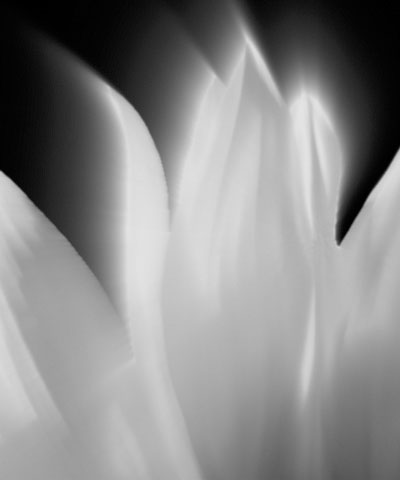
Minimum Influence sets the minimum amount of influence the pixels have on the length of the rays in the effect. Increasing this value is similar to decreasing the Ray Length value.
 |
 |
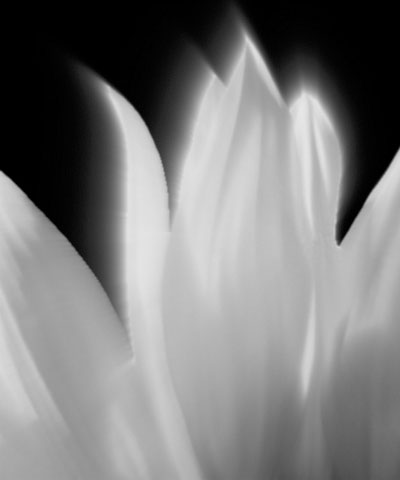 |
| Minimum Influence=10 | Minimum Influence=30 | Minimum Influence=60 |
Aspect adjusts the shape of the light rays and the resulting matte. Positive values stretch the rays and matte horizontally, and negative values stretch them vertically.
Advanced Parameter Group
These controls further adjust how the attenuation affects the image and provide several additional controls for finetuning the effect.
The Attenuation Bias menu determines how differences between the intensity of the pixels passed over by the rays and the intensity of the rays themselves affects their attenuation.
- If Off is chosen, the difference in intensity between an individual pixel and the ray crossing it does not affect the amount of influence the pixel has on the ray’s intensity.
- One Way uses Bias Amount to determine how the influence of a pixel is affected by its intensity. Increasing positive values cause pixels that are more intense than the rays passing them to have more influence on the intensity of the rays. This lightens the output. Decreasing negative cause pixels that are less intense than the rays passing them to have more influence on the intensity of the rays. This darkens the output
- Two Way works similarly to One Way, but causes a more pronounced effect. For example, if the Bias Amount is positive, Two Way increases the influence of pixels that are more intense than the rays while simultaneously decreasing the influence of pixels that are less intense than the rays.
- If Contrast is selected, pixels with more contrast (closer to black or white) get favored over pixels closer to gray.
Increasing positive HV Bias values cause the rays to travel predominantly on horizontal and vertical lines. Decreasing negative values cause the rays to travel on lines that form a 45 degree angle with the horizontal axis.
Ray Holdout Radius sets where the rays of light and/or the attenuation start in relation to the light source. Positive values create a circular region centered around the light source beyond which the rays emanate. Attenuation does not begin until after the radius is reached. Decreasing negative values cause the attenuation to start closer to the light source point.
 |
 |
 |
| Ray Holdout Radius= -10 | Holdout Radius=10 | Ray Holdout Radius=20 |
Directional Tuning smooths the angular behavior of the light. For most purposes, you should leave this control at the default value.
Source Threshold subtracts the threshold from each pixel value when computing the light.
Light Threshold sets a value that is subtracted from the light at each pixel before it is applied. If you are animating the position of an object, increasing Light Threshold will fade the light more rapidly as you move away from the source image.
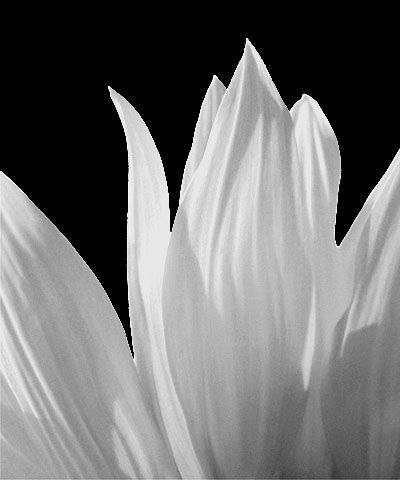
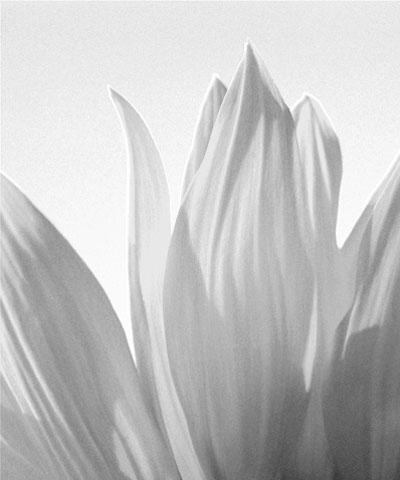
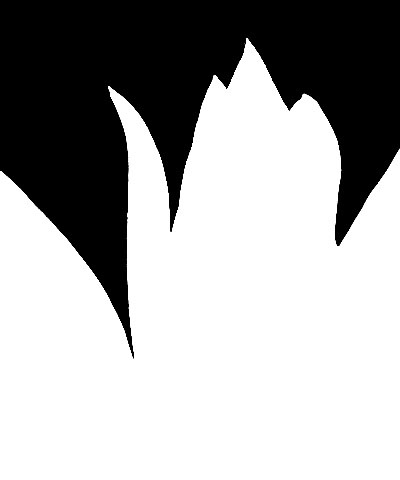
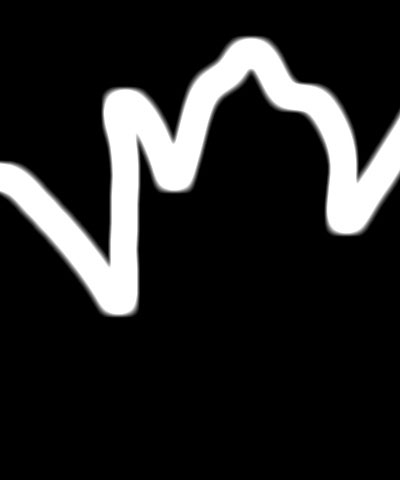
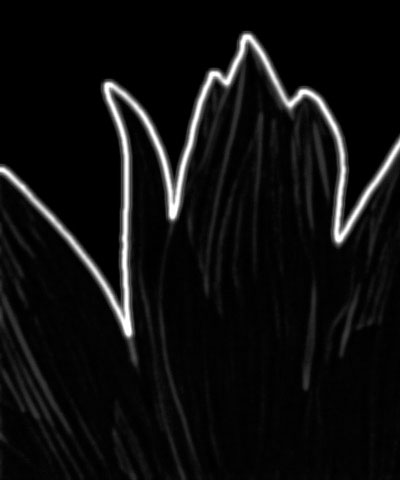
The Light From Channel menu determines which source color channel is used to create the light and to calculate the intensities of the source pixels. Pixels with higher values in the selected channel are considered to have higher intensities.
- Luma, Red, Green, and Blue use the corresponding color channel with the source alpha information.
- Luma Inverse uses the inverted luma channel.
- Unmultiplied Luma uses the source luma channel but ignores the source alpha information. All pixels in the source are treated as fully opaque.
- Alpha uses the corresponding source channel.
- Luma Cartoon Edges and Alpha Cartoon Edges find edges in the corresponding source channel, apply outlines to the edges, and use the resulting image. When Luma Cartoon Edges or Alpha Cartoon Edges is selected, Thickness/Intensity adjusts the width of the outlined edges, and Cartoon Threshold sets the value in the image above which pixels are considered to be fully on.
- Luma Edges and Alpha Edges find edges in the corresponding source channel and use the resulting image. When Luma Edges or Alpha Edges is chosen, Thickness/Intensity adjusts the intensity of the edges.
- PixelChooser uses the region defined by the PixelChooser parameter group.
 |
 |
 |
| Luma | Unmultiplied Luma | Alpha |
 |
 |
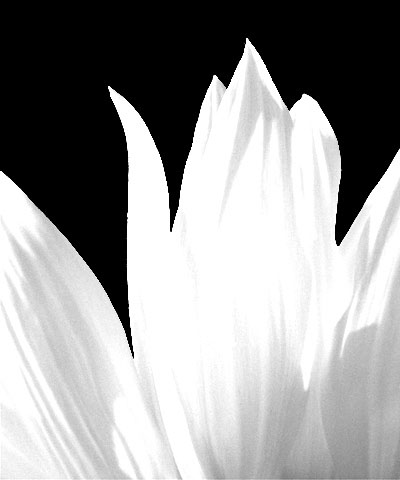 |
| Alpha Cartoon Edges | Luma Edges | Red |
Edges Parameter Group
The Edges parameter group provides additional control if either Alpha Edges, Luma Edges, Alpha Cartoon Edge or Luma Cartoon Edges is selected in the Light From Channel menu. If Red, Green, Blue, Luma, Unmultiplied Luma or Alpha is selected, the Source Edges, Edge Pre Blur, Edge Post Blur, and Cartoon Threshold parameters have no affect. The other parameters apply no matter what is selected in the Light From Channel menu.
Thickness/Intensity adjusts the width of the edges when Alpha Edges, Luma Edges, Alpha Cartoon Edge or Luma Cartoon Edges is selected in the Light From Channel menu. If another Light from Channel selection is made, this parameter does not apply.
Edge Pre Blur blurs the source image before the filter searches for edges. This blur does not appear in the output; it is used only in edge detection.
Edge Post Blur blurs the edges before they are used to create the applied light.
Cartoon Threshold sets the value in the threshold above which pixels are considered fully on. This parameter is only available when Luma Cartoon Edges or Alpha Cartoon Edges is selected in the Light From Channel menu.
The Apply Mode menu determines how the alpha information created by the filter is composited with the source alpha (if any) to produce an output alpha channel. You can also use this menu to preview the matte, or preview the source channel used by the filter to create the effect.
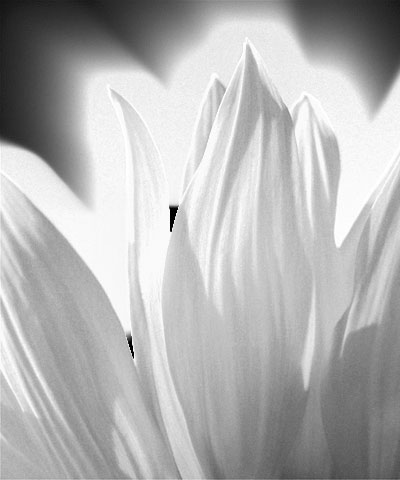
- Replace Alpha replaces the source alpha with the matte created by the filter.
- Screen Alpha screens the alpha channel created by the filter with the source alpha channel. Areas that are opaque in either alpha channel are opaque in the output.
- Mult. Alpha multiplies the alpha channel created by the filter with the source alpha channel. Only areas that are opaque in both alpha channels are opaque in the output.
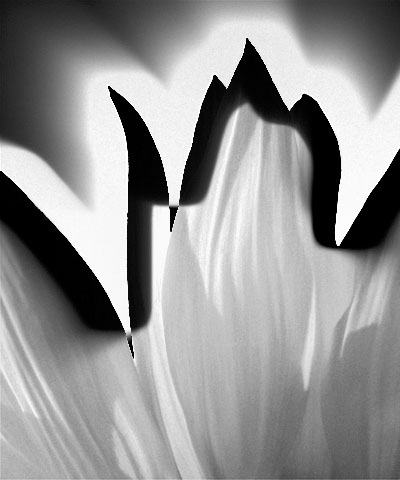
- Diff. Alpha subtracts the alpha channel created by the filter from the source alpha.
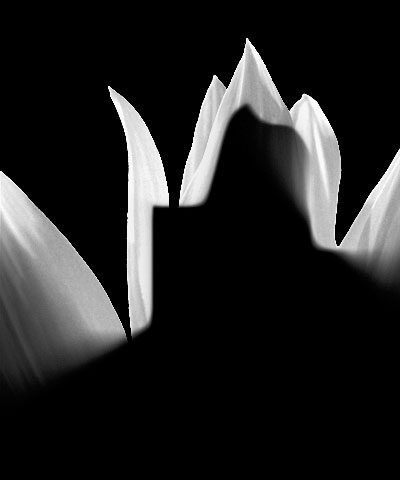
- View Matte displays a grayscale preview of the alpha channel created by the filter. Opaque regions are white, and transparent regions are black.
- View Inverse Matte inverts the matte created by the filter and displays a grayscale preview of the result.
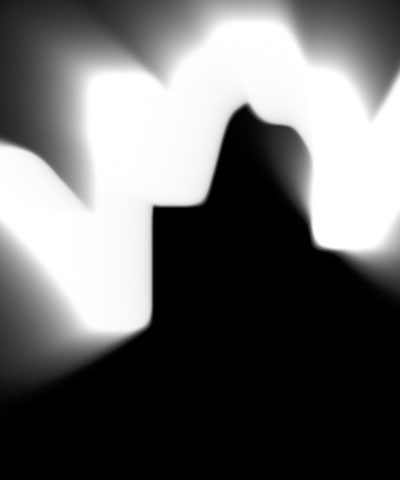
- View Source displays the chosen Light From Channel menu setting. In the following examples, the Light From Channel menu is set to Alpha Cartoon Edges.
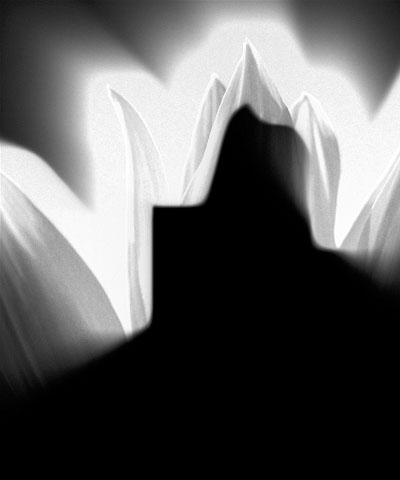
- Mask Source shows the source of the Matte with a ruby (50% red) mask applied to pixels that will be transparent.
 |
 |
 |
| Replace Alpha | Screen Alpha | Mult, Alpha |
 |
 |
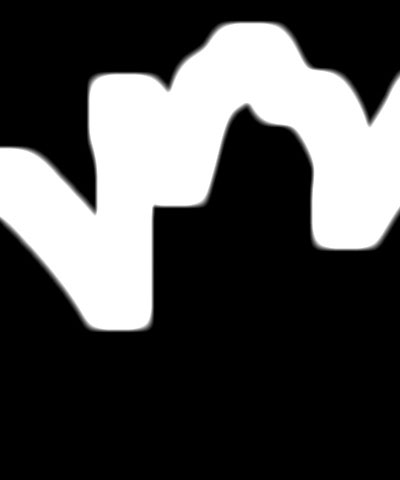 |
| Diff. Alpha | View Matte | View Source |
Noise Parameter Group
These controls add noise which can be used to randomly vary several aspects of the effect.
The Noise Affects menu determines which aspect of the effect is affected by the noise.
- When Off is selected, the noise does not affect the output, and the remaining parameters in this section have no affect.
- Source Light causes the noise to affect the intensity of the source in the selected Light From Channel. See page 33 for more information on the Light From Channel menu.
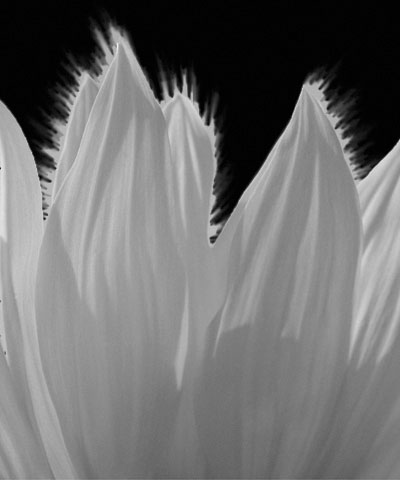
- Attenuation causes the noise to affect the amount of attenuation the light rays experience as the emanate from the source and interact with the pixels they cross.
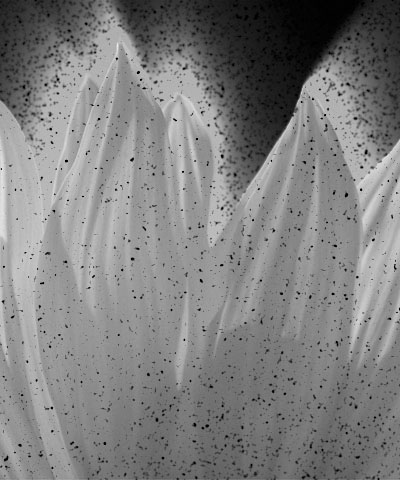
- Light causes the noise to affect the light output by the filter. This choice often creates somewhat grainy images.
- View Noise displays a grayscale preview of the noise.
 |
 |
 |
| Noise Affects=Attenuation | Noise Affects=Light Noise | Noise Affects=View Noise |
Noise Density sets the percentage of pixels that are affected by the noise.
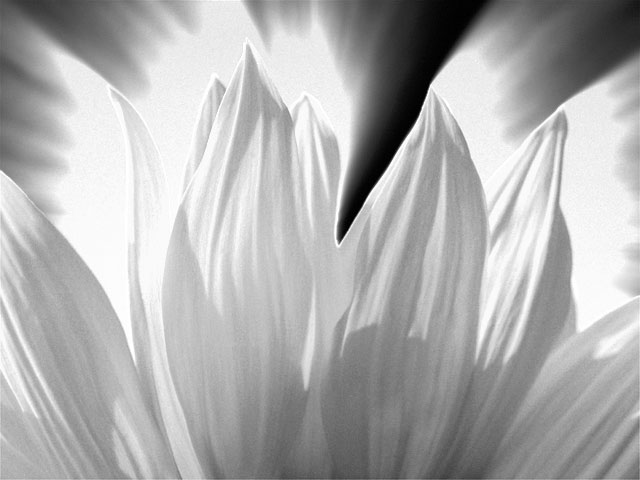
Noise Intensity adjusts the intensity of the noise. Negative values cause the noise to have the opposite affect on the selected Noise Target as positive values.
 |
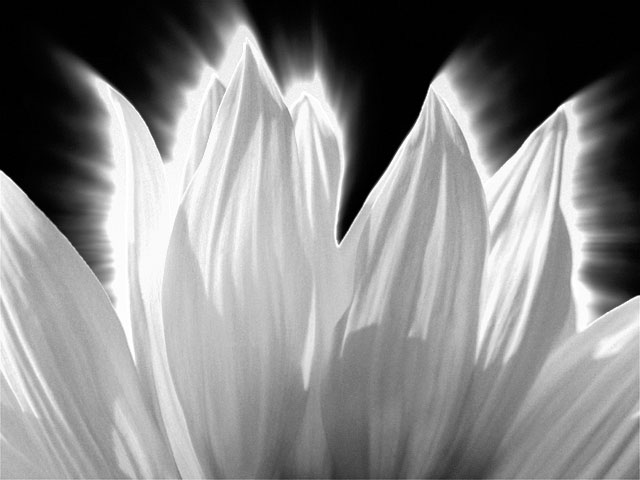 |
| Noise Intensity=50 | Noise Intensity=100 |
Noise Blur applies a blur to the noise, creating a smoother, more organic, effect.
The Noise Blur Quality menu sets the quality of the Noise Blur. Pyramid is the fastest option and is generally adequate unless Noise Target is set to Light. Pyramid Smoother produces a better quality pyramid blur and increases rendering times slightly. The remaining choices, Gaussian Low, Gaussian Medium, Gaussian High, Gaussian Higher, and Gaussian Highest produce gaussian blurs of increasing quality. These options increase rendering times proportionately.
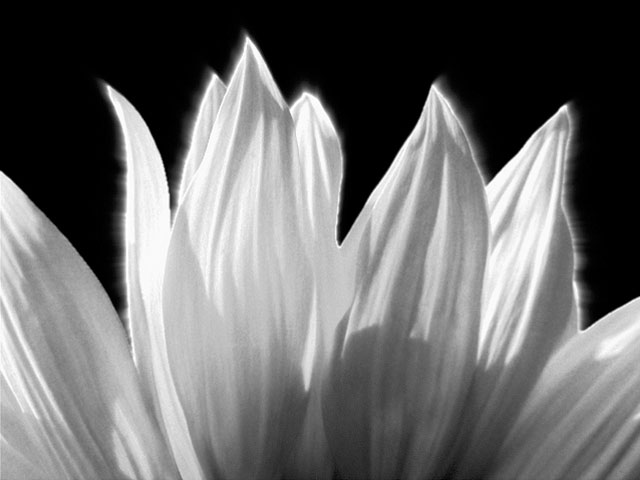
When the Bidirectional Noise checkbox is selected, the noise affects the target both positively and negatively. For example, if the Noise Target is Attenuation, when Bidirectional Noise is selected the attenuation both increases in some regions and decreases in other regions. If Bidirectional Noise is not selected, the attenuation increases in some areas, but does not decrease anywhere.
 |
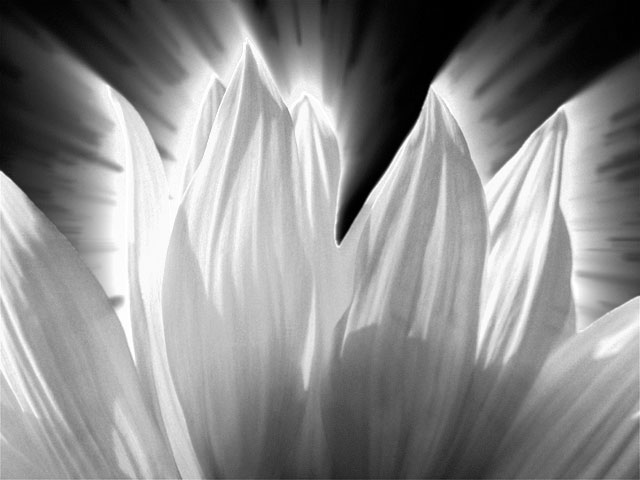 |
| Bidirectional Noise=off | Bidirectional Noise=on |
Seed determines which value is input to the random number generator used by the filter to create noise. Adjust this value when you like the overall effect but want to adjust the random configuration of the noise pattern.
- Note: Animating Seed creates noise that varies from frame to frame, because the noise affects a different randomly chosen group of pixels in each frame. Keeping this setting at a constant value creates static noise that retains its appearance.
Perturbation and Perturbation Seed add a small amount of randomness to the numbers produced by Seed, allowing you to create noise patterns that differ from frame to frame by a controlled amount. Make sure that Perturbation Seed changes by at least one unit from one frame to the next, unless you want the noise pattern to remain the same for some consecutive frames. Then adjust Perturbation until you get the desired amount of change.
Radial Matte Parameter Group
The Radial Matte controls allow you to selectively filter the image using a radial matte. The shape of this matte is affected by the Aspect parameter.
Select the Radial Matte On checkbox to turn on the radial matte (see the following section). If this option is not selected, the Radial Matte parameters have no affect.
You can achieve a transition from transparent to opaque by animating Offset Radius from a negative value to a positive value. The values needed for a full transition depend on the other filter settings. Control this parameter to create a transition regardless of the other settings in the filter.
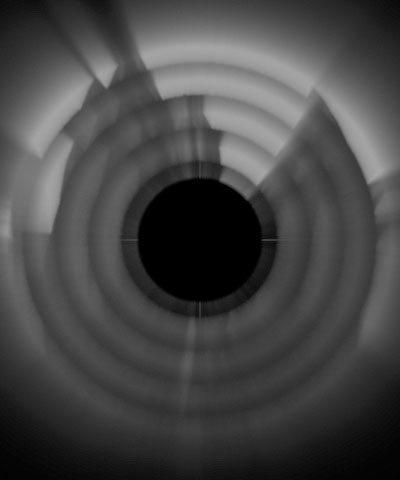
Inside Radius and Outside Radius set the radius of the inner and outer edges of the filtered region, respectively. Inside Radius keys in the image and Outside Radius keys out the image.
The image starts to become more opaque when it is closer to the light center than the inside radius, and becomes more transparent when it is further away from the light than the outside radius.
Inside Blend and Outside Blend soften the inner and outer edge of the filtered region, respectively. Higher values produce a softer edge.
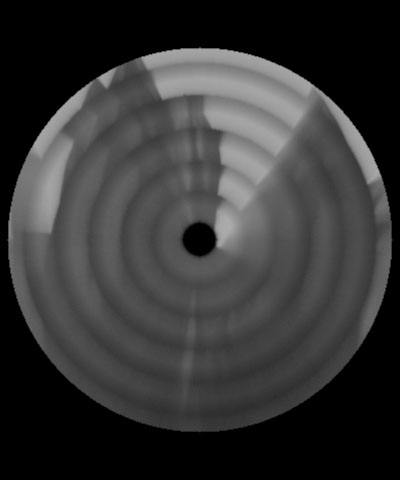
The following illustrations show adjustments to the Inside and Outside Radius values.
 |
 |
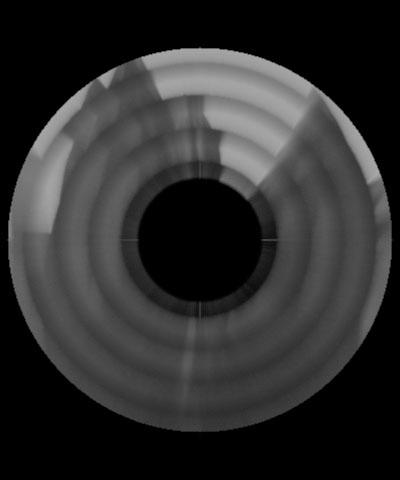 |
| Inside=10, Outside=200 | Inside=0, Outside=30 | Inside=10, Outside=30 |
- Note: The Radial Matte controls provide an easy way to create a wipe. Try setting Inside Radius to 0 and animate Outside Radius from 0 to 200 to create a radial wipe.
Gamma controls the value of the middle tones while leaving the white and black of the image unaltered. Gamma controls a gamma adjustment that is made to the derived alpha. Increasing Gamma spreads the alpha so that the matte is more opaque.
Alpha Offset controls an offset that is added to the output alpha. You can create a transition by animating this value from –100 to 100. At a value of -100, the entire image keys out. At a value of 100, the entire image is opaque.
Positive Choke values tighten the matte around the foreground image, while negative values pull the matte away from the edges of the foreground image.
Motion Tracker
The BCC Motion Tracker allows you to track the motion of an object, then use the motion path to drive other geometric properties of the effect without the need for keyframing.
For more information on the Motion Tracker, Click Here.
PixelChooser
The BCC PixelChooser provides simple, built-in masking of the effect result. The PixelChooser is generally used to select a portion of the image and restrict an effect to just the selected area while maintaining the original image content in unselected regions. The selection can be based on geometric shapes or on the image’s luma/color properties.
For more information on the PixelChooser, Click Here.
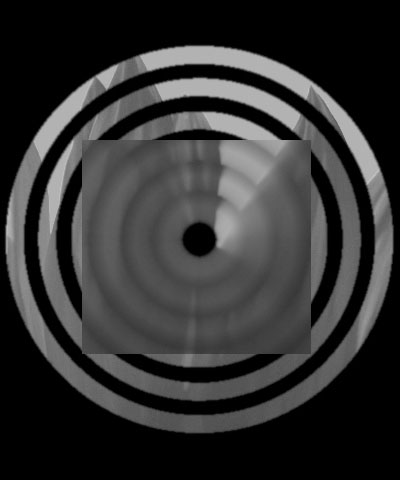
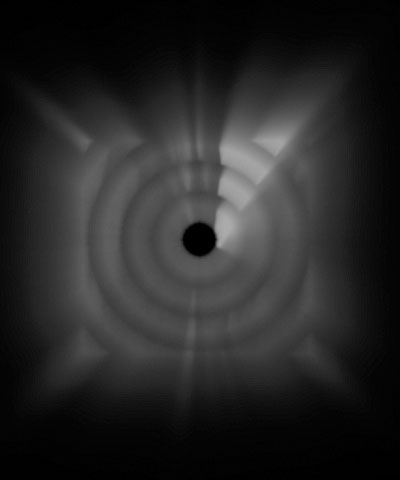
The PixelChooser Target menu determines how the PixelChooser affects the output.
- Mix causes the PixelChooser to affect the output as it does in other filters, mixing the selected pixels, which are filtered, with the unselected, unfiltered source pixels.
- Light reduces the intensity of applied light in selected pixels. The reduction in intensity is scaled so that fully selected pixels are affected most, while partially selected pixels are affected less.
- Source Light reduces the intensity of the ambient light in the chosen Light From Channel light in selected pixels, darkening the image. The reduction in intensity is scaled so that fully selected pixels are affected most, while partially selected pixels are affected less. See page 33 for information on the Light From Channel.
- Attenuation reduces the attenuation of the rays of light in pixels that are partially selected. This tends to shorten the length of the light rays in the effect. In unselected regions, the light rays completely disappear. Attenuation Boost has the reverse effect of the Attenuation option.
- Off turns off the PixelChooser, so the other PixelChooser parameters have no affect.
 |
 |
 |
| Mix | Source Light | Off |