Overview
Make Alpha Key creates a new alpha channel from one of the existing channels in the image and then applies levels and gamma correction to the new alpha channel.
Make Alpha Key also has a PixelChooser that determines which pixels are used to create the alpha channel. You can create many useful effects by making a Full On (completely opaque) alpha channel and using the PixelChooser to control which parts of the image key out.
Function
Presets and Common Controls
BCC filters come with a library of factory installed presets plus the ability to create your own custom presets and preview them with the BCC FX Browser™.
BCC filters also include common controls that configure global effect preferences and other host-specific effect settings.
For more information about working with presets and other common controls, Click Here.
Compare Mode
The BCC Compare Mode provides a convenient mechanism to compare the effect result with the original source layer. It provides several variations on basic split-screen views with the filtered clip placed next to the unedited original.
For more information on the Compare Mode, Click Here.
The Alpha Source Layer menu allows you to choose any clip or layer in your composition to use as the source layer. If you choose None, the filtered layer is automatically used as the source.
The Alpha From Channel menu specifies the channel in the Alpha Source Layer used to create the output alpha channel.
- Luminance, Red, Green, and Blue create mattes that become more opaque as the pixels in the source channel become brighter. You can use such a matte to key out shadows in the source image. You might want to try all of the channels to see which produces the best matte for your purposes. The most high-contrast channel is usually the best channel to use.
- The Alpha setting uses the alpha channel in the source. Use this mode if you are using alpha information from another layer that already has the desired matte.
- The Full On and Full Off settings create a completely opaque or transparent matte. These settings can be useful when you use the PixelChooser with the filter.
- The Inverse settings (Luma Inverse, Red Inverse, Green Inverse, and Blue Inverse) create keys that become more opaque as the source channel becomes darker.
- The Folded settings (Luma Folded, Red Folded, Green Folded, and Blue Folded) create a “solarized” key that is opaque in the middle of the value range and transparent for the lowest and highest values in the source channel.
Here, Alpha From Channel is set to Blue. The filter keys out portions of the image in which the blue channel value is closest to 0 and keys in the the parts of the image in which the blue channel value is closest to 255. Thus the sky region is left opaque and the flower keys out.
 |
Setting Alpha From Channel to Blue Inverse has the opposite effect. The filter keys out pixels whose blue channel value is highest and retains the pixels whose blue channel value is lowest.
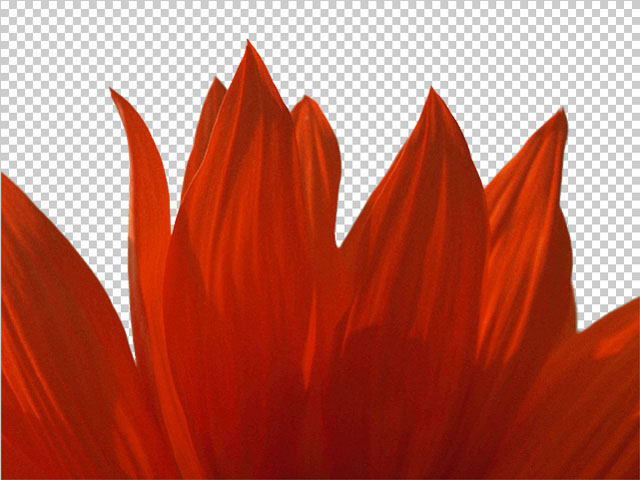 |
If Alpha From Channel is set to Blue Folded, the middle range of the blue channel becomes opaque and the highest and lowest blue values are both keyed out. This image does not contain many pixels with mid-range blue channels, so using the Blue Folded option makes the image almost entirely transparent.
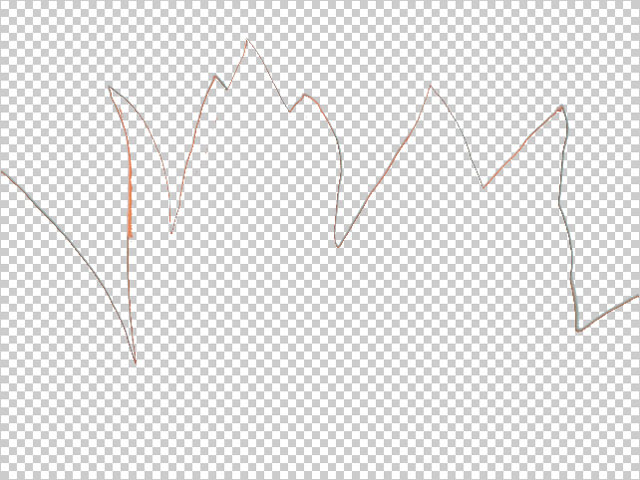 |
The Output menu determines how the output of the filter is rendered.
- In Composite mode, the filter uses the new alpha channel, making portions of the image partially or completely transparent when composited over the new background.
- Composite Inv Alpha inverts the new alpha channel.
- Show Matte displays the matte instead of the composite, allowing you to view the matte as you make adjustments.
- Show Invert Matte displays the inverted matte.
- Mask Transparent Pixels allows you to view the source image with a 50% red mask over the pixels that will be transparent.
Input Black and Input White determine which values in the alpha channel are treated as purely transparent and purely opaque, respectively. All pixels more transparent than the Input Black level map to the Output Black transparency level, and all pixels more opaque than the Input White level map to the Output White transparency level. Increasing the Input Black value from the default setting of 0 increases the number of semi-transparent pixels that map to purely transparent (pure black in the matte). Decreasing the Input White value from the default setting of 255 increases the number of semi-transparent pixels that map to purely opaque (pure white in the matte).
You can increase Input Black to completely key out areas with low alpha values and decrease Input White to completely key in areas with high values. This is an effective way to create a matte that keys out shadows, keys in highlights, and leaves midtones partly transparent. The following examples demonstrate the effect of Input Black and Input White adjustments on a matte.
This is the original image. Because the luminance in the sky and flower regions is about the same, it is better to make the alpha from a color channel. In this case, the blue channel provides the most contrast.
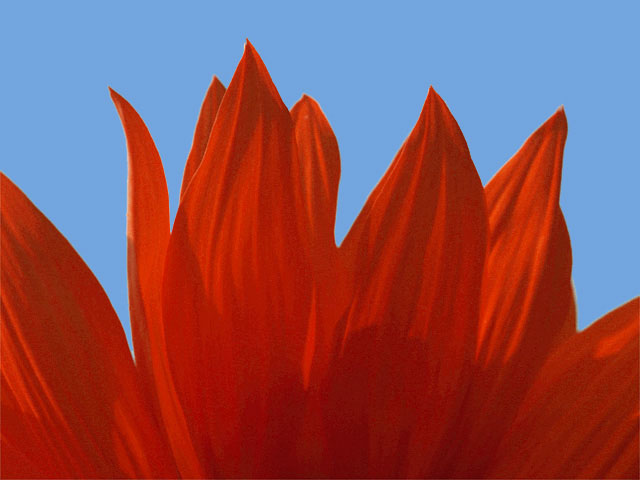 |
This is the initial matte made from Blue Inverse. Notice that the flower contains some gray areas that could cause the background image to show through, and the matte, in general, is rather low- contrast. You can remedy these problems using the Input controls.
 |
Decreasing Input White eliminates the light gray areas in the opaque part of the matte by increasing the number of gray values that map to white.
 |
Increasing the Input Black value increases the number of gray values that map to black, increasing contrast in the matte.
 |
Gamma controls the slope of the curve used to convert from the input color values to output values in pixels brighter than Input Black and darker than Input White. Increasing Gamma from the default of 100 lightens the image and decreases contrast, while decreasing Gamma darkens the image and increases contrast.
The output levels control the range of transparency levels that can appear in the alpha channel. Output Black sets the minimum opacity of the image. Increasing Output Black lightens the black areas of the matte, increasing their opacity. Output White sets the maximum opacity of the channel. Decreasing Output White darkens the white areas of the matte, decreasing their opacity.
 |
 |
| Alpha matte with Output Black raised | Alpha matte with Output White lowered |
Post Blur applies a blur to the alpha channel after the key is created. Note that this parameter blurs the entire alpha channel, not just the part created by this filter. Use Post Blur to soften the edges of the matte for sources with high-contrast edges.
Alpha Offset controls an offset that is added to the output alpha. You can create a transition by animating this from –255 to 255. At a value of -255, the entire image keys out. At a value of 255, the entire image is opaque.
Choke adjusts the size of the opaque portion of the matte. Positive values expand the opaque areas, while negative values contract them.
PixelChooser
The BCC PixelChooser provides simple, built-in masking of the effect result. The PixelChooser is generally used to select a portion of the image and restrict an effect to just the selected area while maintaining the original image content in unselected regions. The selection can be based on geometric shapes or on the image’s luma/color properties.
For more information on the PixelChooser, Click Here.
However, the PixelChooser in this filter has one additional control. The Input Alpha menu setting determines how pixels not chosen by the PixelChooser are affected by the filter. Choose Alpha Off to make them opaque, Alpha On to make them transparent, or Layer Alpha to use the source alpha information for these pixels.
