 |
 |
| Unfiltered Image | Filtered image |
Overview
The Match Grain filter copies the grain signature from a source clip and applies it to a destination clip. This helps to create a more realistic composite. The grain that is sampled from the source clip can be stored and reused with the separate Grain Preset options.
Function
Presets and Common Controls
BCC filters come with a library of factory installed presets plus the ability to create your own custom presets and preview them with the BCC FX Browser™.
BCC filters also include common controls that configure global effect preferences and other host-specific effect settings.
For more information about working with presets and other common controls, Click Here.
Compare Mode
The BCC Compare Mode provides a convenient mechanism to compare the effect result with the original source layer. It provides several variations on basic split-screen views with the filtered clip placed next to the unedited original.
For more information on the Compare Mode, Click Here.
Compare Mode pop-up: Controls what is displayed by the Compare Mode. The options are:
- Off shows the output of the filter.
- Side By Side the left side of the output shows half of the incoming image, and the right side shows the same half of the image as processed by the filter. When in Side-by-Side mode, the corresponding Slide and Right Offset sliders become available.Wipe enables the user to interactively wipe the effect across the image. The left side of the wipe bar on the image output shows the unfiltered image, while the right side of the wipe bar shows the filtered result. When in Wipe mode, the corresponding Wipe slider becomes available.
- Wipe/Slide operates as a Wipe function when Wipe is selected in Compare Mode, and as a Slide function when Side-‐By-‐Side is selected in Compare Mode. When in Wipe mode, adjustments to this parameter moves the vertical wipe bar across the image; the region on the left of the wipe bar shows the original unfiltered image, while the region on the right shows the filtered result. When in Slide mode, adjustments to this parameter pans the image in the viewer window, maintaining the spatial relationship in the viewer between the before and after images.
- Right Offset provides a way to adjust the spatial relationship between the unfiltered original image and the filtered result in the viewer window. Adjustments to this parameter will offset the position of the filtered image in the viewer.
The Grain Presets menu allows you to load and save grain presets.
- Choose Load to load a previously saved grain preset.
- Choose Save to save the current grain signature.
The View menu allows you to set the display.
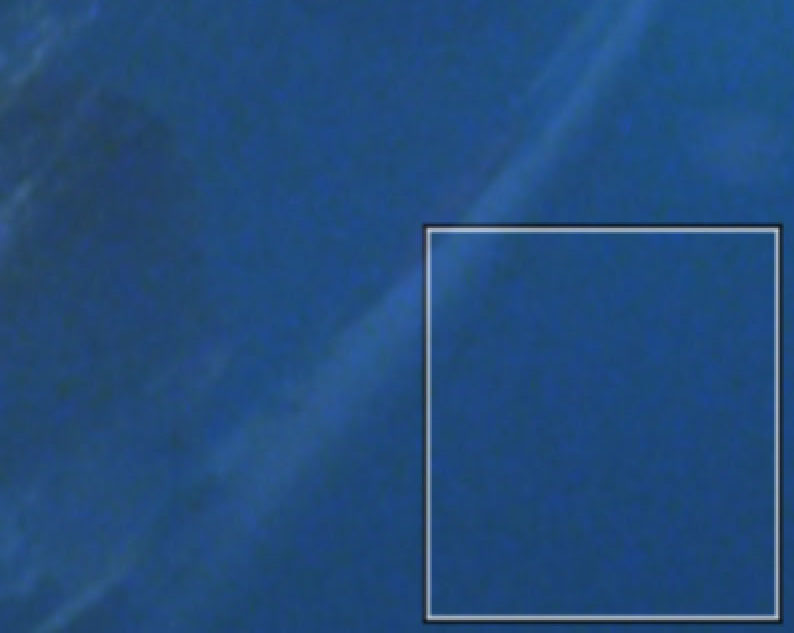
- Final Output displays the final render with grain applied to the image.
- Sample Layer displays the Sample Layer in the timeline. You must assign a clip in the Sample Layer menu or the Composer window displays black.
- Generated Grain displays the grain that the filter will apply to the image.
 |
 |
 |
| Final Output | Sample Layer | Generated Grain |
The Grain menu allows you to choose what type of grain is generated.
- Choose Monochrome to generated monochromatic grain.
- Choose RGB to generate red, green and blue grain.
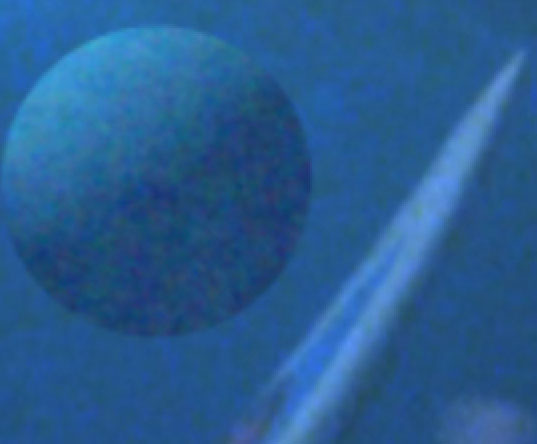
The Match Contrast checkbox allows you to generate grain with the same contrast as the source image. When the Match Contrast checkbox is deselected, Grain Contrast allows you to adjust the contrast of the grain between 0 and 100%. If the Match Contrast checkbox is deselected, Grain Contrast has no affect.
 |
 |
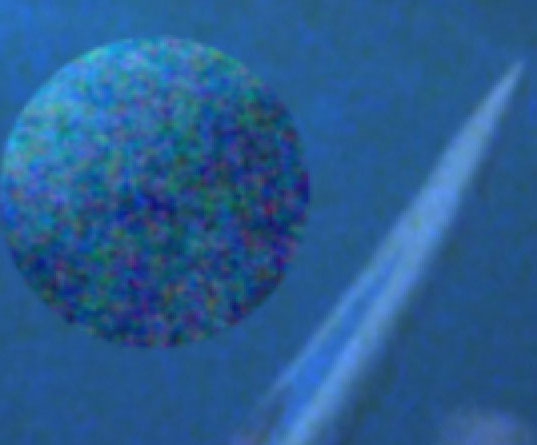 |
| Grain Contrast=5 | Grain Contrast=35 | Grain Contrast=100 |
Grain Size sets the size of the grain by adjusting the frequency spectrum of the grain. The default value of 100 is considered normal. This works in conjunction with the Grain Filter parameter. See the next section for details.
- Warning: Adjusting Grain Size does not act as a zoom feature. This parameter modifies the grain texture size. Adjusting Grain Size compensates for samples taken from frames with a different scan resolution than the filtered layer. In most cases, you do not need to change this parameter from the default.
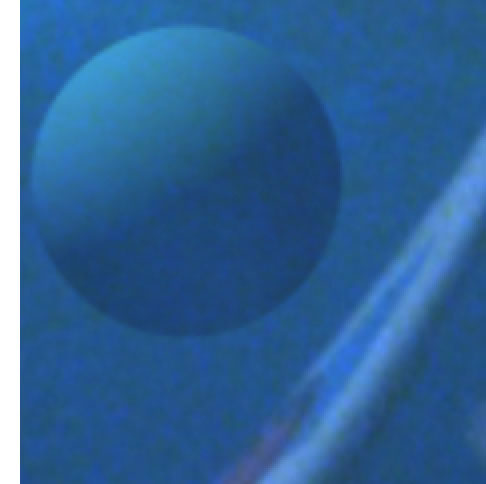
Grain Filter removes low frequencies from the grain sample. Lower numbers add a larger, more coarse grain structure (blotchy). Higher numbers produce a finer grain (smooth).
- Warning: The Grain Filter setting is not stored when you load or save a sample Grain Preset file. You need to manually adjust Grain Filter when loading Grain Presets.
 |
 |
| Grain Filter=1 | Grain Filter=100 |
If the Lock Sample checkbox is selected, the filter only uses the Sample Frame # to create the grain, creating static grain. If this option is deselected, the grain structure starts at the Sample Frame # and each successive frame is resampled from the clip, creating animating grain.
Sample Controls Parameter Group
The Sample Layer menu allows you to use a clip in the timeline as a sample for the generated grain.
Sample Frame # (Only in AE, Premiere, Avid, or Vegas) sets the frame from the Sample Layer that is used to create the grain.
Sample Size controls the size of the sample area from which the grain is sampled. The Sample Center position control sets the center point for the sample area on the X and Y axis.
Random Seed sets the seed of the random number generator. Each frame is seeded with this value added to the frame time.
- Note: Random Seed should only be adjusted when multiple Match Grain filters are used to generate different grain; Random Seed ensures that the grain is different.
Mix with Original blends the source and filtered images. Use this parameter to animate from the unfiltered to the filtered image without adjusting other settings, or to reduce the filter’s affect by mixing it with the source image. At a value of 0, the image is unaffected by the filter.
Workflow Note: When working in Resolve and other non-Vegas OFX hosts you are required choose the Lock Sample checkbox when you are satisfied with the current grain profile before proceeding to further tune the results.
PixelChooser
The BCC PixelChooser provides simple, built-in masking of the effect result. The PixelChooser is generally used to select a portion of the image and restrict an effect to just the selected area while maintaining the original image content in unselected regions. The selection can be based on geometric shapes or on the image’s luma/color properties.
For more information on the PixelChooser, Click Here.