 |
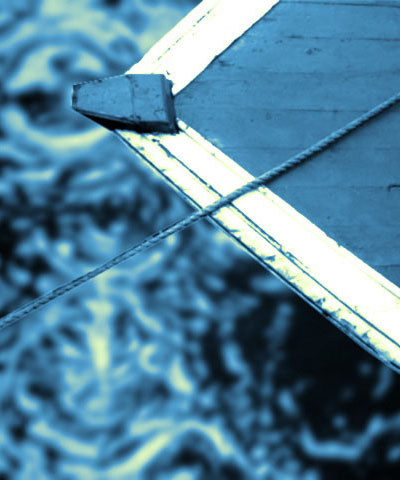 |
| Source image | Filtered image |
Overview
The MultiTone Mix filter uses the source image’s color, luma, or alpha information to create a toned image that uses up to five independent colors. MultiTone Mix works by creating a color map based on a specific channel in the source image, then replacing each color range in the map with a new color.
Function
MultiTone Mix processes an image using the following steps:
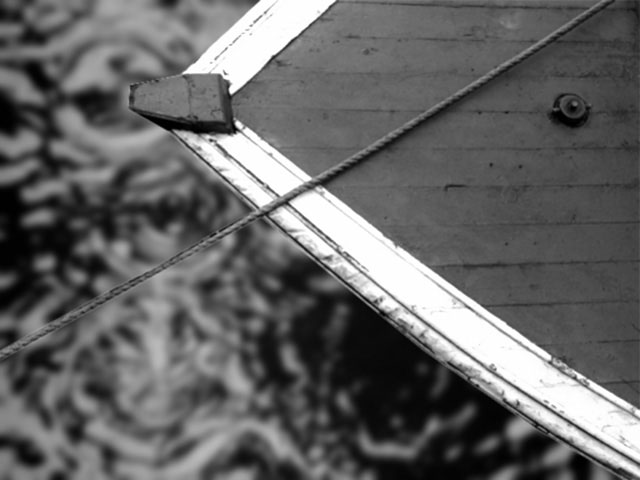
1. MultiTone Mix looks at the channel from the source image that is selected as the Input Channel. In this example, the image’s Luma channel is used as the Input Channel.
 |
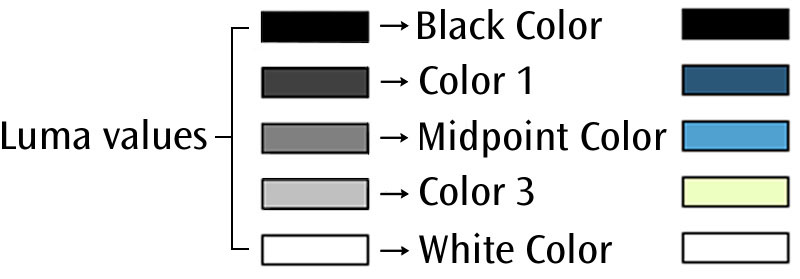
2. Where the value of the Input Channel is 0, the Black Color is substituted. Where the value of the Input Channel is 255, the White Color is substituted. Three additional points on the value range, which are specified in the Settings tab, are replaced with the pure Color 1, Midpoint, and Color 3 colors.
 |
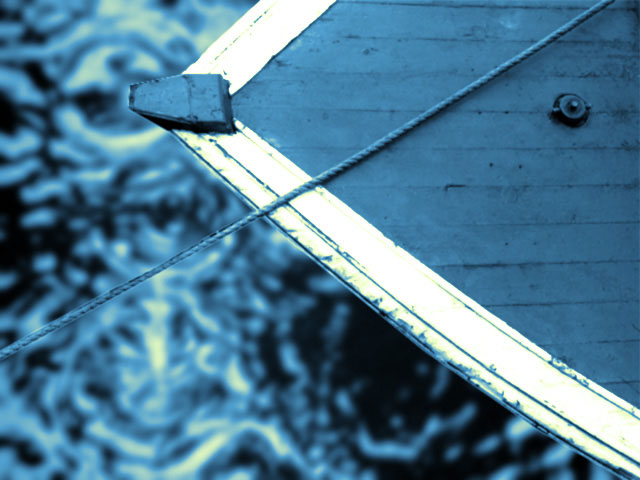
3. Pixels whose Input Channel value falls between the specified points are replaced with a mix of two contiguous colors. For example, if a pixel’s value falls between the Color 1 and Midpoint levels, it is replaced with a blend of the Color 1 and Midpoint colors.
 |
Presets and Common Controls
BCC filters come with a library of factory installed presets plus the ability to create your own custom presets and preview them with the BCC FX Browser™.
BCC filters also include common controls that configure global effect preferences and other host-specific effect settings.
For more information about working with presets and other common controls, Click Here.
Compare Mode
The BCC Compare Mode provides a convenient mechanism to compare the effect result with the original source layer. It provides several variations on basic split-screen views with the filtered clip placed next to the unedited original.
For more information on the Compare Mode, Click Here.
Compare Mode pop-up: Controls what is displayed by the Compare Mode. The options are:
- Off shows the output of the filter.
- Side By Side the left side of the output shows half of the incoming image, and the right side shows the same half of the image as processed by the filter. When in Side-by-Side mode, the corresponding Slide and Right Offset sliders become available.Wipe enables the user to interactively wipe the effect across the image. The left side of the wipe bar on the image output shows the unfiltered image, while the right side of the wipe bar shows the filtered result. When in Wipe mode, the corresponding Wipe slider becomes available.
- Wipe/Slide operates as a Wipe function when Wipe is selected in Compare Mode, and as a Slide function when Side-‐By-‐Side is selected in Compare Mode. When in Wipe mode, adjustments to this parameter moves the vertical wipe bar across the image; the region on the left of the wipe bar shows the original unfiltered image, while the region on the right shows the filtered result. When in Slide mode, adjustments to this parameter pans the image in the viewer window, maintaining the spatial relationship in the viewer between the before and after images.
- Right Offset provides a way to adjust the spatial relationship between the unfiltered original image and the filtered result in the viewer window. Adjustments to this parameter will offset the position of the filtered image in the viewer.
The Black Source menu sets the media used to replace black pixels in the Input Channel.
Black Color sets the color output for pixels whose Input Channel value is 0.
The Source 1, Midpoint Source, and Source 3 menus set the sources used to replace intermediate pixels whose input channel values equal the corresponding color level.
The White Source menu sets the source that is used to replace white pixels in the Input Channel.
For each of these menus, you can choose from the following options:
- Color uses the corresponding color chosen with the Black Color, Color 1, Midpoint Color, Color 3, or White Color parameters (see below).
- Layer 1 and Layer 2 use the color information from the corresponding clips or layers selected in the Source Layer 1 and Source Layer 2 menus.
- Off eliminates the corresponding input level from the composite image, ignoring the corresponding color chosen with the Black Color, Color 1, Midpoint Color, Color 3, or White Color parameters (see below). This option is not available in the Black Color or White Color menus.
For example, if you set Color 1, Midpoint Color, and Color 3 to Off and Black and White to Color, the filter acts as a simple toner, mapping the image from the black color to the white color.
In this example, all of the Source menus are set to Color. The source image pixels are toned according to the chosen Black Color, Color 1, Midpoint Color, Color 3, and White Colors.
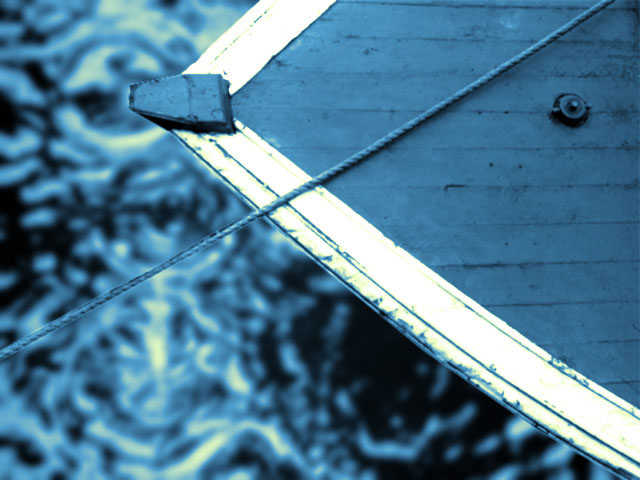 |
In this example, the Source 1 menu has been set to Layer 1, and the Source Layer 1 menu is set to the original source image. The dark grey pixels in the source image retain their original color. The Black Source, Midpoint Source, Source 3, and White Source menus are still set to Color, so that the other pixels in the source image are toned according to the chosen Black Color, Color 1, Midpoint Color, Color 3, and White Colors.
 |
In this example, the Color 1 menu has been set to Off, so the dark gray level is eliminated from the range. The dark gray pixels in the source image have been toned a mixture of the Black Color (purple) and the Midpoint Color (yellow) according to their luminance values.
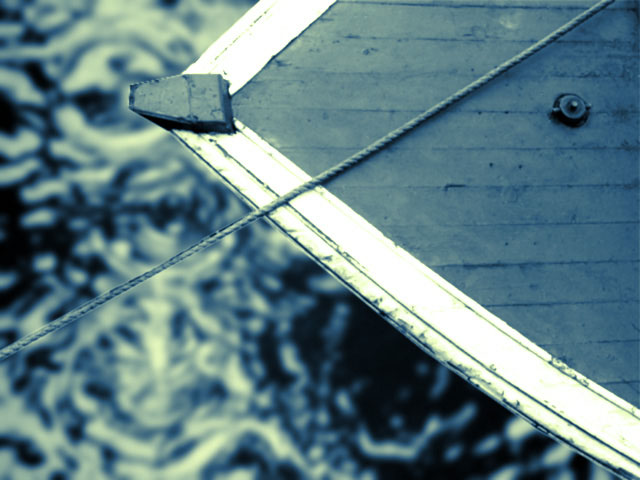 |
White Color sets the color output for pixels whose Input Channel value is 255.
The Color 1, Midpoint Color, and Color 3 determine the colors output for pixels at intermediate values on the input value range. You can adjust the values that are output to each color with the Level parameters (see below).
- Note: The Black Color, White Color, Color 1, Midpoint Color, and Color 3 colors are used in the output only if the corresponding Source menu is set to Color.
The Level parameters control the levels at which the output is taken directly from each source.
- Source 1 Level is the input channel value for which the output is the pure Color 1 color. A value of 0 sets this level to the Black Level, and a value of 100 sets it to the Midpoint Level.
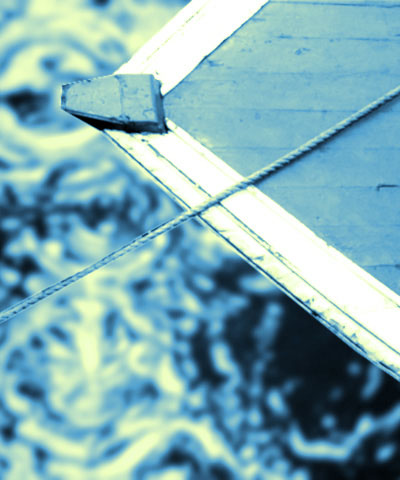
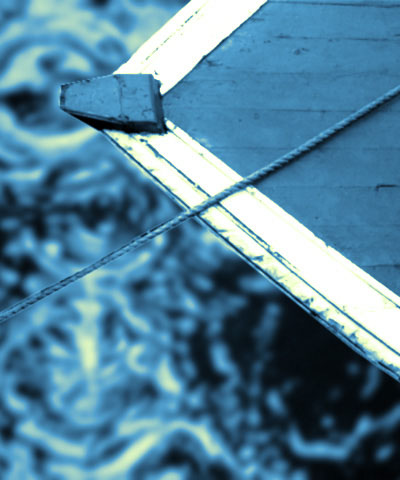
- Midpoint Level is the input channel value (between 0 and 255) for which the output is the pure Midpoint color. Decreasing the Midpoint Level gives more prominence to the Color 3 and White Colors because it widens the input value range for these colors. Conversely, increasing the Midpoint Level gives more prominence to the Color 1 and Black Colors.
 |
 |
 |
| Midpoint Level=75 | Midpoint Level=125 | Midpoint Level=175 |
- Source 3 Level is the input channel value for which the output is the pure Color 3 color. A value of 0 sets this level to the Midpoint Level, and a value of 100 sets it to the White Level.
The Source Layer 1 menu sets the source clip or layer used for any source(s) set to Layer 1. If Source Layer 1 is set to None, the input layer is used with previous filters applied. If it is set to one of the layers in the composition, the corresponding layer is used with no filters applied.
The Source Layer 2 menu sets the source clip or layer used for any source(s) set to Layer 2. If Source Layer 2 is set to None, the input layer is used with previous filters applied. If it is set to one of the layers in the composition, the corresponding layer is used with no filters are applied.
The Input Channel menu specifies the channel in the source image used to create the color map for the toned image. The choices are Luma, Red, Green, Blue, Luma Inverse, Red Inverse, Green Inverse, and Blue Inverse.
The Output Channels menu specifies the channels in the image to be processed and output by the filter. The choices are RGB, Red, Green, Blue, Red and Green, Red and Blue, Green and Blue, and Difference. Difference uses the difference between each filtered channel and the corresponding source channel.
Mix with Original blends the source and filtered images. Use this parameter to animate the effect from the unfiltered to the filtered image without adjusting other settings, or to reduce the effect of the filter by mixing it with the source image.
PixelChooser
The BCC PixelChooser provides simple, built-in masking of the effect result. The PixelChooser is generally used to select a portion of the image and restrict an effect to just the selected area while maintaining the original image content in unselected regions. The selection can be based on geometric shapes or on the image’s luma/color properties.
For more information on the PixelChooser, Click Here.