Overview
This document provides additional guidance for working with BCC in Apple Final Cut Pro X and Motion.
Licensing Info
- In Apple Motion the licensing window for the plugins is accessed by clicking the “License Control” button found in the banner at the top of the filter controls for any BCC filter.
- In Final Cut Pro X the licensing window for the plugins is accessed by applying the “BCC Licensing Tool” template from within the “BCC_Licensing” Effect category and clicking the “View BCC Licensing” checkbox in the Inspector with that effect selected.
- Licensing the plugins from within either Final Cut Pro or Motion will license the plugins for both Final Cut Pro and Motion.
Finding BCC effects in Final Cut Pro X and Motion
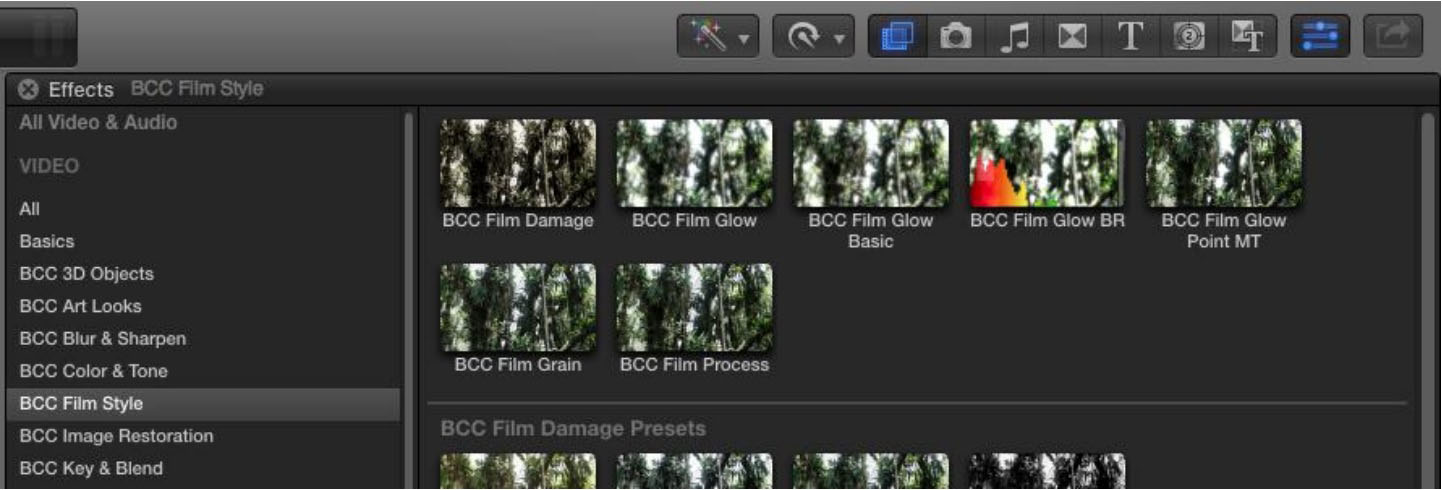
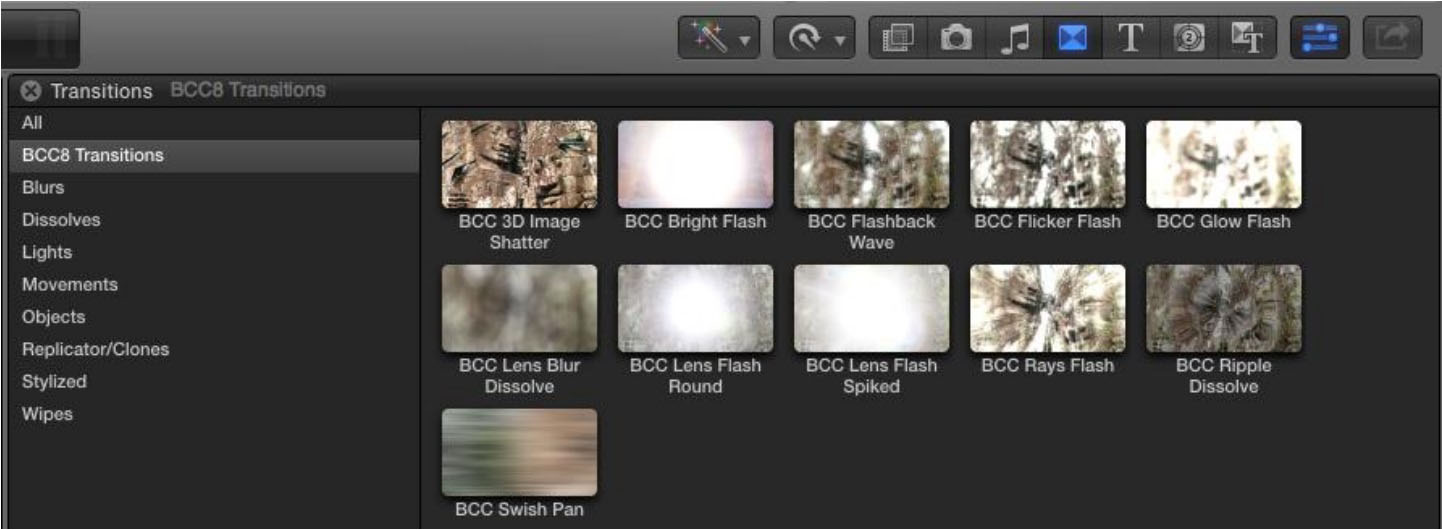
– In Final Cut Pro X the BCC effects will appear as several BCC categories of filter Effects and one category of Transition effects.
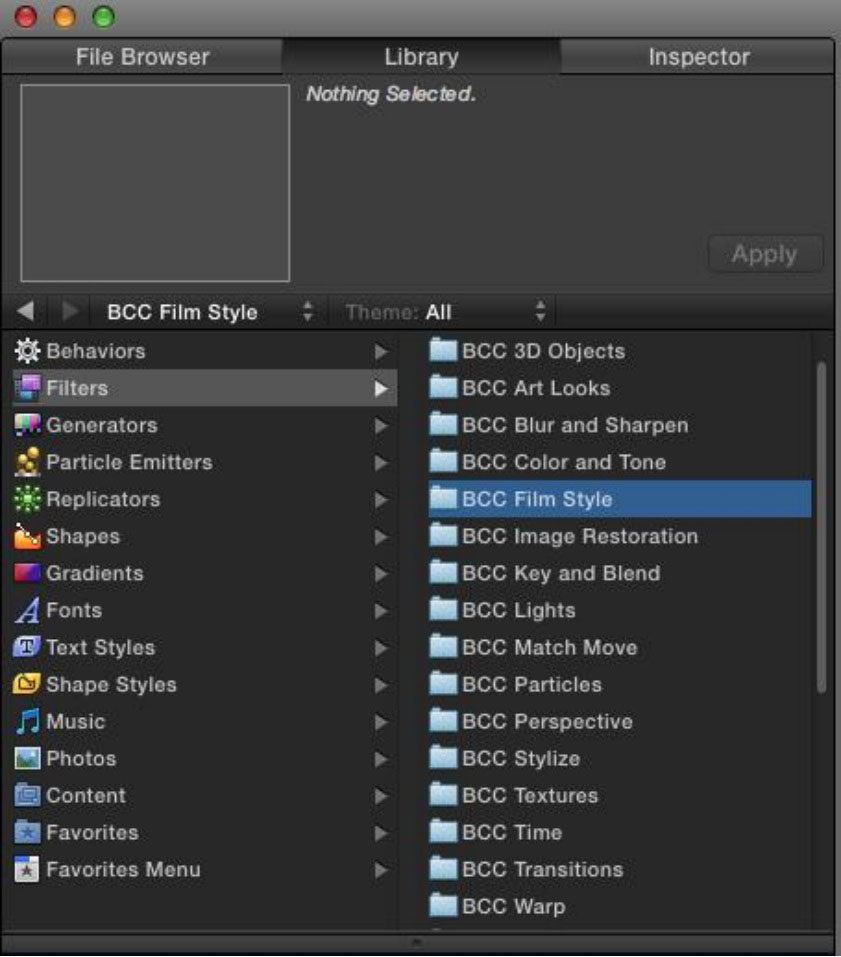
-In Motion 5, the BCC effects will appear as several BCC categories in Filters.
Documentation
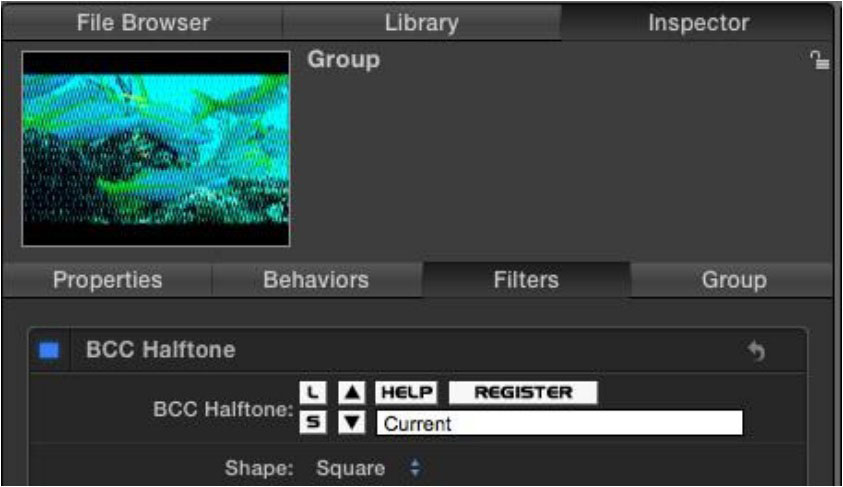
When working in Motion 5, it is possible to open an effect’s help file by clicking on the Help button found in the banner at the top of the effect controls in the Inspector.
There is currently no button for launching help documentation within the FCP X UI so it is easiest to navigate the online help documents found on the BorisFX website at www.borisfx.com/helpdocs.
BorisTV video tutorials cover a huge range of topics from introductions to the Fundamentals, to deep training Webinar replays, to in-depth looks at key effects and techniques.
Linearized Alpha
Note that in FCP X and Motion 5, Apple linearized the alpha compositing colorspace which can cause some filters which generate smooth alpha gradients to render differently than in other BCC hosts. This can for example give the appearance of an overly abrupt edge in a region that should ideally fade away gradually. When problematic this can to some extent be worked around by applying the BCC Alpha Process filter as a post process and reducing the alpha gamma slider to a value of roughly 0.5.
Tips for working with BCC in FCP X:
Disabling Background Render and using other Playback settings:
1.) When creating processor intensive effects, having Final Cut Pro X set to do Background Render can make the system seem slow or unresponsive. It may be helpful to disable Background Render when doing such work in Final Cut Pro X, and instead rendering the effects (using the Render All or Render Selected commands found under the Modify menu) at a time when you can stand by while the more processor intensive effects render.
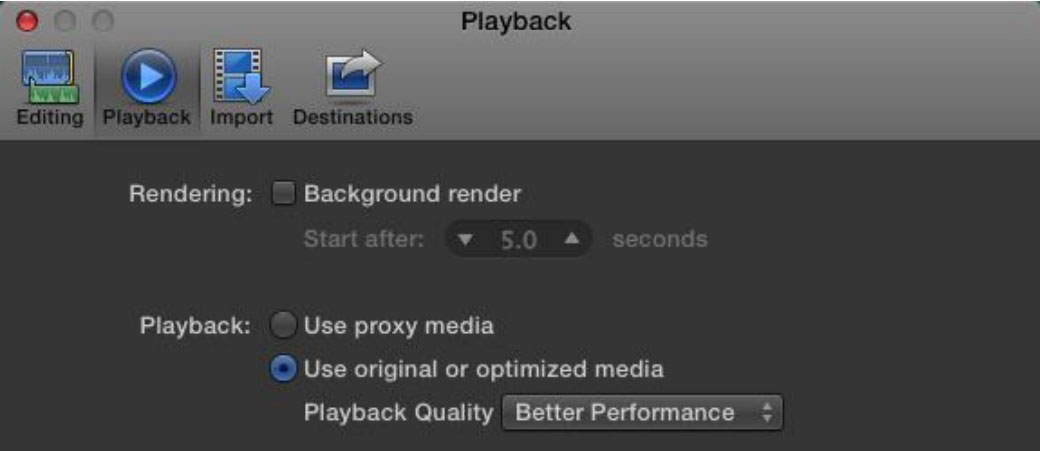
2.) In order to preview unrendered effects more smoothly it can sometimes be useful to use either proxy media or set the Playback Quality to Better Performance.
3.) Background Render, Use proxy media, and Playback Quality settings are all located in the Playback tab of the Final Cut Pro X Preferences Window. It is possible to leave this window open while working in Final Cut Pro X when making frequent changes to these settings.
Selecting a color from the source image in FCP X:
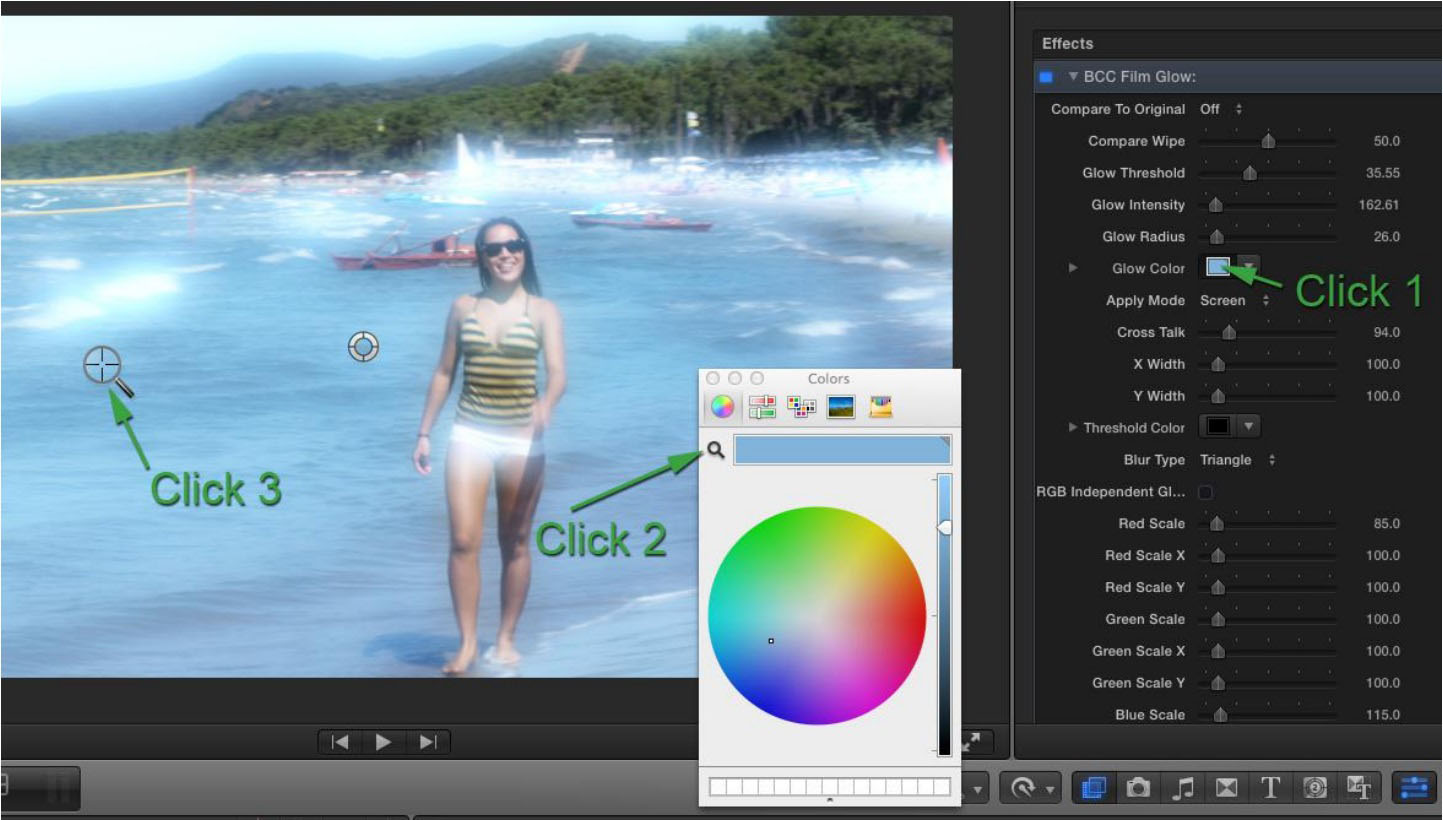
1.) Click on the color chip shown for the color parameter
2.) In the Mac OS color palette, click the icon of the magnifying glass
3.) With the magnifying glass cursor you can now click on the source image to select a color
Using a trimmed clip in an input well in FCP X:
1.) Place the video in the timeline
2.) Trim the clip to the desired start point, and select it in the timeline
3.) Under the FCP X File menu, choose “New Compound Clip”
4.) Use the resulting Compound Clip in the FxPlug input well
