In this tutorial we will use keyframes to animate a single track in 3D space. While this tutorial covers the animation of a flat text track, the steps here can be used to animate Extruded Text, Spline Objects, and Imported 3D Models.
We will examine:
- Keyframing
- Basic interpolation settings
- Managing your project structure.
Creating a new Flat Text object
1. In the Timeline window, select the Add New Media button and choose Flat Text. You can also create a new text track by going to the menu bar and selecting Track → New Media → Text.

2. A new scene container is created and a number of tracks appear in the timeline. The default text will appear in the composite window, as well as the text generator window.
NOTE: When using the plugin, a default placeholder text track is automatically created. You can remove this at any time by pressing delete.
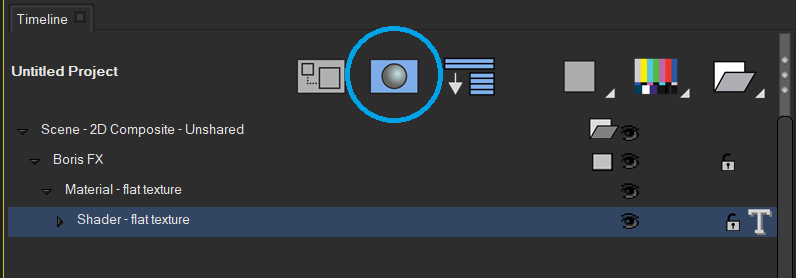
3. Click the Show/Hide Material Tracks button to toggle additional material tracks that allow you to adjust the texture of the text object. These tracks are hidden by default.
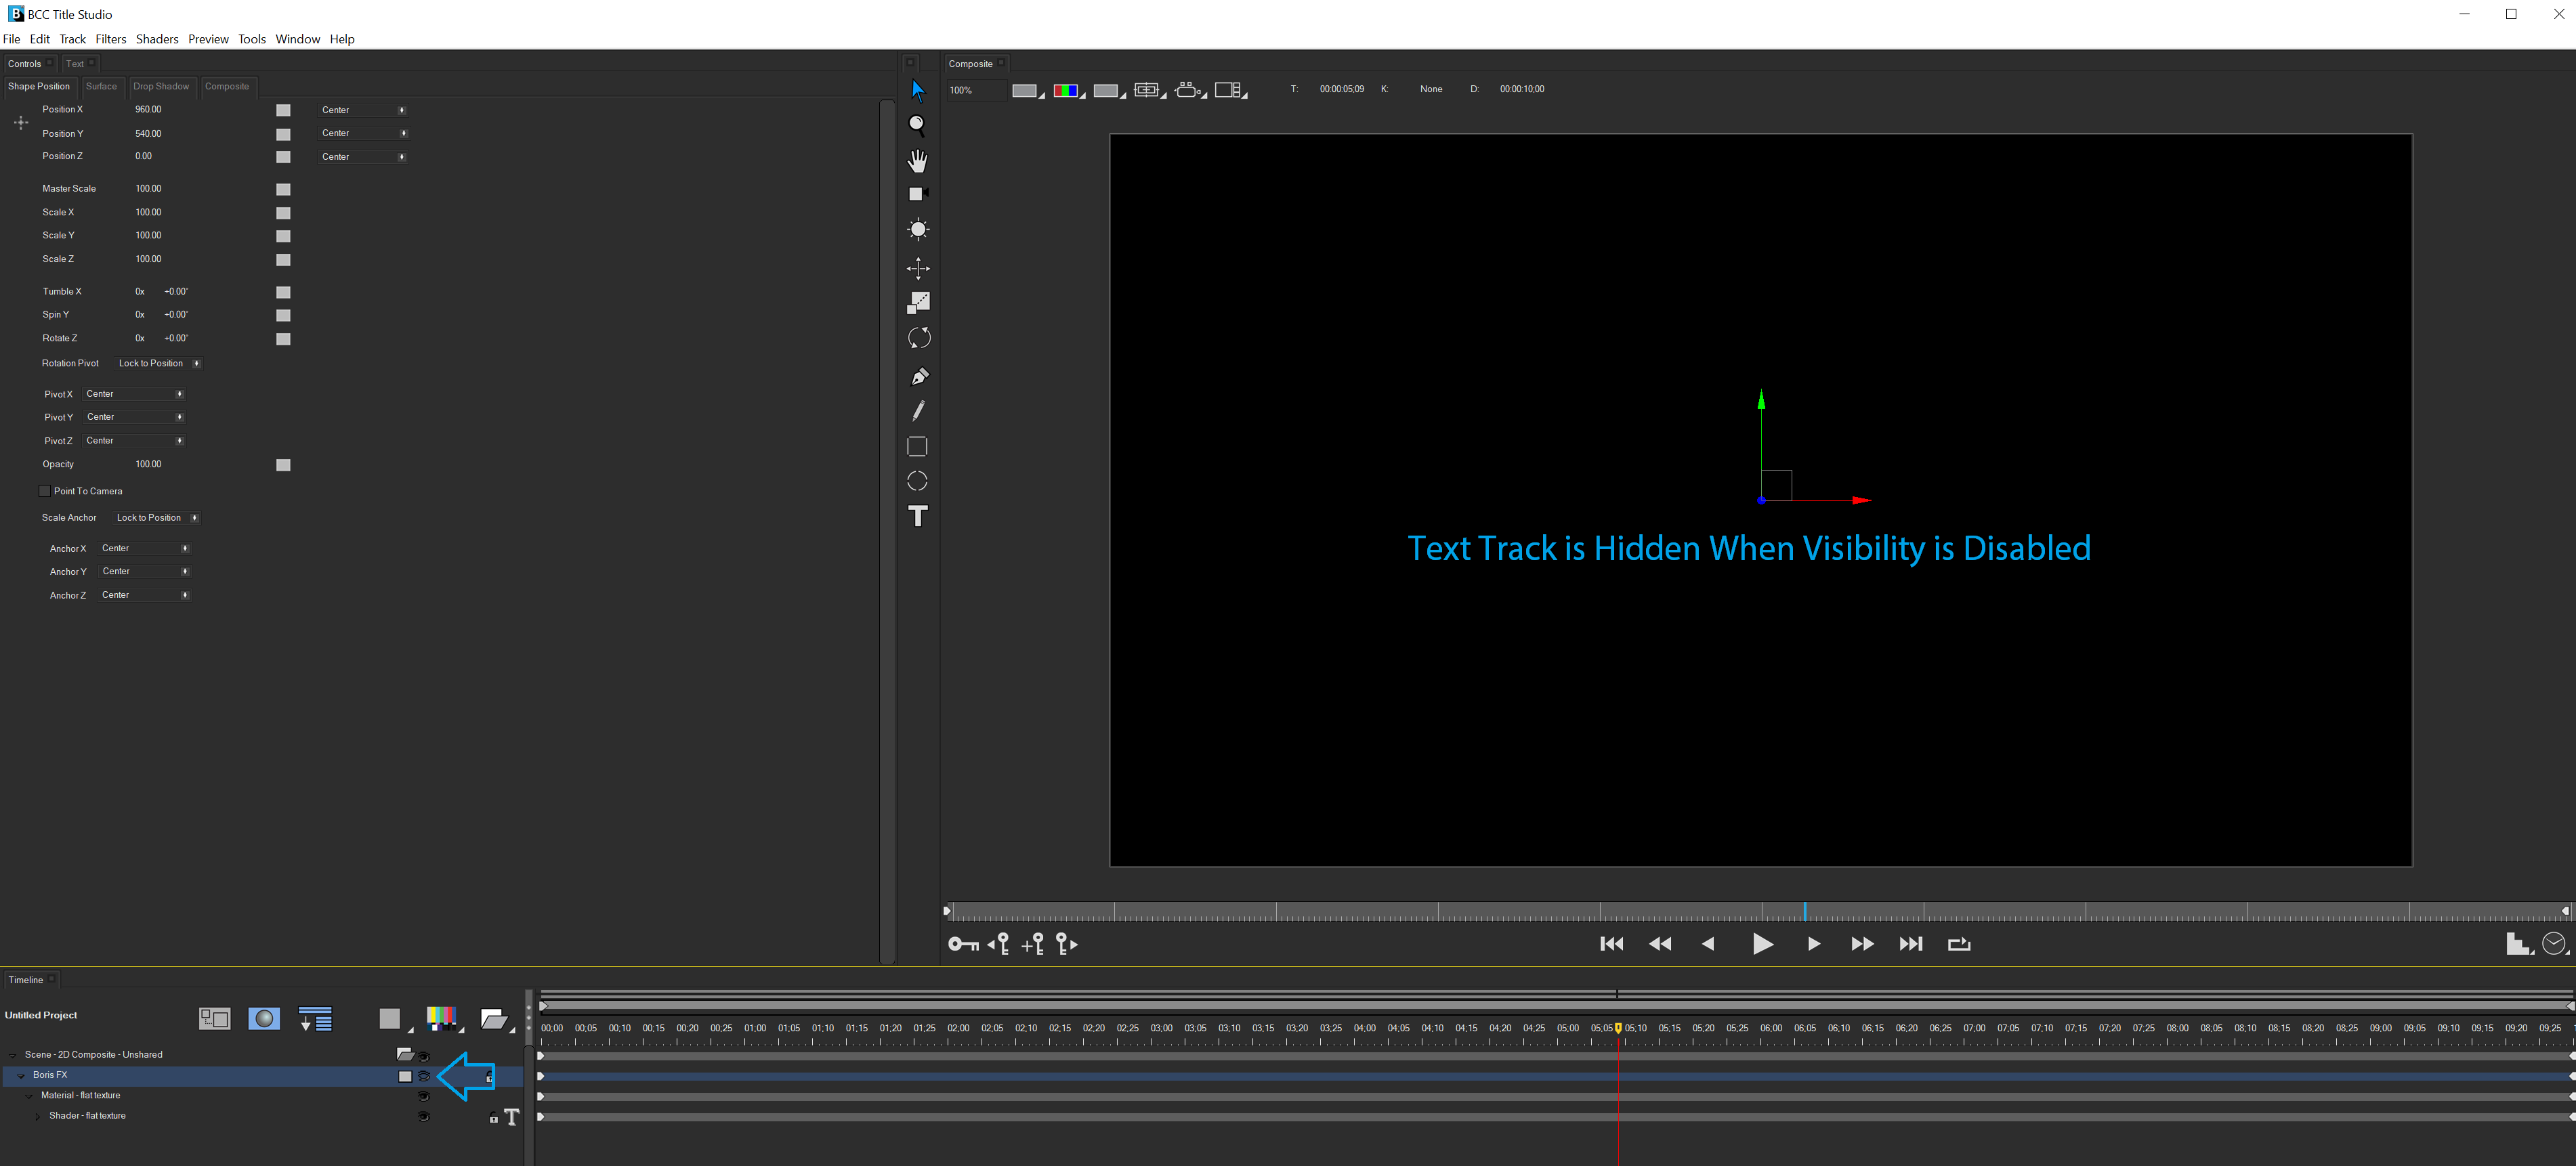
4. Click the visibility icon on the text track to hide that track. The text disappears from the composite window.
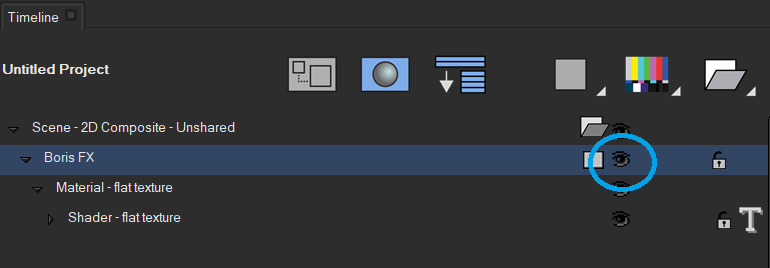
4. Click the visibility icon again to restore the text’s visibility.
Naming Tracks
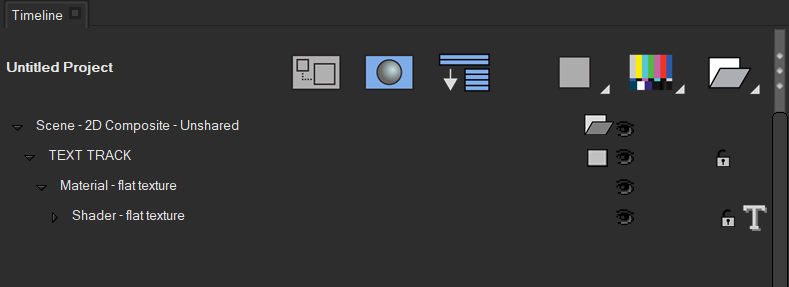
But default, trackes are named by their media type. For example, if you change a track’s media to a Still Image File, the track is automatically assigned the file name. However, once you explicitly name a track, the track retains name, even if you change the track’s media type
1. Select the Text Track and choose Track → Rename track.
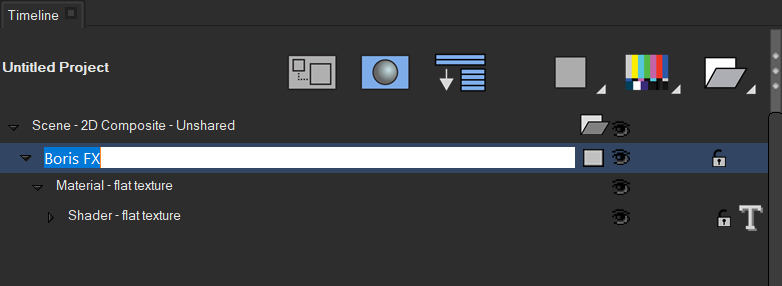
2. Type “Text Track” and press Enter. The track is renamed “Text Track” You can also rename the track using the following shortcut: Select the track and press Enter. Type “Text Track” and press Enter again. Additionally, you can right click on the track and select Rename Track.
Animating the Text Track
Selecting a track displays the parameters for that type of track in the controls window. Parameters are animated using keyframes. A keyframe sets specific parameter values for a track at a certain point in the timeline. When you place multiple keyframes on the timeline, the program interpolates, or computes intermediate values, between keyframe values. Title Studio includes two types of keyframes, master keyframes and parameter keyframes.

Master keyframes appear on the Shape and Container tracks. Parameter keyframes appear on the Transformations tracks nested inside the Shape and Container tracks. You can associate multiple parameter keyframes with each master keyframe. When you create a parameter keyframe, the corresponding master keyframe is automatically created. In this section, you will set keyframes in the timeline to animate several parameters.
1. Click to select the Text track. The track already has keyframes placed at the start and end. Because both keyframes contain the default parameter values for the track, the effect is static (not animated).
2. Move the Current Time Indicator (CTI) to frame 20 (Time 00:00:00:20). The CTI determines which frame of the effect displays in the composite window. As you move the CTI around the timeline, the composite window updates to display the frame at the new CTI location. Because our text is a still image, all the frames are the same. To create an animation you can either drag the CTI to the new location or type the timecode of the new location in the time field in the Timeline window and press Enter. Always make sure that the first keyframe is not selected after you drag the CTI. Selected keyframes are highlighted in red. To deselect a keyframe, click in the track on the right side of the timeline.
3. With Go to the Shape Position tab in the Controls window.
4. Change the Master Scale value to 150 by scrubing the numerical field or by click the numerical field, typing 150, and pressing Enter. A new keyframe will automatically be created at frame 20, and the text image is scaled to 150% of its original size. By default, the keyframe is set to Linear interpolation, meaning the effect will evenly animate between the two keyframes.
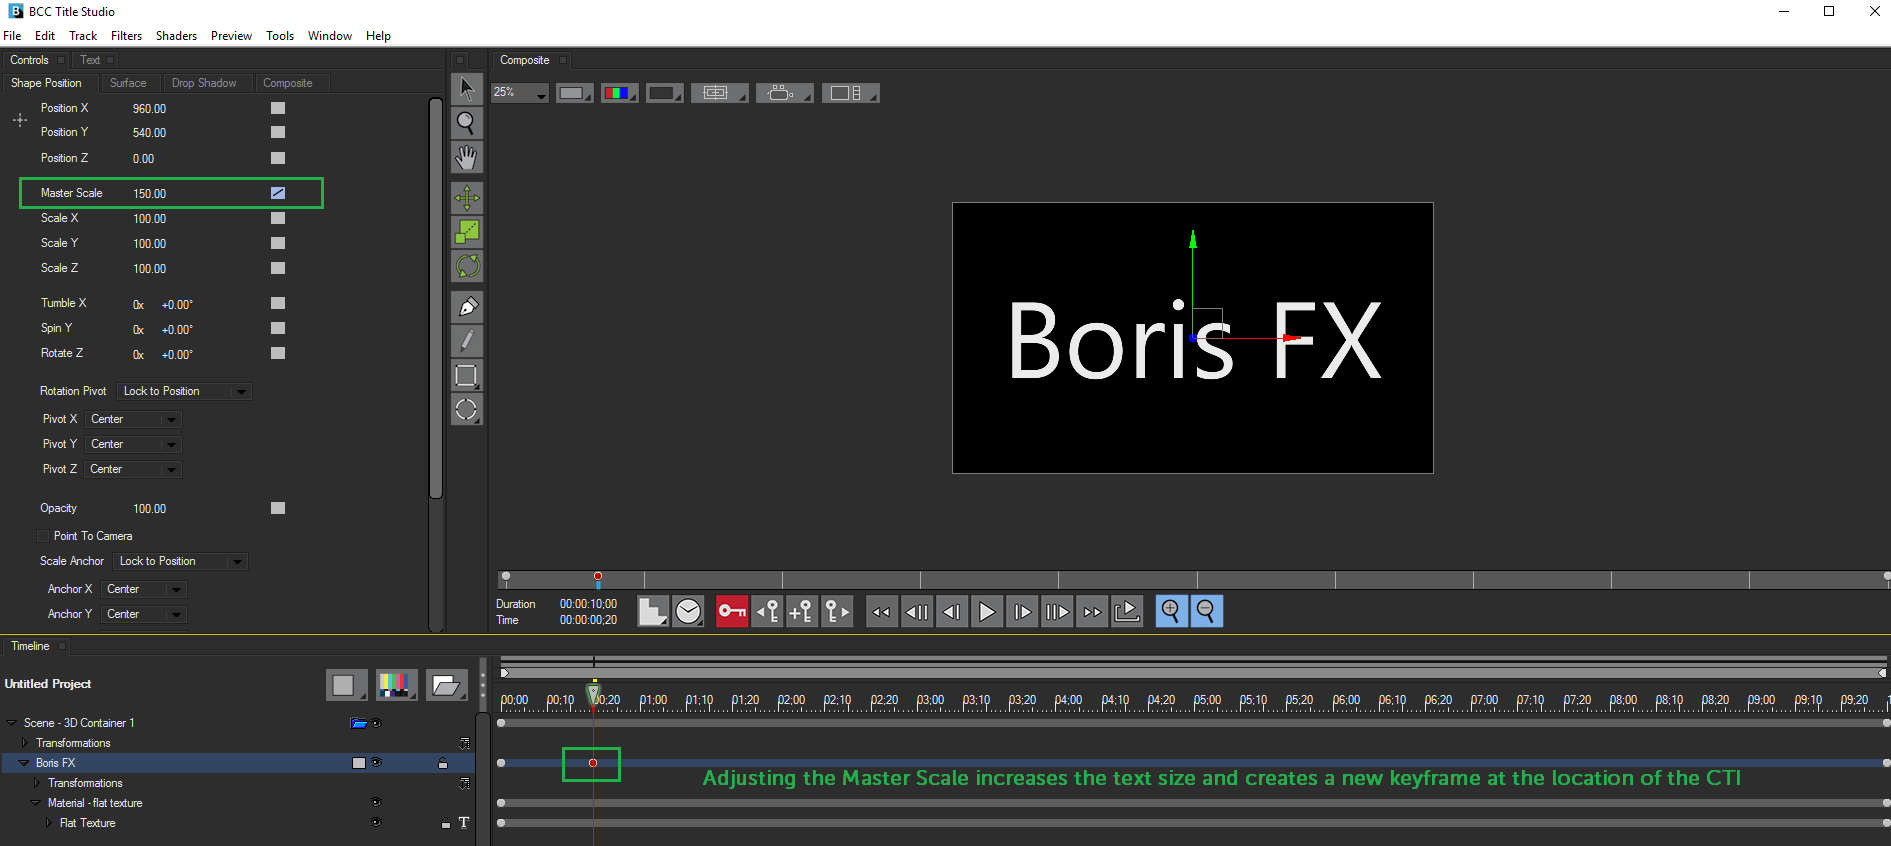
5. Click to select the new keyframe at frame 20. Remember, a selected keyframe is always displayed in red.
6. Select the Interpolation field in the Master Scale controls. Change the interpolation by selecting Hold from the menu. If you play through the timeline, you will see that this type of interpolation causes the text scaling to come to a stop at frame 20. Feel free to experiment with different interpolation options to create unique effects.
7. In the Shape Position tab, set Spin Y to 0 rotations and 180° by typing 180 and pressing Enter.
8. Press the Interpolation field in the Spin Y controls. Choose Hold from the menu.
9. Return the CTI to the beginning of the effect, either by dragging the CTI to the beginning or by pressing the Home key.
10. Play the sequence by clicking the Play button in the Composite window or by pressing the Space bar. The text starts full size and facing outward, spins around and increases to 150% size by frame 20, then holds at that size and orientation for the remainder of the effect. Playback loops until you press the Space bar or Play button again.
Now, lets add animation to move the text off-screen.
11. Select the Text track.
12. You should see red, green and blue OpenGL interactors in your Composite window. If you don’t, press the G key or choose Preview > OpenGL Interactor > Show Interactor. The interactors should display arrows at their ends to indicate that you are in Translation mode. If they don’t, press the W key or choose Preview > OpenGL Interactor > Translation Interactor.
13. Expand the text track by clicking the disclosure triangle to the left of the track name, then expand the Transformations track. Expand the Position track to reveal tracks that correspond to each parameter in the Position tab in the Controls window. The keyframes you set earlier in the exercise appear in the Scale Master and Spin Y tracks as shown in the following example.
14. Move the CTI to frame 20 (Time 00:00:00:20).
15. Select the Position X track, then choose Track > New Keyframe or type Control-N. A parameter keyframe appears in the Position X track at the CTI’s current position (Time 00:00:00:20). Use the same steps to create a new keyframe at that point in the Position Y and Position Z tracks. Your timeline should now appear similar to the following illustration.
16. Move the CTI to the last frame in your effect (Time 00:00:06:00) and click the final keyframe for the text track. The keyframe turns red to show that it is selected. You may need to scroll up.
17. Click the green interactor in the Composite window. The green interactor moves the image on the Y-axis. Make sure you click the interactor and not the text image. The shaft of the interactor turns yellow to indicate that it is selected.
18. Drag the interactor down until the text is positioned in the lower right of the screen. In the Controls window, the value for Position Y updates. Stop dragging at a Position Y value of approximately 4,530. If you need to reduce the size of the preview scale you can choose a smaller scale from the Zoom Scale menu located in the top left of the Composite window.
19. Click the red interactor and drag to the left until the text is offscreen. Make sure you click the interactor and not the text. The shaft of the interactor turns yellow to indicate that it is selected. In the Controls window, the value for Position X updates. Stop dragging at a Position X value of approximately 2,730.
20. Click the blue interactor and drag downward until the text is positioned in the lower right corner. Make sure you click the interactor and not the text. The shaft of the interactor turns yellow to indicate that it is selected. In the Controls window, the value for Position Z updates. Stop dragging at a Position Z value of approximately 17,600.
21. If you prefer, you can adjust the parameters in the Controls window by setting Position X to 4,530, Position Y to 2,730, and Position Z to 17,600 with the default Linear interpolation.
22. Return the CTI to the beginning of the effect, and play the effect. The text now spins around and increases to 150% size by frame 20, and moves to the lower right of the screen by frame 180. Time 00:00:00:00 Time 00:00:00:20 Time 00:00:02:00
Viewing the Effect in 3D Space
When the composite window is defaulted to the render camera it may be difficult to see how your effect is moving in 3D space. We will cover working with multiple objects in 3D space in the next exercise, but for now, to get a better idea of where our text is positioned in 3D Space we can change the camera view to the world viewer.
To do this:
1. Select the Camera Viewer toggle in the composite window
2. From the drop down menu, select world view.
The world viewer depicts the scene in a fully 3D environment, similar to those seen in 3D modeling programs such as Cinema 4D. Most effects are not fully rendered in the world view, and it is typically used to aid in positioning objects in 3D Space.
By scrubbing the timeline, you can clearly see the animation path we created.
To return to the previous view, simply selected Render view from the Camera Viewer toggle.
Animating Other Objects in the Timeline
During this exercise we worked with a Flat Text track. Title Studio gives you the same ability to create animations ranging from simple to complex with a variety of objects.
By selecting the Add New Media Button in the timeline you can create an unlimited number of objects, such as:
- Flat Text
- Flat Text with 3D lighting
- Extruded Text
- Credit Rolls
- Spline Objects
- Spline Primitives
- Adobe Illustrator EPS files
- Images such as .jpg, .png, .tif and others
- 3D models created in Cinema 4D
- Flat color layers
- Gradient layers
- Video layers
Each of these can be animated in the same way shown in this example, and each object has it’s own unique parameters that can be keyframed to create an unlimited variety of animations. Experiment with different objects by keyframing their specific parameters to create unique animations.