Deprecated – replaced by BCC Particle Emitter 3D
We recommend use of BCC Particle Emitter 3D instead of the older BCC Fire effect. BCC Particle Emitter 3D is a general purpose particle filter, but it contains presets as starting points for fire and smoke which offer more sophisticated particle simulations and thus more realistic looking fire and smoke effects. The newer BCC Particle Emitter 3D is also fully GPU accelerated using OpenGL.
Overview
Fire is an auto-animated procedural fire effect which offers control over flame width and height, color, and movement, and allows you to generate smoke. This filter can use the alpha channel in any other layer as a Map Layer, allowing you to create fire effects which conform to a pre-composed image or logo.
Function
Presets and Common Controls
BCC filters come with a library of factory installed presets plus the ability to create your own custom presets and preview them with the BCC FX Browser™.
BCC filters also include common controls that configure global effect preferences and other host-specific effect settings.
For more information about working with presets and other common controls, Click Here.
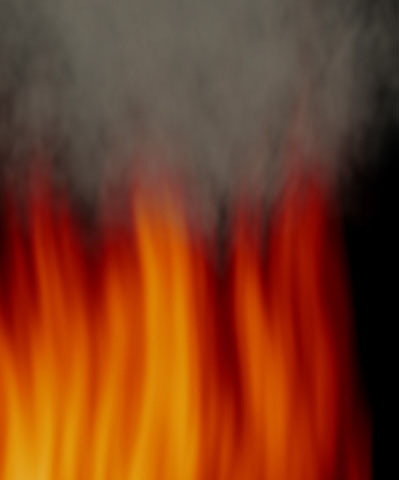
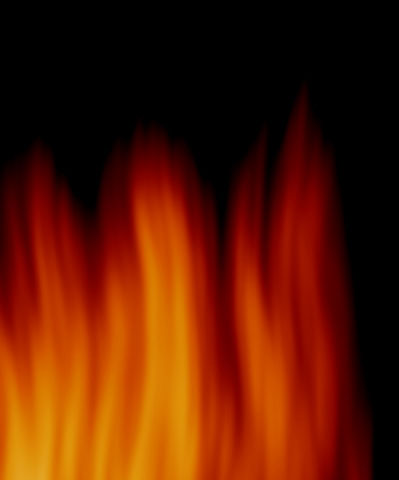
The Fire Appearance menu determines which portions of the fire effect are visible in the filtered image. Fire & Smoke displays both the fire and the smoke in the effect. Fire Only displays only the fire. Smoke Only displays only the smoke.
 |
 |
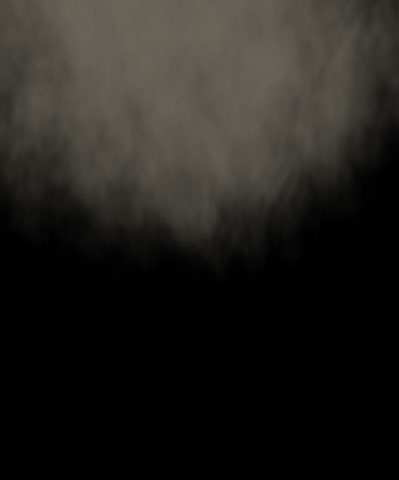 |
| Fire and Smoke | Fire Only | Smoke Only |
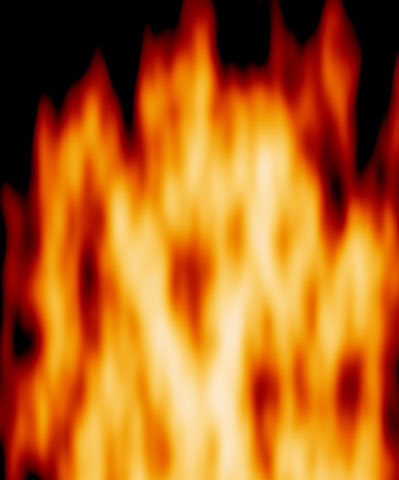
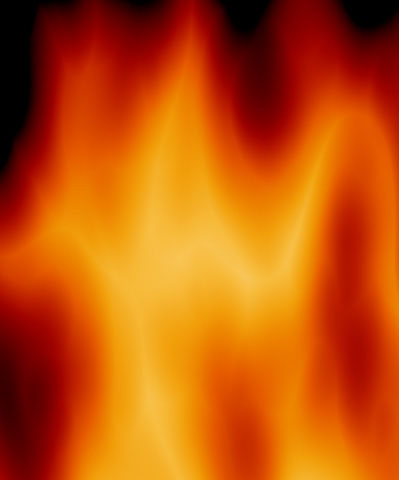
The Fire Type menu controls the general appearance of the fire effect. The different Fire Types, Regular, Stringy, and Bubbly, include some inherent shape and size differences. You may want to compensate for these differences by adjusting the Scale, Texture Scale, Speed, and Fire Detail settings when switching between the various Fire Types.
 |
 |
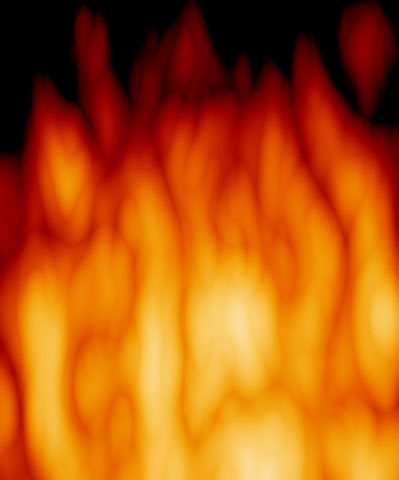 |
| Regular | Stringy | Bubbly |
Fire Direction sets the angle between the horizontal axis and the direction of the flames.
Fire Speed controls how fast the flames move in the selected Fire Direction.
Fire Texture Speed sets the billowing speed of the auto-animated flame. As Fire Texture Speed increases, the texture of the flames changes more quickly.
Fire Position sets the location of the center of the fire effect on the X and Y axis.
Texture Position controls the texture of the fire at a given point by moving through the procedural noise pattern from which the effect is generated.
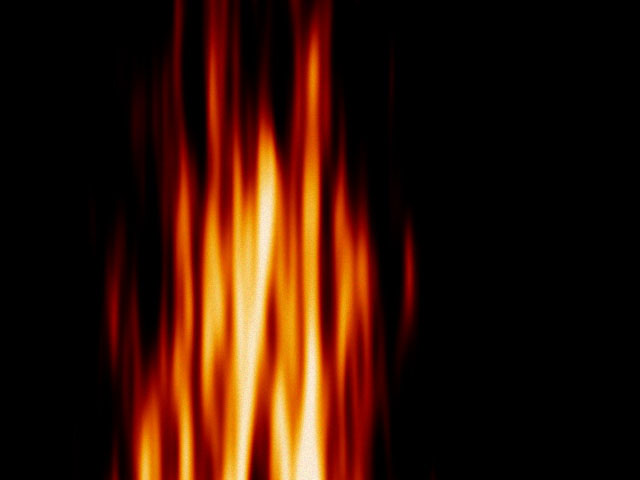
Scale X and Scale Y stretch the flame along the X and Y axis, respectively. You can lock the Scale Y value to the Scale X value by selecting the Lock to Scale X checkbox.
 |
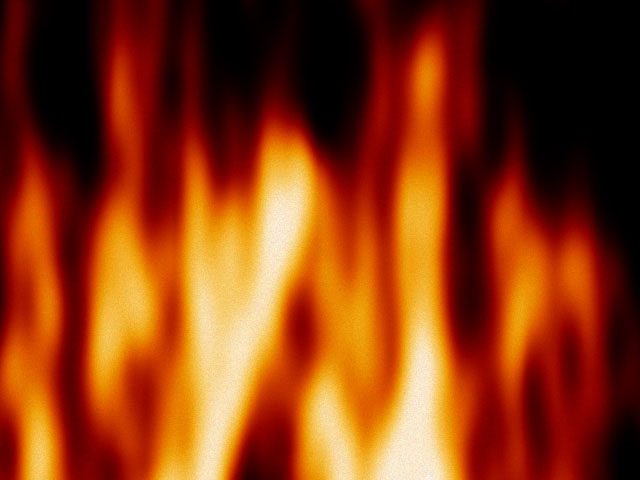 |
| Scale X=1.0 | Scale X=3.0 |
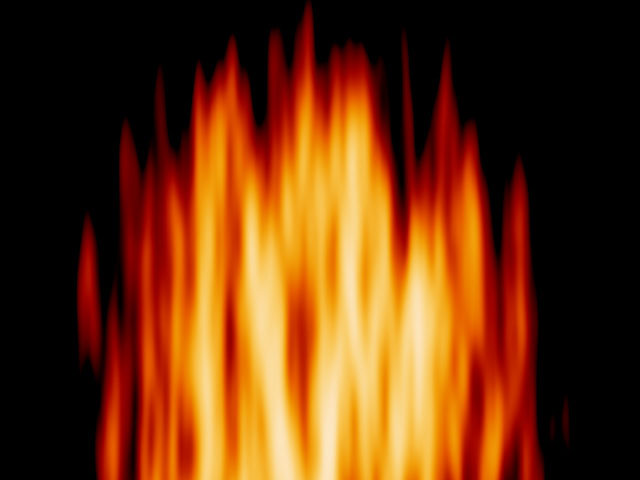
Texture Scale X sets the scale of the flame texture along the horizontal axis. Increasing this value stretches individual wisps of fire out and creates fewer wisps. Decreasing this value makes each wisp thinner and creates more wisps. Texture Scale Y operates similarly but affects the flame texture along the vertical axis. You can lock the Texture Scale Y value to the Texture Scale X value by selecting Lock to Scale X (Texture).
 |
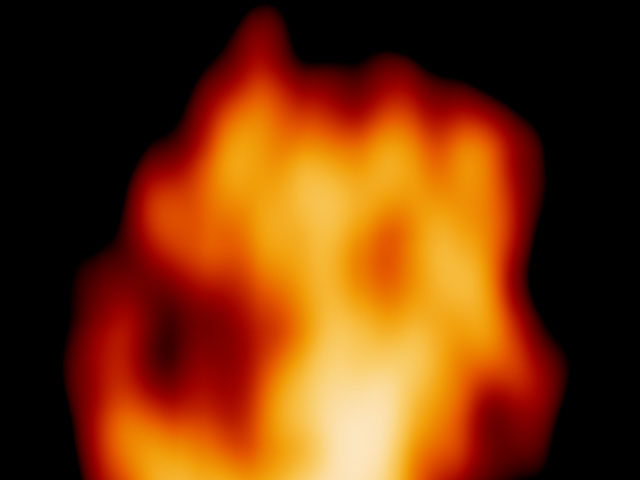 |
| Texture Scale X=20 | Texture Scale X=100 |
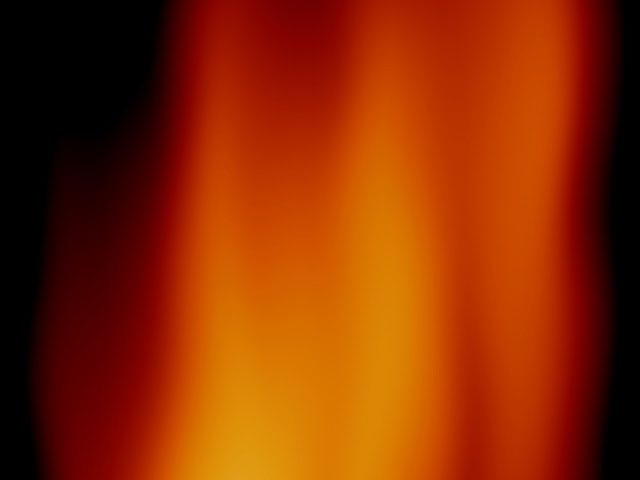
Fire Detail sets the level of detail in the texture. At a value of 0, the flame is a simple gradient with soft edges. As the value increases, the texture appears finer, with a rougher gradient, creating the illusion of increasing distance between the viewer and the fire.
 |
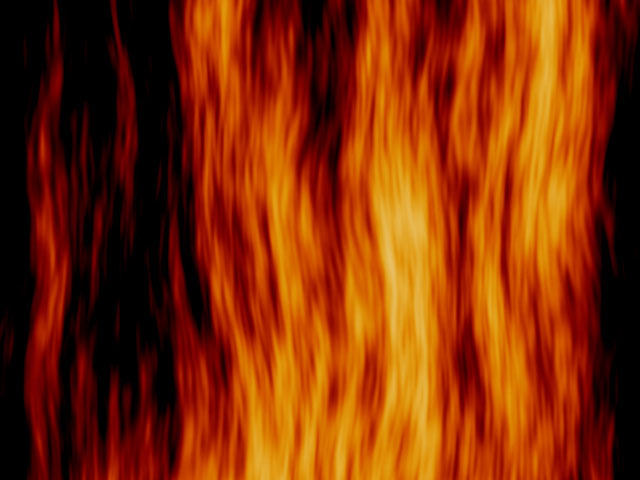 |
| Fire Detail=20 | Fire Detail=80 |
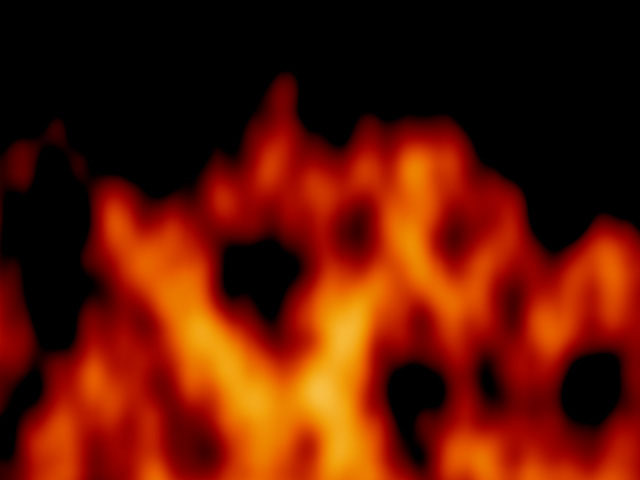
Fire Strength determines the overall temperature and brightness of the fire. Increasing this parameter causes the High Fire Color to predominate.
 |
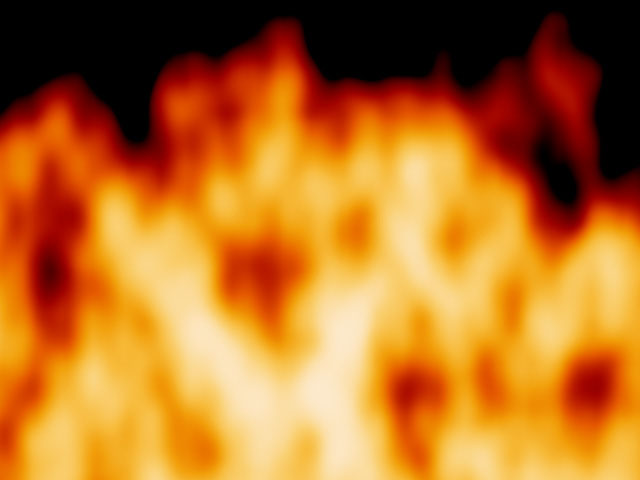 |
| Fire Strength=20 | Fire Strength=100 |
- Note: For more information on the High Fire Color parameter, see “Color Parameter Group” later in this document.
Opacity determines the opacity of the flame. A value of 100 makes the flame completely opaque, and a value of 0 makes the flame completely transparent.
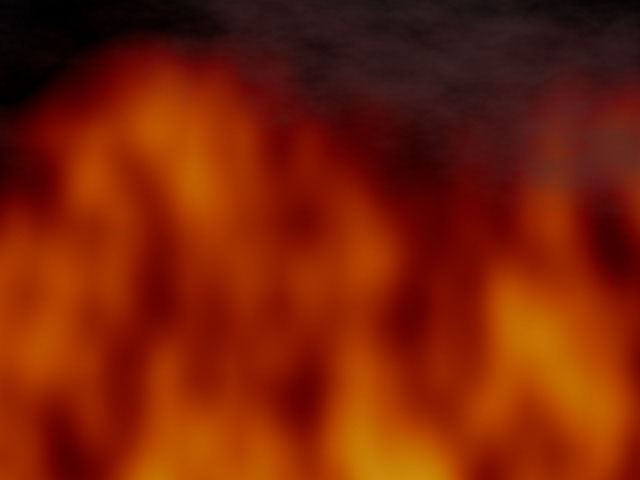
Selecting the Composite on Source checkbox composites the fire on the filtered layer. When this option is deselected, the effect is composited over an alpha channel.
 |
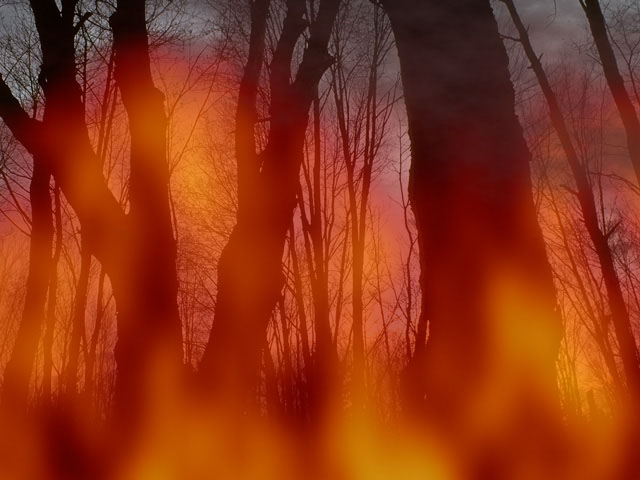 |
| Composite on Original off | Composite on Original on |
Shape Parameter Group
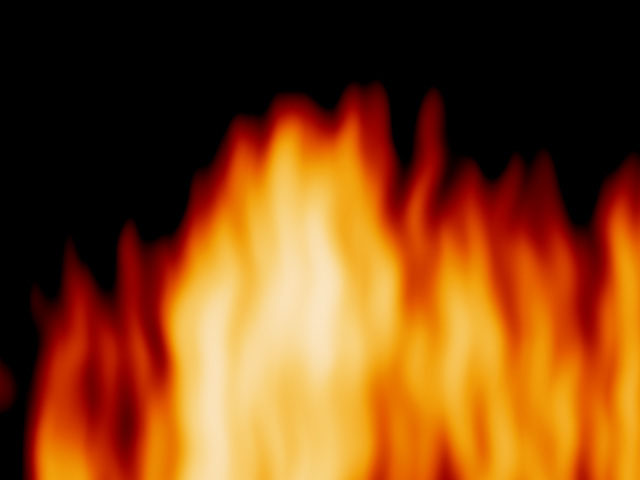
Fire Width adjusts the width of the fire effect in relation to the screen, without affecting the Scale or the Texture Scale. Increasing Fire Width extends the range of the effect to cover more of the screen.
Fire Height functions similarly to Fire Width but adjusts the vertical height of the flames above the Fire Position point.
 |
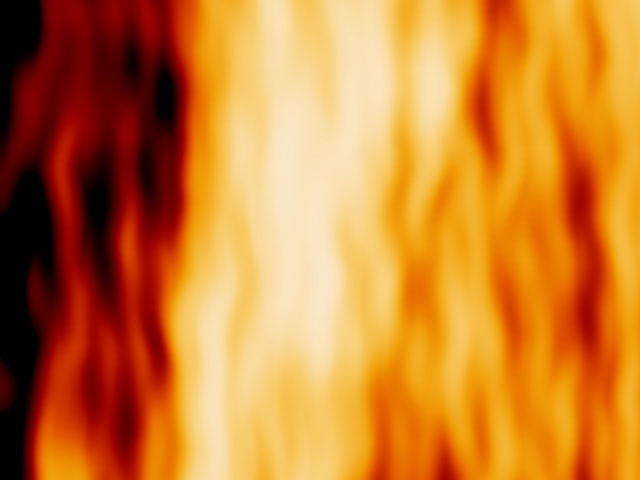 |
| Fire Height=20 | Fire Height=100 |
Fire Base adjusts the distance between the base of the flames and the Fire Position point. When Fire Base is 0, the base of the flames is located at the Fire Position point. Increasing Fire Base moves the flame base below the Fire Position.
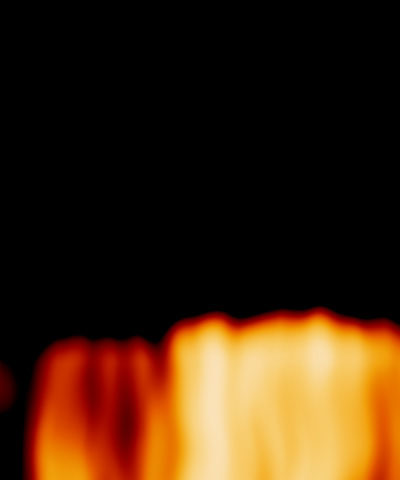
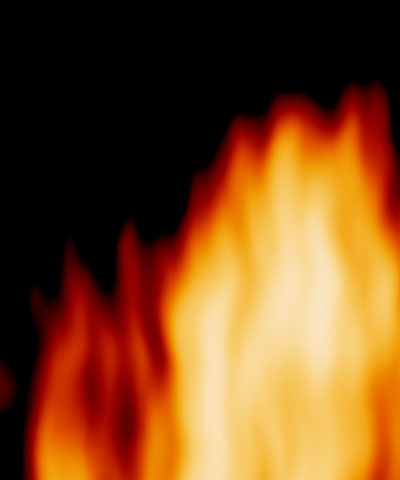
Fire Height Cutoff affects the shape of the top of the fire. A setting of 0 cuts the top of the flame off in a straight line. As you increase this value, the top becomes more jagged.
 |
 |
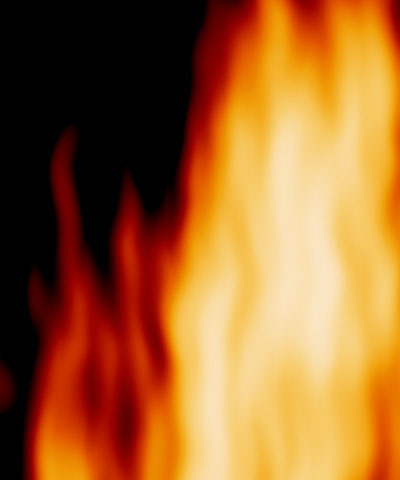 |
| Fire Height Cutoff=10 | Fire Height Cutoff=50 | Fire Height Cutoff=90 |
Fire Bottom Cutoff functions similarly to Fire Height Cutoff, except that it affects the shape of the base of the flames.
Edge Softness blends the edges of the flames with the background.
Color Parameter Group
A color map determines how to apply color to the texture map (the procedural noise) used to create the effect. The color map is a gradient which maps between the chosen Fire Colors.
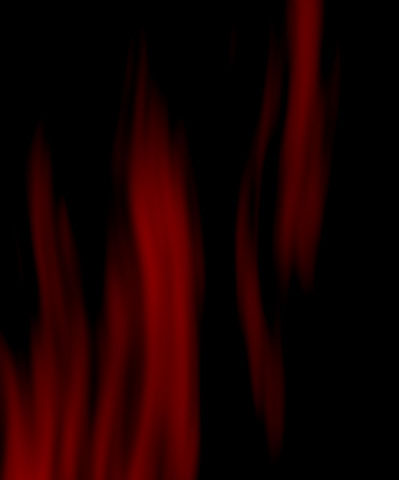
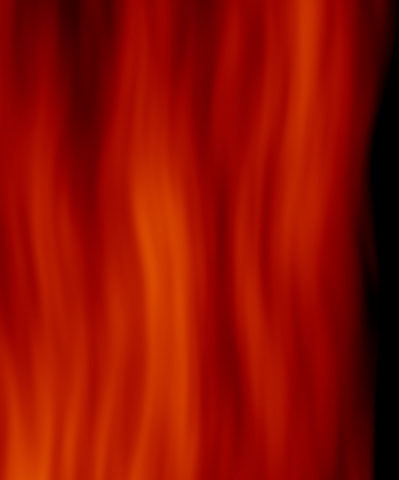
Bias controls the overall position of the texture on the color map. Changing Bias moves the texture’s high and low points through the color map.
 |
 |
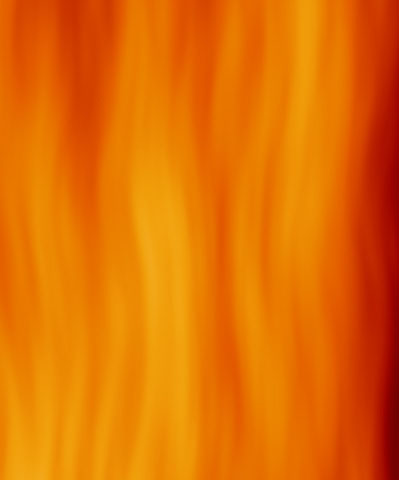 |
| Bias=25 | Bias=50 | Bias=75 |
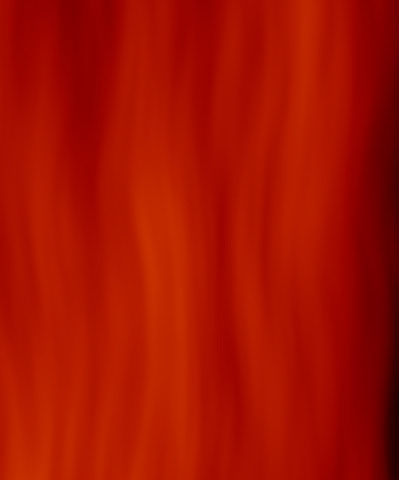
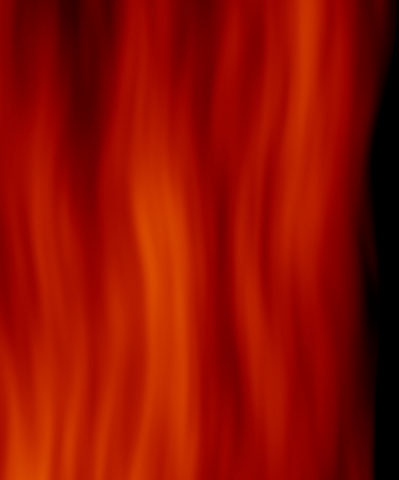
Gain controls the sensitivity of the color map to changes in texture. As Gain increases, pixels similar in texture move further apart on the color map. As Gain decreases, pixels similar in texture move closer together on the color map.
 |
 |
 |
| Gain=25 | Gain=50 | Gain=75 |
The Fire Color Type menu determines which colors are used to generate the color map.
- When Fire Color Type is Regular, the color map uses default colors that create flames that move from deep brown to red-orange to light yellow as the temperature increases.
- Gas uses default colors that create blue flames that look similar to those on a gas stove.
- Custom allows you to override the default color maps and create flame effects using up to three custom colors as described below.
The Color controls for Low Fire Color, Medium Fire Color, and High Fire Color select custom colors for the low, medium, and high flame temperatures, respectively. If Fire Color Type is set to Regular or Gas, changing the color parameters have no affect. These controls are arranged in the Effect Editor window from top to bottom.
Middle Color Position sets the relative position of the Middle Fire Color along the color gradient used to create the custom color map. Higher values move the Middle Fire Color closer to the High Fire Color, while lower values move the Middle Fire Color towards the Low Fire Color.
Smoke Parameter Group
Smokiness adjusts the amount of smoke produced by the flames.
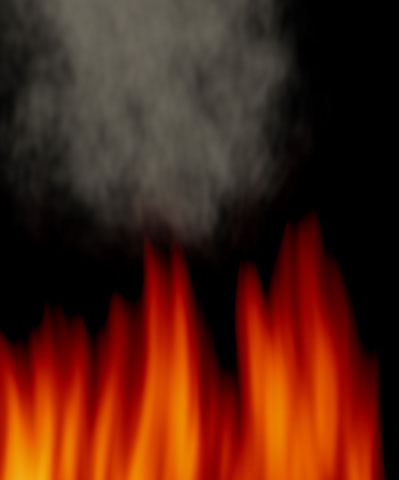
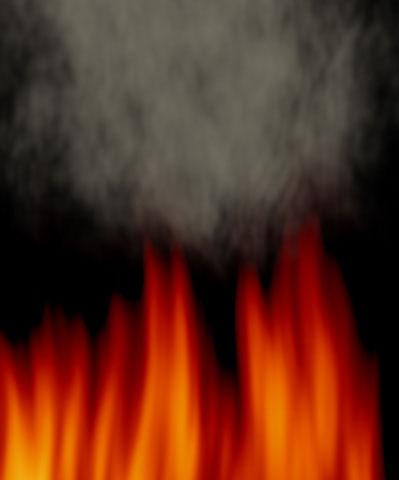
Smoke Spreading Angle determines the width of the column of the smoke as it rises.
 |
 |
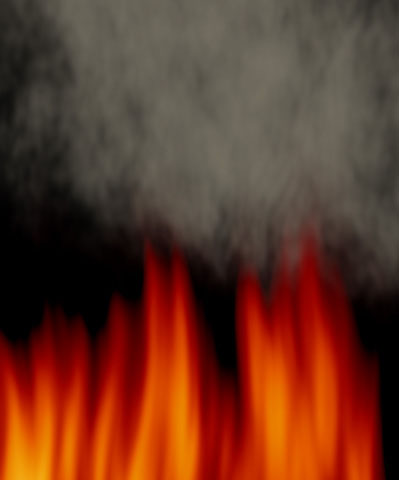 |
| Smoke Spreading Angle=10 | Smoke Spreading Angle=50 | Smoke Spreading Angle=90 |
The Smoke Color controls set the smoke color.
Smoke Opacity adjusts the opacity of the smoke. A setting of 100 makes the smoke completely opaque, while a setting of 0 makes the smoke completely transparent.
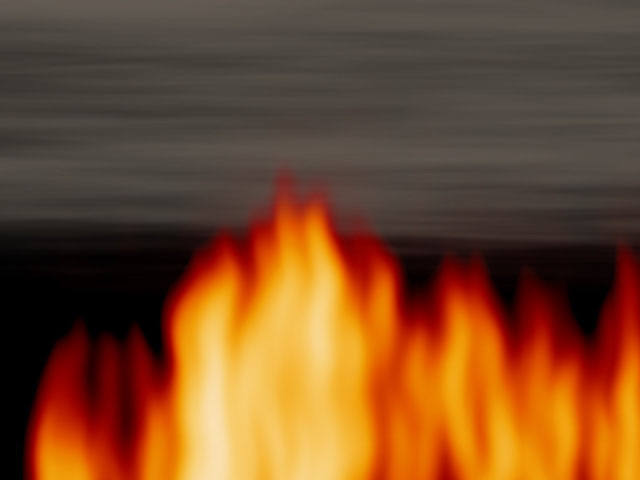
Smoke Texture X Scale sets the scale of the smoke along the horizontal axis. Increasing this value stretches individual wisps of smoke out and creates fewer wisps. Decreasing this value makes each wisp thinner and creates more wisps. Smoke Texture Y Scale operates similarly but affects the smoke texture along the vertical axis. You can keep these two values in proportion by selecting the Lock Smoke Texture Scale checkbox.
 |
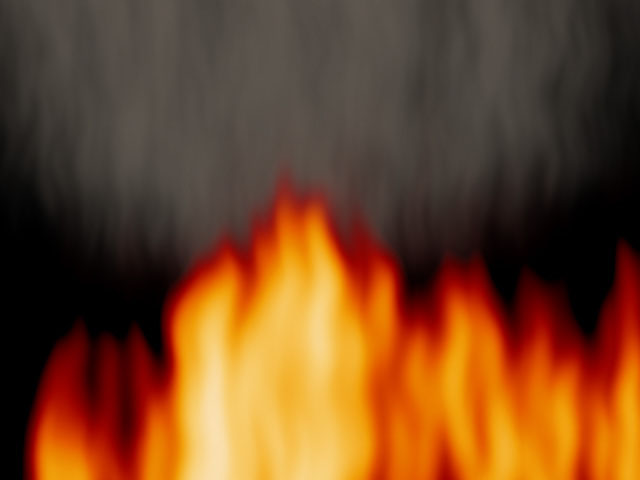 |
| Smoke Texture X=400, Smoke Texture Y=50 | Smoke Texture X=50,Smoke Texture Y=400 |
Wind Parameter Group
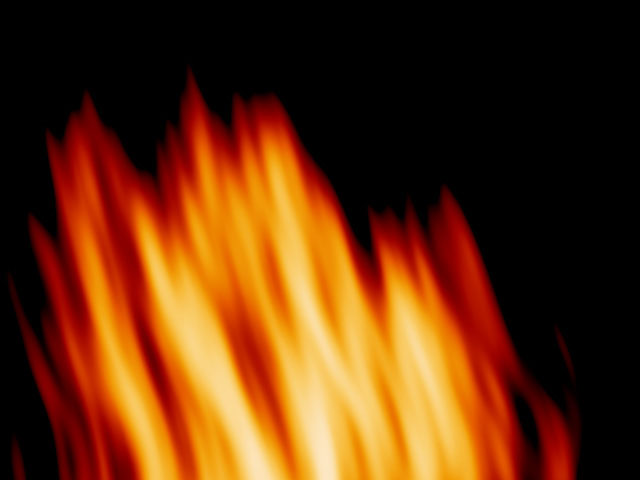
Wind Speed deflects the flame either to the right (for positive values) or to the left (for negative values) in order to simulate the affect of wind on the flames. A value of 0 creates no wind. As the value moves away from 0 the amount of deflection increases.
 |
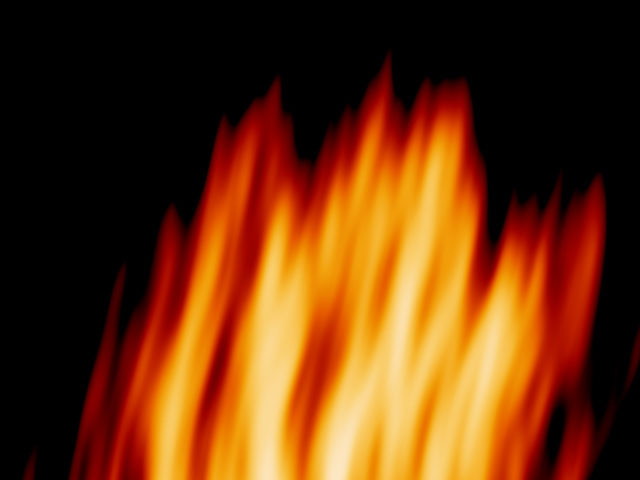 |
| Wind Speed= -80 | Wind Speed=60 |
Wind Variance controls the range of Wind Speed values that are used in the effect. When Wind Variance is 0, the wind moves at the specified wind speed. Increasing Wind Variance causes the wind to move at an increasingly wider range of speeds.
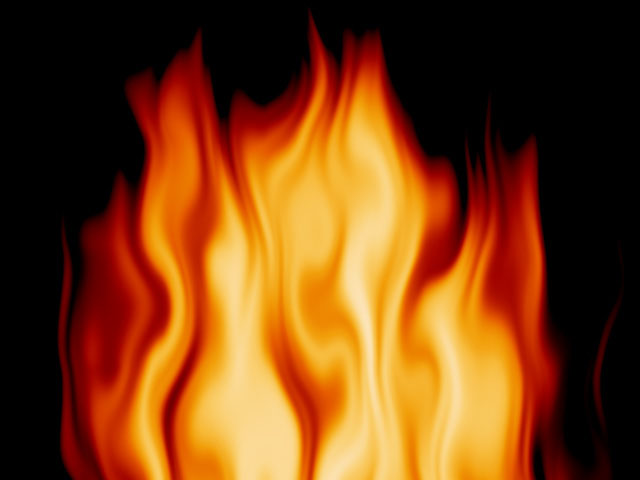
Wiggle Amount adds a wave pattern to the flame motion. Increasing this value makes the wave distortion more pronounced.
Wiggle Frequency determines the number of wiggle waves that can appear in the effect at any given time. High Wiggle Frequency values produces many small waves, while low values produce a few large waves.
 |
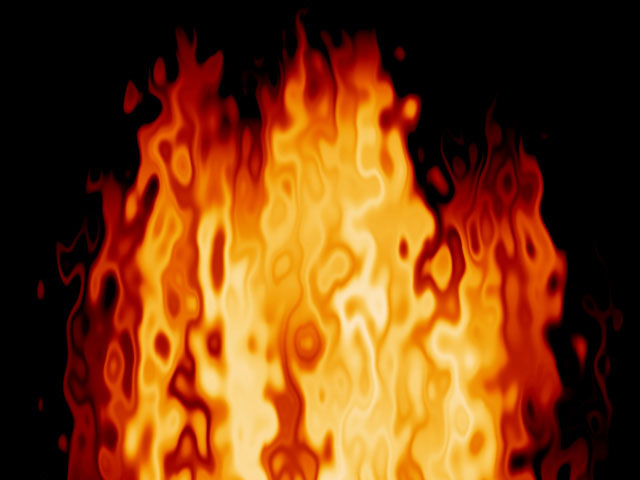 |
| Wiggle Frequency 25 | Wiggle Frequency 75 |
Map Layer Parameter Group
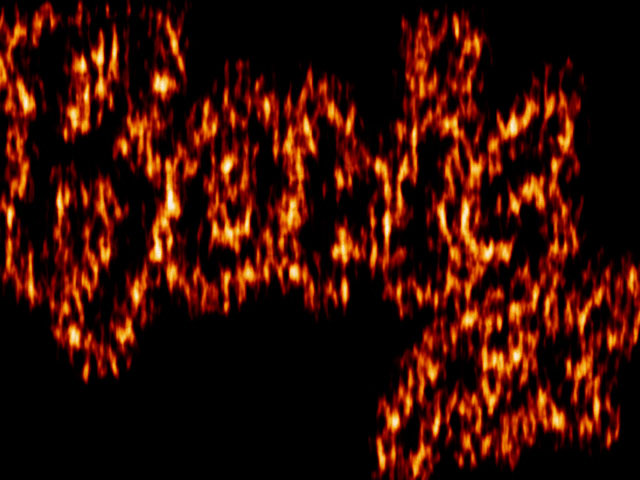
The Map Layer menu allows you to choose a layer in the composition to use as matte for the fire. The flames conform to the opaque regions in the map layer’s alpha channel. This is useful for creating effects in which an image or logo appears to be burning. The map layer can be a still or moving image or gradient—any media with an alpha channel can be used. The example at right shows the Boris FX logo used as a map layer.
 |
- Note: When using a map layer, you may need to adjust the Fire Base and Fire Height so that the boundaries of the flames include the appropriate portions of the map layer.
The Composite with Map Layer checkbox allows you to composite the fire over the map layer. Select this option if you want to see the map layer image as it burns. Deselect this option if you want the flames to follow the outline of the map layer’s alpha channel, but you want to see only fire and not the map layer media itself.
If you select the Fire on Edge Only checkbox, flames appear only around the edges of the opaque regions in the map layer. If this option is deselected, the entire opaque region contains flames.
Blend blurs the edges in the map layer’s alpha channel smooth the transitions between opaque and transparent areas.
Choke expands or contracts the alpha matte. Increasing positive Choke values make the opaque areas in the alpha matte larger, and decreasing negative Choke values make the opaque areas smaller.
PixelChooser
The BCC PixelChooser provides simple, built-in masking of the effect result. The PixelChooser is generally used to select a portion of the image and restrict an effect to just the selected area while maintaining the original image content in unselected regions. The selection can be based on geometric shapes or on the image’s luma/color properties.
For more information on the PixelChooser, Click Here.
