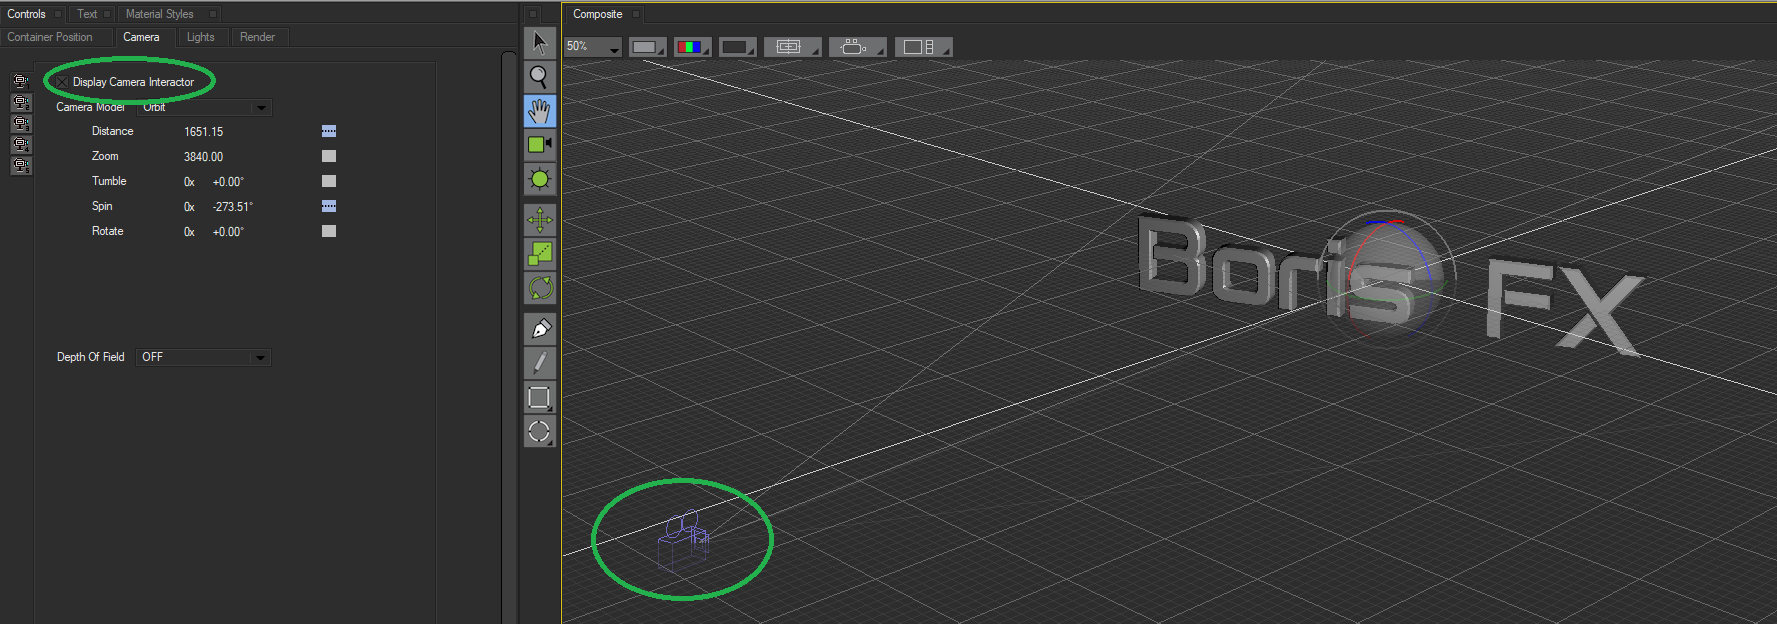
The Camera Tab provides control over camera perspective and depth of field. The tab becomes available only when the scene container has been selected in the timeline. Parameters in the camera tab allow you to animate the camera motion for your effect. Here we will break down each of the parameters native to this tab.
The Display Camera Interactor checkbox allows you to see a wireframe placeholder of a camera that would be visible in another camera view. This can be helpful in allowing you position the camera in non-render views, such as the World View.
Working with the Position Camera Model
The Position Model allows you to adjust camera perspective by adjusting the X,Y, and Z position of the camera’s focal point, or the area of the image where the camera is pointing. A good analogy would be to imagine that you are moving the camera left, right, up or down in relation to your object, while always keeping the camera locked on a specific target.
Camera X, Camera Y, and Camera Z set the position of the focal point of the camera along the X, Y, and Z axis.
Increasing the Zoom alters the field of view, exaggerating the perspective on portions of the object that are closest to the camera. This functions identically to a tradictional camera zoom.
Orientation allows you to determine the focal point of the camera and lock it in place, so that no matter where along the X, Y or Z axis you move the camera, it will always focus on a specific point. There are three options which determine how the camera focuses on a specific object:
- Free Rotation: In this mode, the camera is moving along the X, Y, Z axis in relation to the entire scene. It is not focused on any one specific object and will ‘dolly’ past the objects in your scene.
- Point to Target: In this mode, the camera is focused on a specific point in your scene. No matter where you move the camera the perspective will always align so that the specific point remains the focus of your camera. Additional options for Target X, Y & Z allow you to position the focal point of the camera.
- Point to Object: In this mode, the camera is focused on a specific object in your scene. No matter where you move the camera, the perspective will alwas align so that the specific object remains the focus of your camera. You can select the specific object by dragging the on screen indicator over the desired object.
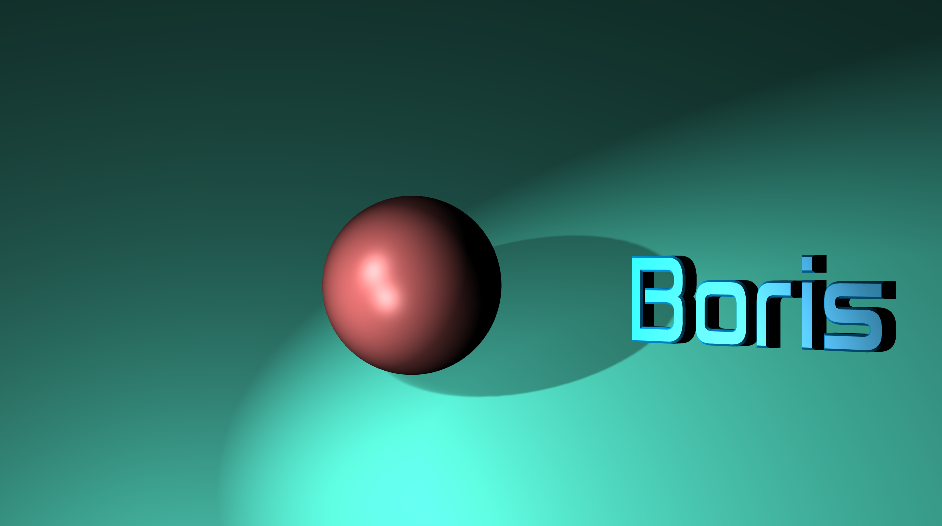
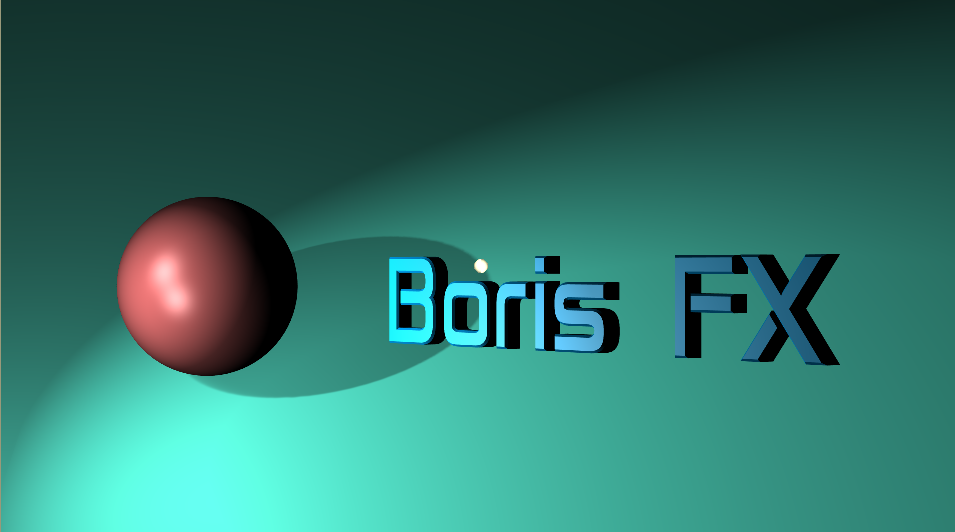
While in Free Rotation mode, the camera’s X position has been updated. Note how the perspective remains the same, but the camera is now looking at a different part of the scene.
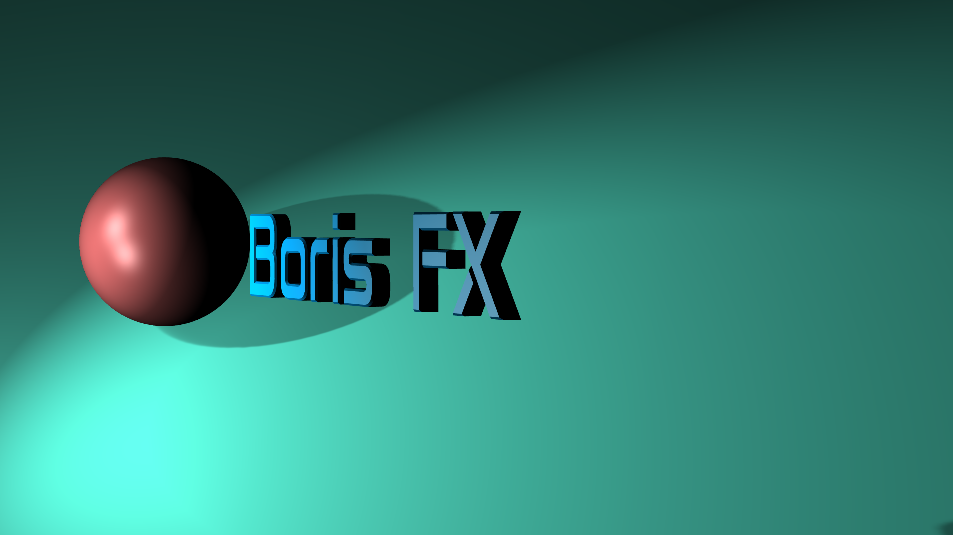
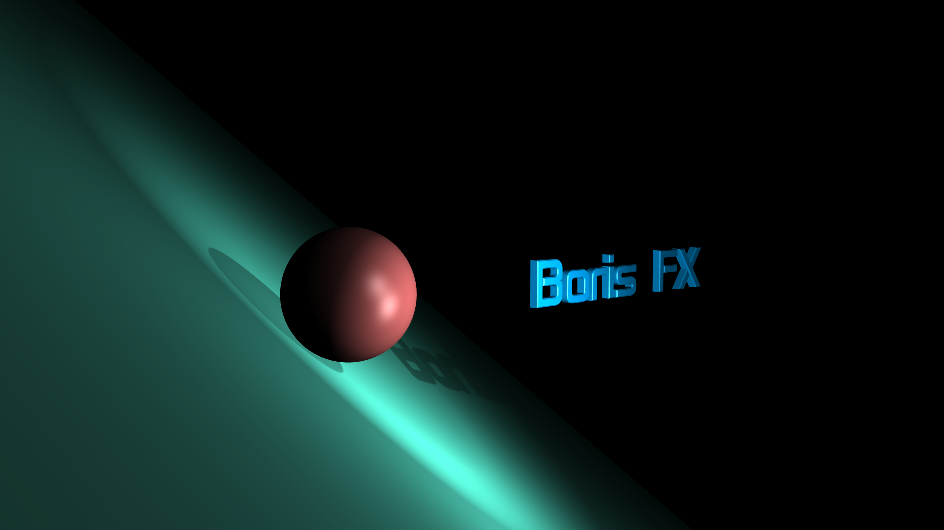
In Point to Target Mode, observe how the camera remains focused on a specific point. As it’s Position X is moved, the relative perspective of the objects change.
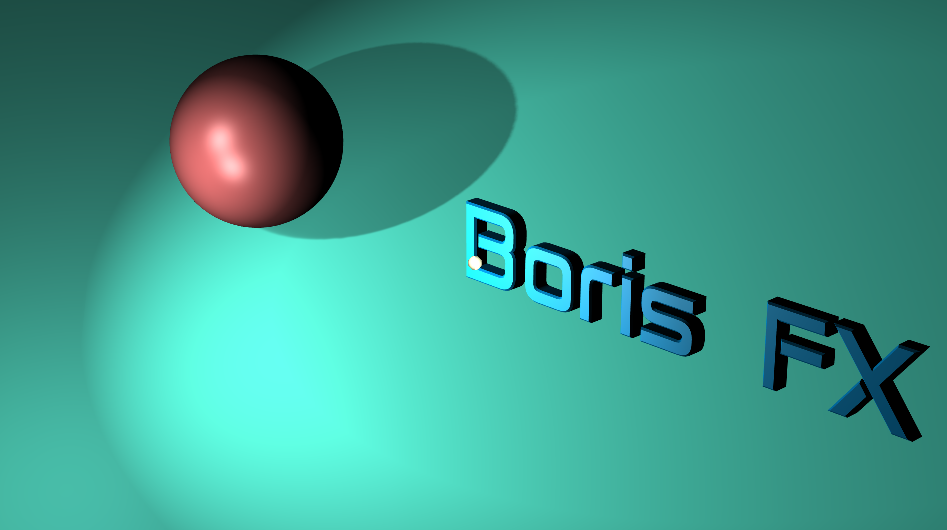
In Point to Object Mode, the Boris FX Text has been selected. The camera will focus on this text, and as it moves along the X,Y, Z plane, the perspective will shift around this object.
Tumble, Spin, and Rotate rotate the focal point around the X, Y, and Z axes respectively. Tumble, Spin, and Rotate can be animated over values greater than 360° to make the focal point complete more than one full revolution.
Working with the Orbit Camera Model
The Orbit Model allows you to rotate the camera around the scene by adjusting the Tumble, Spin and Rotation. This differs from the Position Model in that the camera is always pointed towards the scene itself. A good analogy would be to imagine that your camera is on a circular dolly track orbiting your scene.
Distance is a function that is available with the Orbit Model. It can be used to adjust the camera’s relative distance from the object. Decreasing this setting places the camera closer to the object while increasing it moves the camer further away from the object.
This is different from the Zoom parameter, which doesn’t alter the position of the camera, rather it alters the field of view exaggerating the perspective of the objects. Although they seem similar they can be used independently to create unique effects. By increasing the camera distance while also increasing the zoom, you are in essence dollying back the camera, while zooming in on the scene. This is a traditional method of creating a dolly zoom which causes a continuous perspective distortion that gives the apperance that the foreground is growing in size while the background is shrinking. It can create a highly unsettling effect or a strong emotional impact. This style of shot was most famiously used in Alfred Hitchock’s Vertigo, and Steven Spielberg’s JAWS.
As with the Position Model, Tumble, Spin, and Rotate rotate the focal point around the X, Y, and Z axes respectively. They may also be animated for values greater than 360° to allow for more than one full revolution.
Working with the Pan Camera Model
The Pan Model allows you to pan the camera along the X axis. Unlike the orbit or position models, the pan model only allows you to move the camera left or right. Movement along the Y or Z axis is not available.
As with the Orbit Model, Distance can be used to adjust the camera’s relative distance from the object. Decreasing this setting places the camera closer to the object while increasing it moves the camer further away from the object.
The Zoom parameter doesn’t alter the position of the camera, rather it alters the field of view exaggerating the perspective of the objects.
Advance controls the position of the camera’s focal point on the X axis of the object. Positive values move the camera to the right, while negative values move the camera to the left.
Working with the Depth of Field Parameters
Depth of Field simulates the focus of objects in relation to the distance from the camera. Objects that are further away or close to the camera may appear less sharp or completely out of focus. Depth of field helps to create realism in effects that are computer generated rather than filmed on an actual camera. You can enable Depth of Field from the drop down menu. Once enabled, additional parameters will be available.
Focal Length is the distance between your lens and the object that is in focus. The higher the value the further from the lens the objects in focus can be. Lower values will bring objects closer to the lens into greater focus while leaving more distant objects out of focus. Together with Aperture, Focal Length helps to determine the depth of field for your scene.
In photography, Aperture refers to the amount of light allowed to pass through the lens to the camera sensors. The size of the aperture controls the amount of light entering the lens. The wider your aperture or lower the value, the shallower your depth of field. Smaller aperatures (or higher values) allow less light in and create deeper depth of field. The same is true for Title Studio’s virtual camera. Increasing the value of your aperture will create a deeper depth of field, while decreasing the value will create a shallower depth of field.
Blur Strength controls the amount of blur present in the out of focus areas. The higher the value the blurier the object will appear.
Sample # multiplies the instances of depth of field. Basically for each Sample value, the effect is multiplied by that amount. Higher values will increase the overall amount of blur, while lower values will decrease it.
Bias, Gain and Threshold control the amount of light reflecting in the scene. Increases to these values will increase the brightness of your scene around the out of focus areas.
Fringe creates chomatic aberations along the edges of objects as they lose focus. As light enters a lens that is not properly focused, different wavelengths reflect different colors onto the camera sensors. By increasing this value, you can create more noticible color fringing.
Pentagon Shape allows you to enable bokeh around out of focus points of light. This causes bright light sources that are out of focus to take on a pentagon shape. By adjusting the feather parameter you can add more or less detail to these points.
Return to The Scene Container Parameter Guide.
Return to the Main Title Studio Page.
