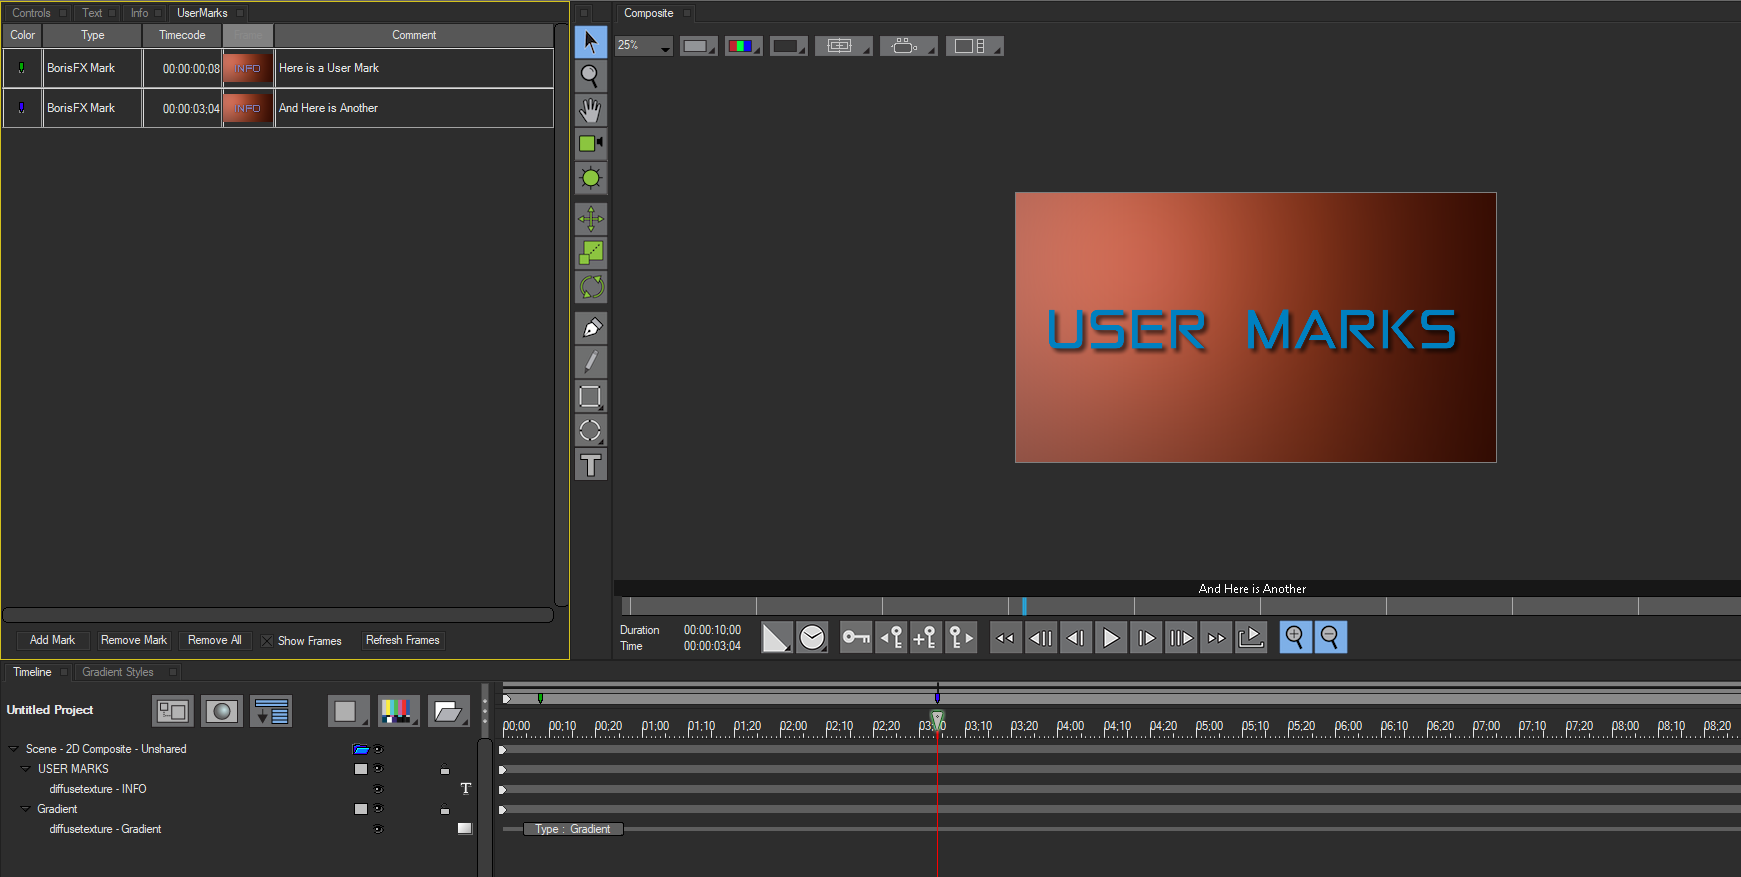
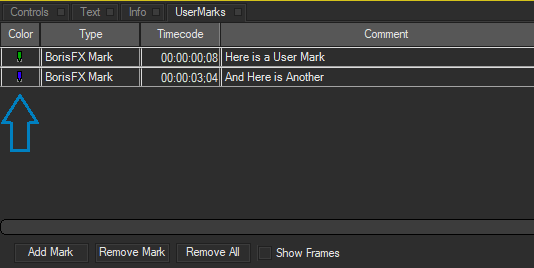
User Marks are used to mark a location in the timeline and are associated with a particular timecode and not a specific frame. A color indicator appears in the timeline for each timecode that you mark. To open the User Mark window, choose Window > Show User Marks Window.
You can associate comments with these marks in the User Marks window. For example, you might enter a description of a title that you want to add later. Comments appear in the Composite window and Preview windows when the CTI is on that User Mark. The comments are not displayed in the rendered effect.
You can also color code User Marks for easy reference. When you create a User Mark, an indicator with the selected color appears in the timeline. You can turn off this display by deselecting the Show User Marks in Timeline and Show User Marks in Preview Window options in the Appearance tab of the Preferences window.
You can also quickly move between User Marks by using the Go to Next Mark and Go to Previous Mark commands.
Creating, Removing and Moving a User Mark
Creating User Marks is very easy to do. Simply move the CTI to the appropriate timecode and one of the following methods to create a User Mark:
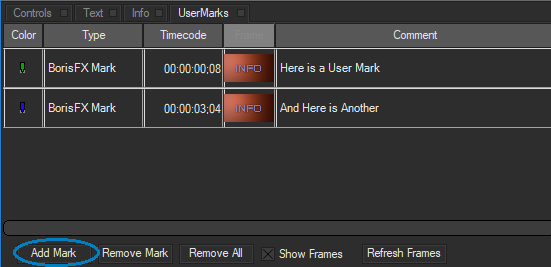
- Open the User Mark window and click the Add Mark button.
- Choose Track > User Marks > Add New Mark.
- Type Alt-K.
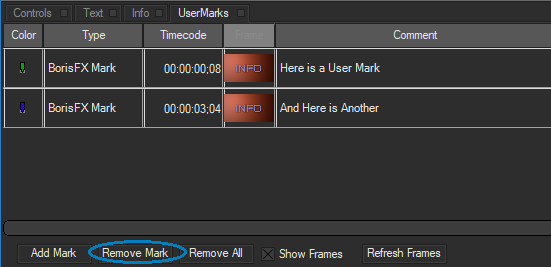
To Remove a specific User Mark, simply select the mark in the User Marks window and click the Remove Mark button.
To Move a specific User Mark, select the User Mark’s timecode field in the User Marks window, type the new timecode and press Enter.
Displaying Frames in the User Mark Window
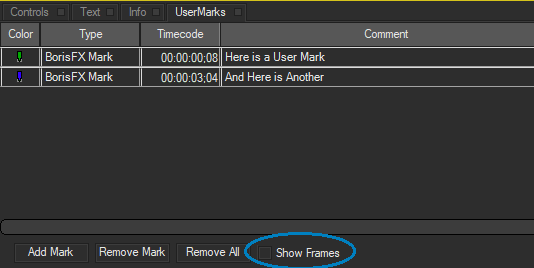
By default, a representative frame is displayed in the User Marks window. You can turn off this display to make room for more comments by deselecting the Show Frames checkbox. You can update this display to show changes that made in the timeline by clicking the Refresh Frames button.
Customizing a User Mark
You can easily customize a User Mark by changing it’s color and comment text.
To change the color of the mark, simply press the Color Indicator to choose a color for the mark from the menu. Changing the color of each individual User Mark is a convenient way of grouping similar items in your timeline for easy identification.
You can also Enter Comments in the field by clicking on the comment section and editing the text. Remember, comments will appear at the bottom of the composition window for your convenience.
Sorting User Marks
You can arrange User Marks in numerical or alphabetical order, depending on the column of information you select. In the User Marks window, click the appropriate Column heading to sort the marks by the information in that column.
Moving between User Marks
Use one of the following methods to move between User Marks.
- To move to a specific mark, double-click the mark in the User Marks window.
- To move to the next mark, choose Track > User Marks > Go To Next Mark or press the keyboard shortcut, or Alt-L.
- To move to the previous mark, choose Track > User Marks > Go To Previous Mark or press the keyboard shortcut, Alt-J.
- Using Contextual Menus with User Marks
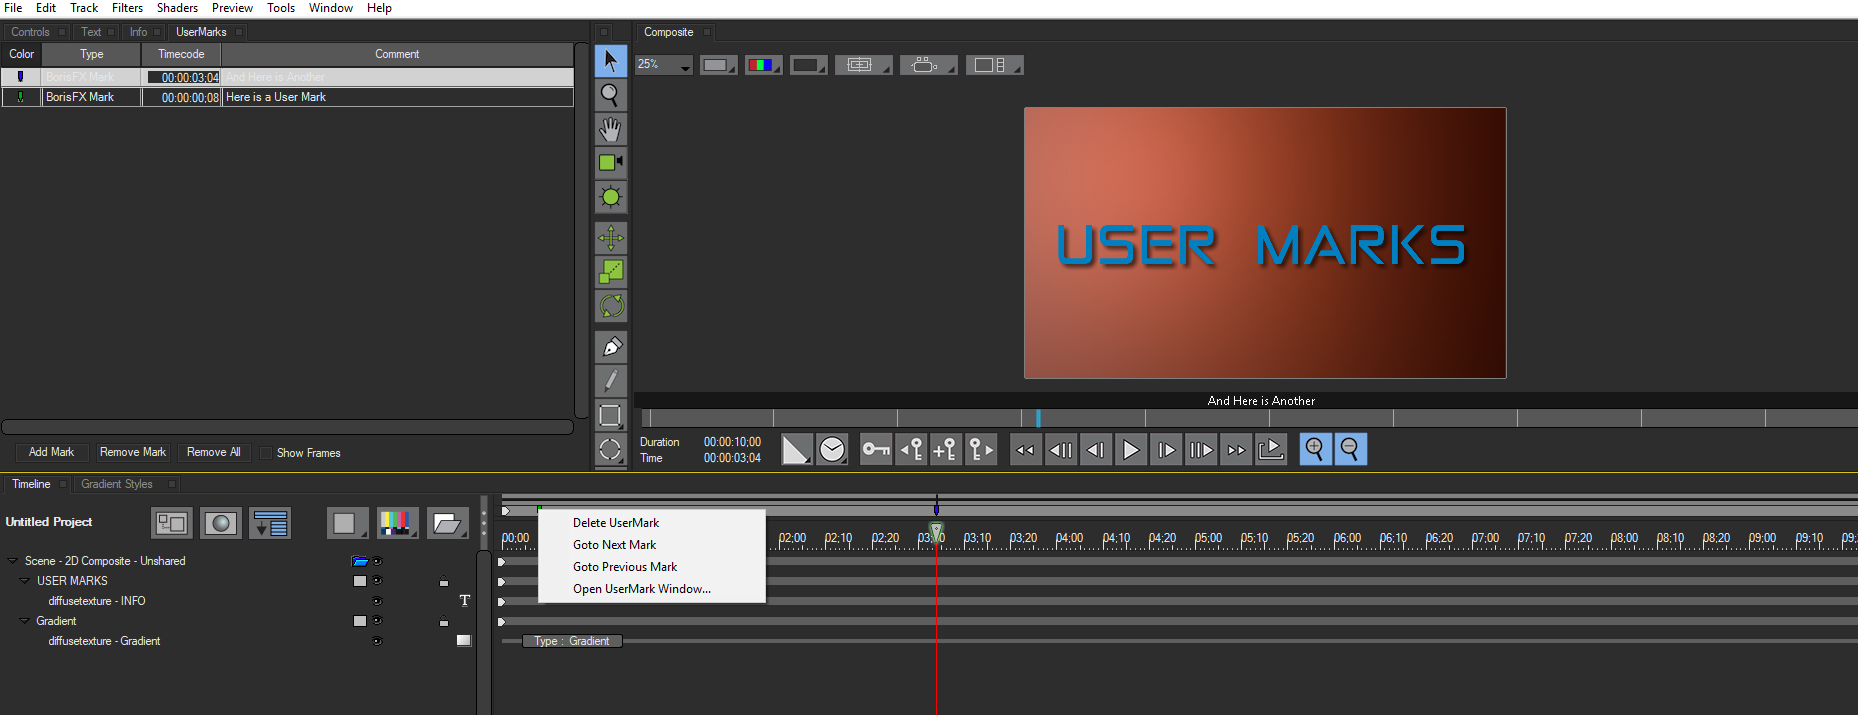
You can use contextual menus to delete, move to the next or previous User Mark or open the User Mark window. To do this, Right-click a User Mark to open its contextual menu and choose one of the following:
- Delete User Mark
- Go to Next User Mark
- Go to Previous User Mark
- Open User Mark Window
Return to Main Title Studio Page
