Creating a Credit Roll in Title Studio is a quick and easy process.
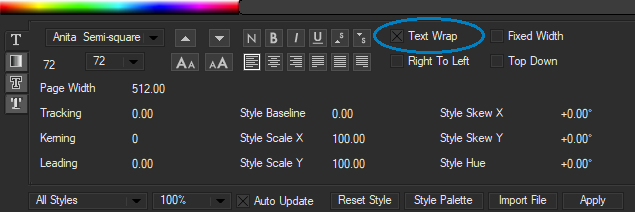
To begin with, we want to create a new Text Page in the Timeline with the Ctrl + Shift + T command.
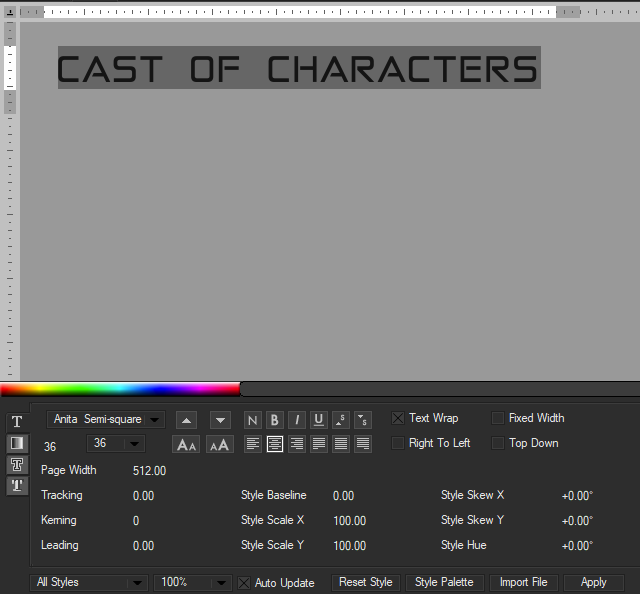
- Next, click the Center Justification button.
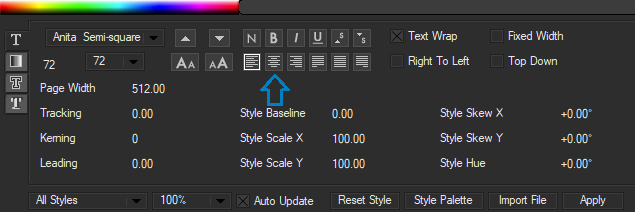
- We can start typing the title of our credit roll and then adjust the font type, size, and spacing to our liking. When finished, we will press the Enter key twice.
Setting up a two-column credit page.
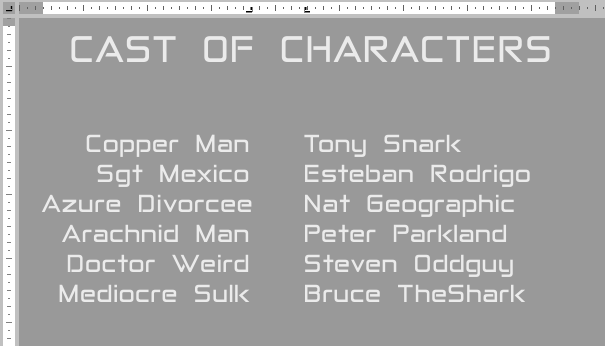
To set up a standard two-column credit scroll, we first need to adjust the guides to tell Title Studio where our columns will be.
- Press the Right Justification button
- Drag the Guide Icon to where the left column will be.
TIP: Do not worry if you see the text change position. We are only setting our guides at this point.
TIP: By double clicking on the guide markers, we can change the justification from left to center to right. Experiment with different justification for unique results. However, to replicate the standard two-column credit roll, your guides should match the justification seen in the image above.
Adding the Cast Names
Although we are conditioned to press Enter when adding a new line, we will want to avoid it in this example. To move from each text line to the next, we will want to hit the TAB key.
- Press the Tab key and type the first character name
- When done, press the tab key again and type the actor name.
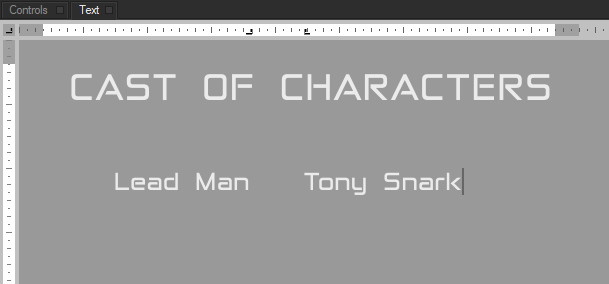
- We will continue in this manner, hitting TAB between each entry, until we have entered our entire credit list.
Tip: Always use the tab key to move to the next character or actor space. DO NOT use the Enter key, as this will cause problems with the formatting.
Tip: You can adjust the spacing of your guides at any time to achieve the desired look. Simply click and drag the guides and the text will update for you.
Animating the Credit Roll
To animate our credit roll, we have to create a new Title Container in which to hold our text page.
- To create a new Title Container, simply select the text track and either select Track—> New Title Container, or press Ctrl+Shift+J
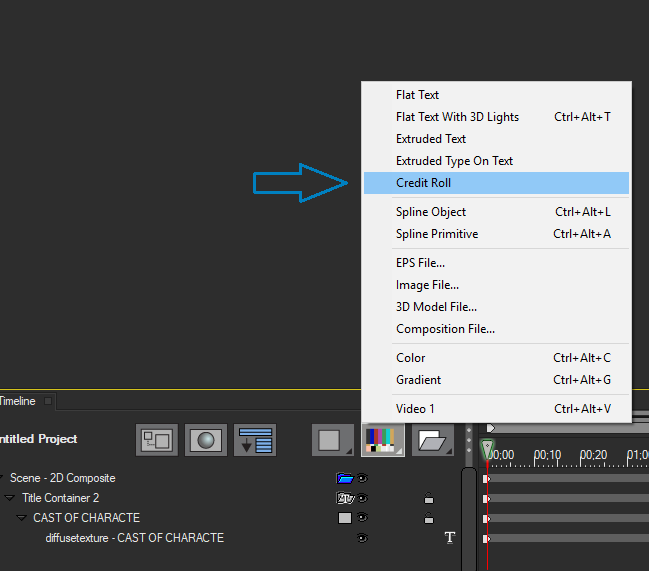
Tip: when beginning a new credit roll project, you can also select Credit Roll from New Media. This will automatically create a text page nested within a Title Container.
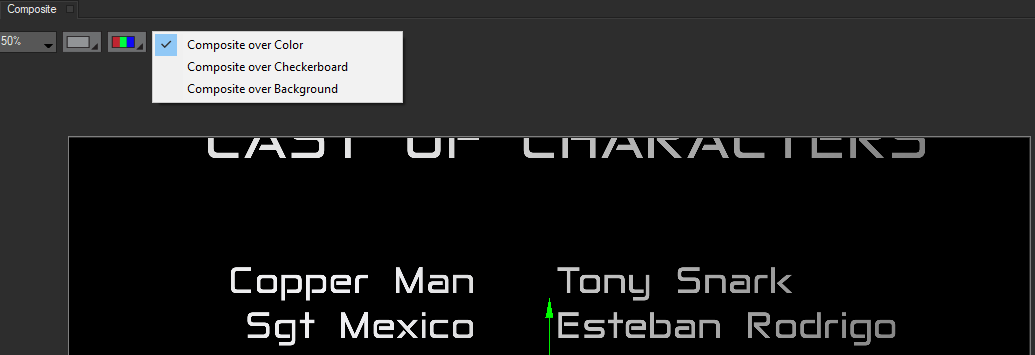
Tip: If you text has white fill, as in the example here, you may want to set Title Studio to Composite over Color to make it easier to see in the composite window.
2. Now that we have created our credit roll, if we select the Title Container Track in the Timeline the Animation Tab becomes available. NOTE: If the Text Generator Window is still open, you will need to select the Controls Tab to see the Animation Tab Controls.
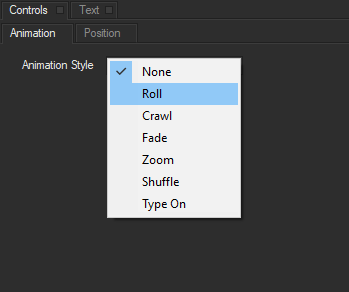
3. Inside of the Animation Tab you will see a popup for Animation Style. Select Roll.
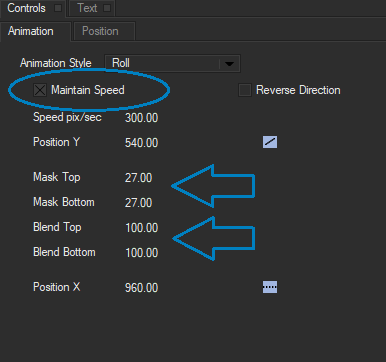
With the animation set to Roll, a number of options for controlling the speed and masking become available.
4. To ensure the appropriate speed of motion (300 pixels per second is industry standard) select the Maintain Speed checkbox.
TIP: You may need to adjust the length of the clip in your host software to match the resulting length of the roll.
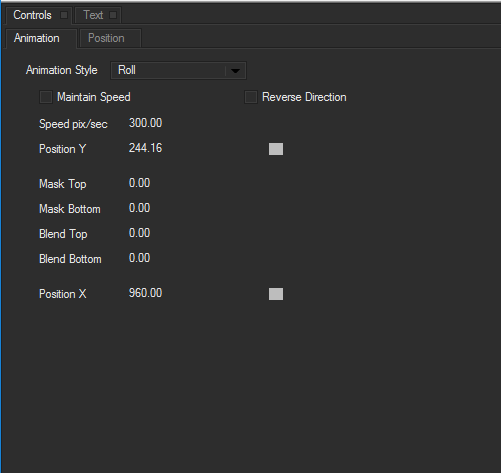
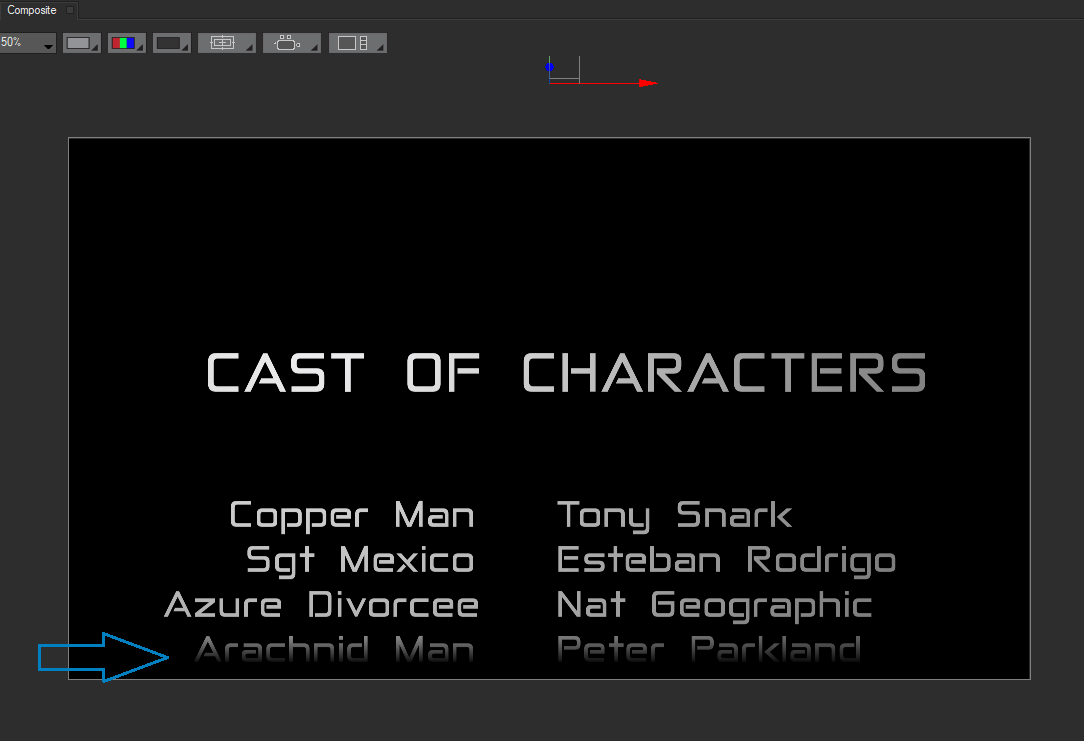
Credit Rolls typically fade in at the bottom of the screen, and out at the top. To achieve this look, we can set our Mask and Blend parameters. By masking the top and bottom of a credit roll, you will be better able to fit your text into the broadcast Title Safe Area of the screen.
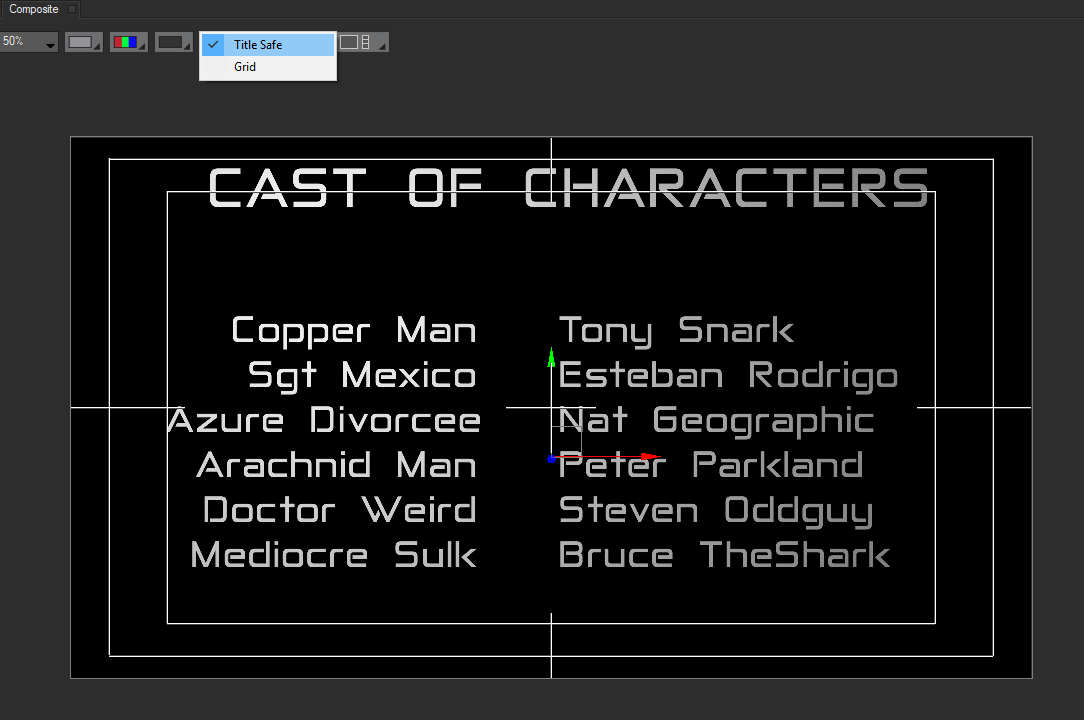
TIP: To see the Title Safe Area, you can enable it from the composition window. When enabled, the outer white rectangle signifies the Title Safe Area, and the inner rectangle is the Action Safe Area.
5. To achieve the traditional look of the text fading in at the bottom and top, we can set our Mask Top and Mask Bottom to 27.
This will crop the text at the top and bottom.
7. We can then adjust the Blend Top and Blend Bottom to 100, giving it a nice fade as the text animates into and out of frame.
When finished, just hit play on the timeline and Title Studio will animate our credit roll automatically.
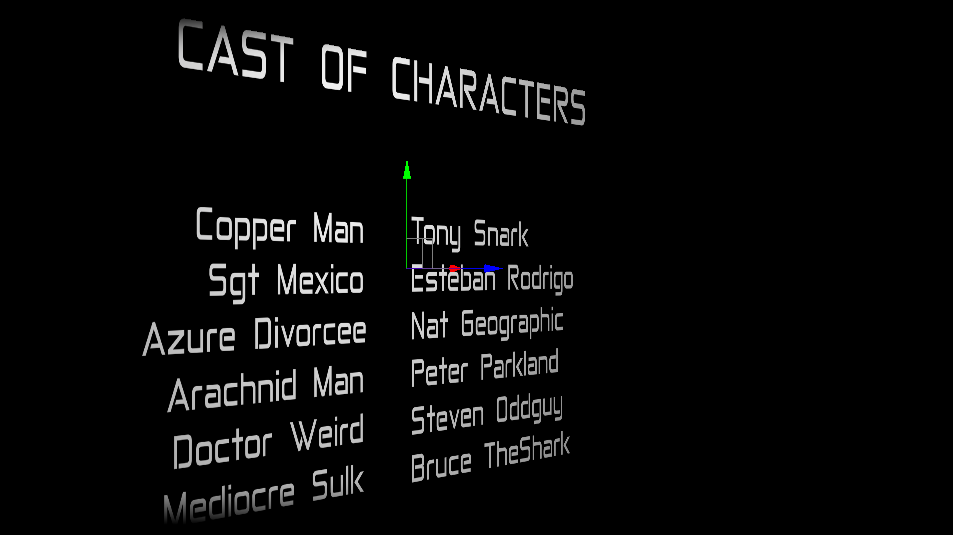
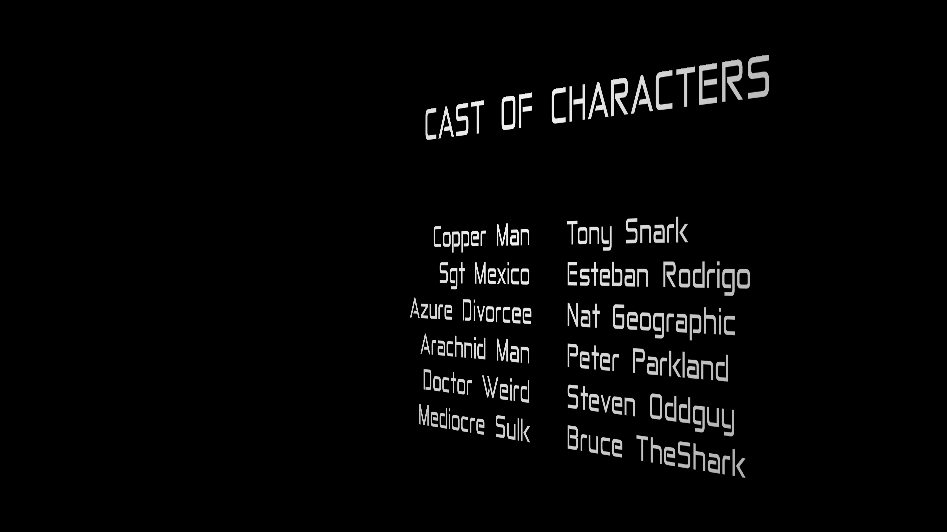
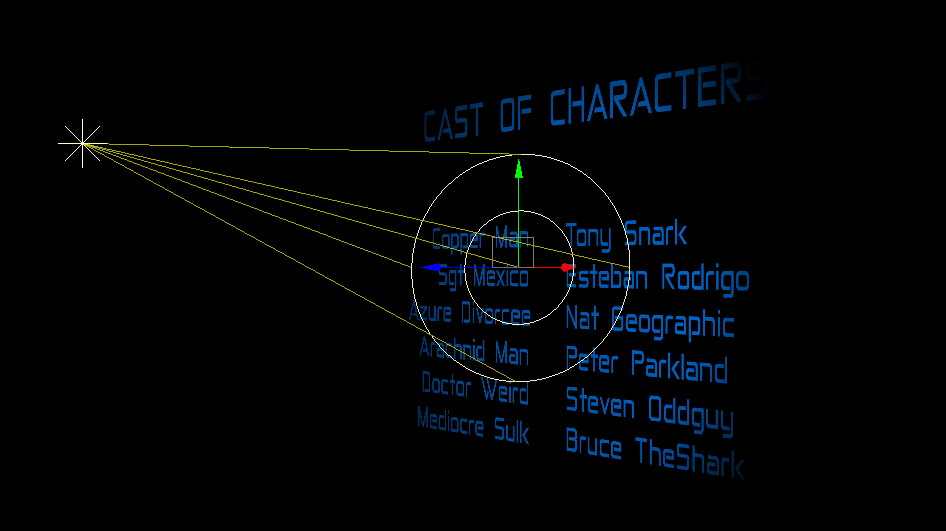
Now there are additional features available for creating more advanced credit rolls. For example, by selecting the Scene Container, I can make adjustments to the camera orientation, zoom, lighting and other options. Experiment and try different techniques to create unique titles.
Creating Additional Pages
If we are working with multiple text documents, or a very long credit roll, it becomes easier to assign a new page to each document. For example my Cast can appear on the first page, and my Production Crew on another. To work with multiple pages lets begin by:
- Select our Title Container
- Create a new text page with Ctrl+Shift+T
- Import or create the text for the Production Crew
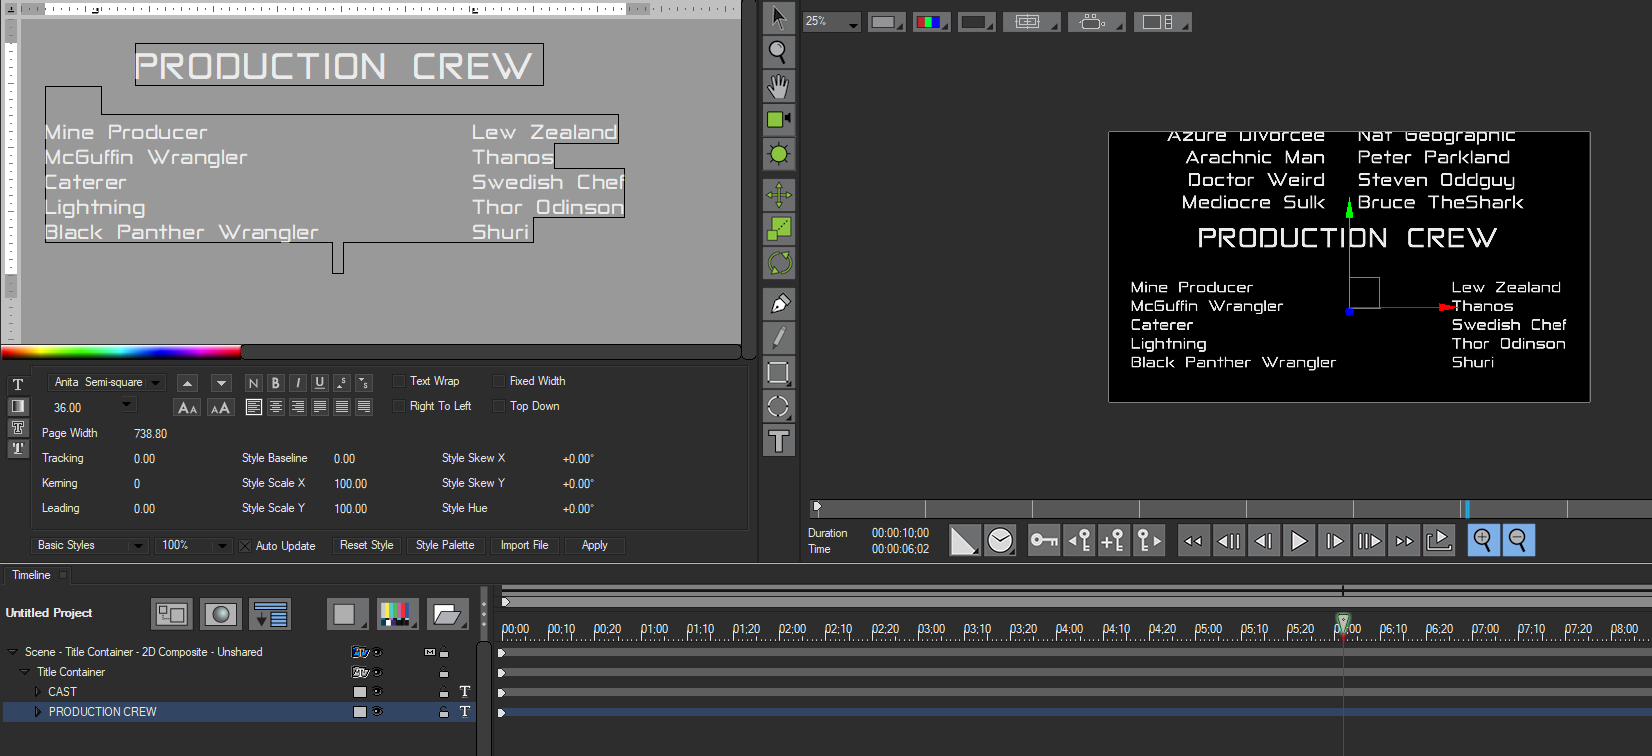 Tip: The Credit Roll will display our pages in the order they appear in the stack. To make sure that our Cast appears first, we want to make sure that the Production Crew page is below the Cast Page.
 - We can adjust the distance between each page in our roll by navigating to the Page Tab, located in the Controls Panel
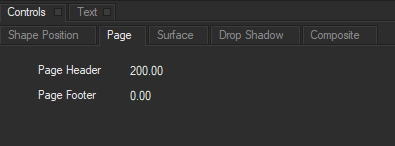
- From this panel, we can increase or decrase the page headers and footers, or rather, the space between each page in the scroll.
Finishing Touches
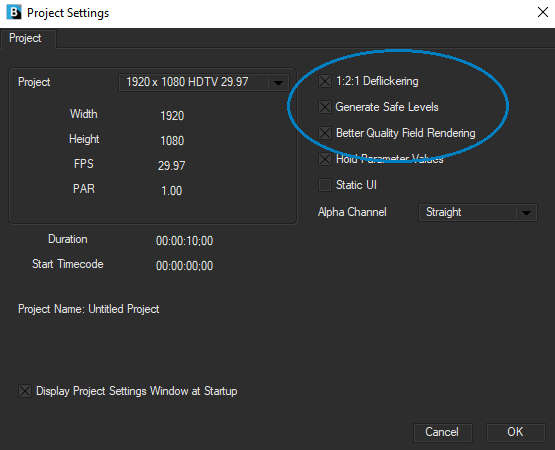
For best results we can use the 1:2:1 De-Flickering option found in the Project Settings window. This can help to eliminate flickering in text rolls and reduced jagged edges on moving graphics with hard edges.
Tip: Another useful option is Generate Safe Levels and Better Quality Field Rendering.
Additional Tutorials
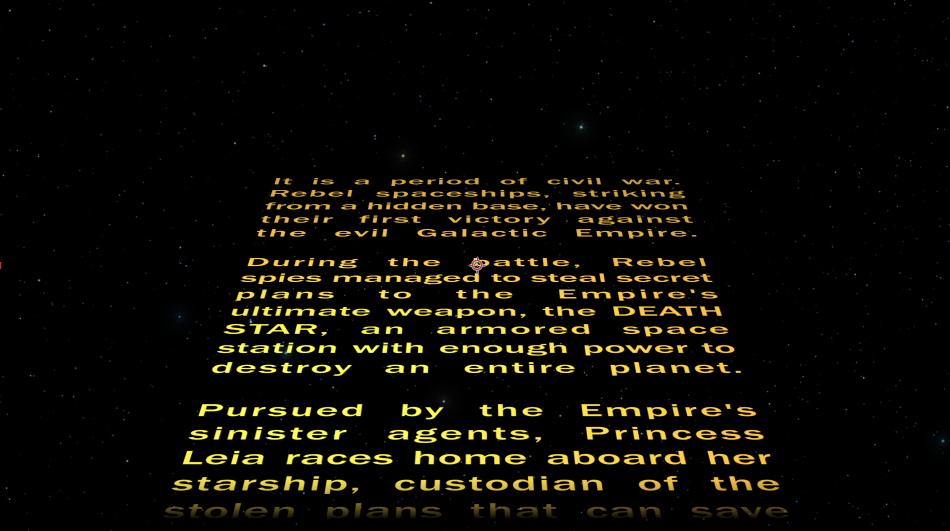
While that’s the basic walkthrough on creating credit rolls, the ease and versatility of title containers allows for more creative and elaborate effects. In the next part, we’ll take a look at how use Title Containers to import text data and recreate the classic introduction to Star Wars.
Creating a Credit Roll: Part Two
Return to the Main Title Studio Page.
