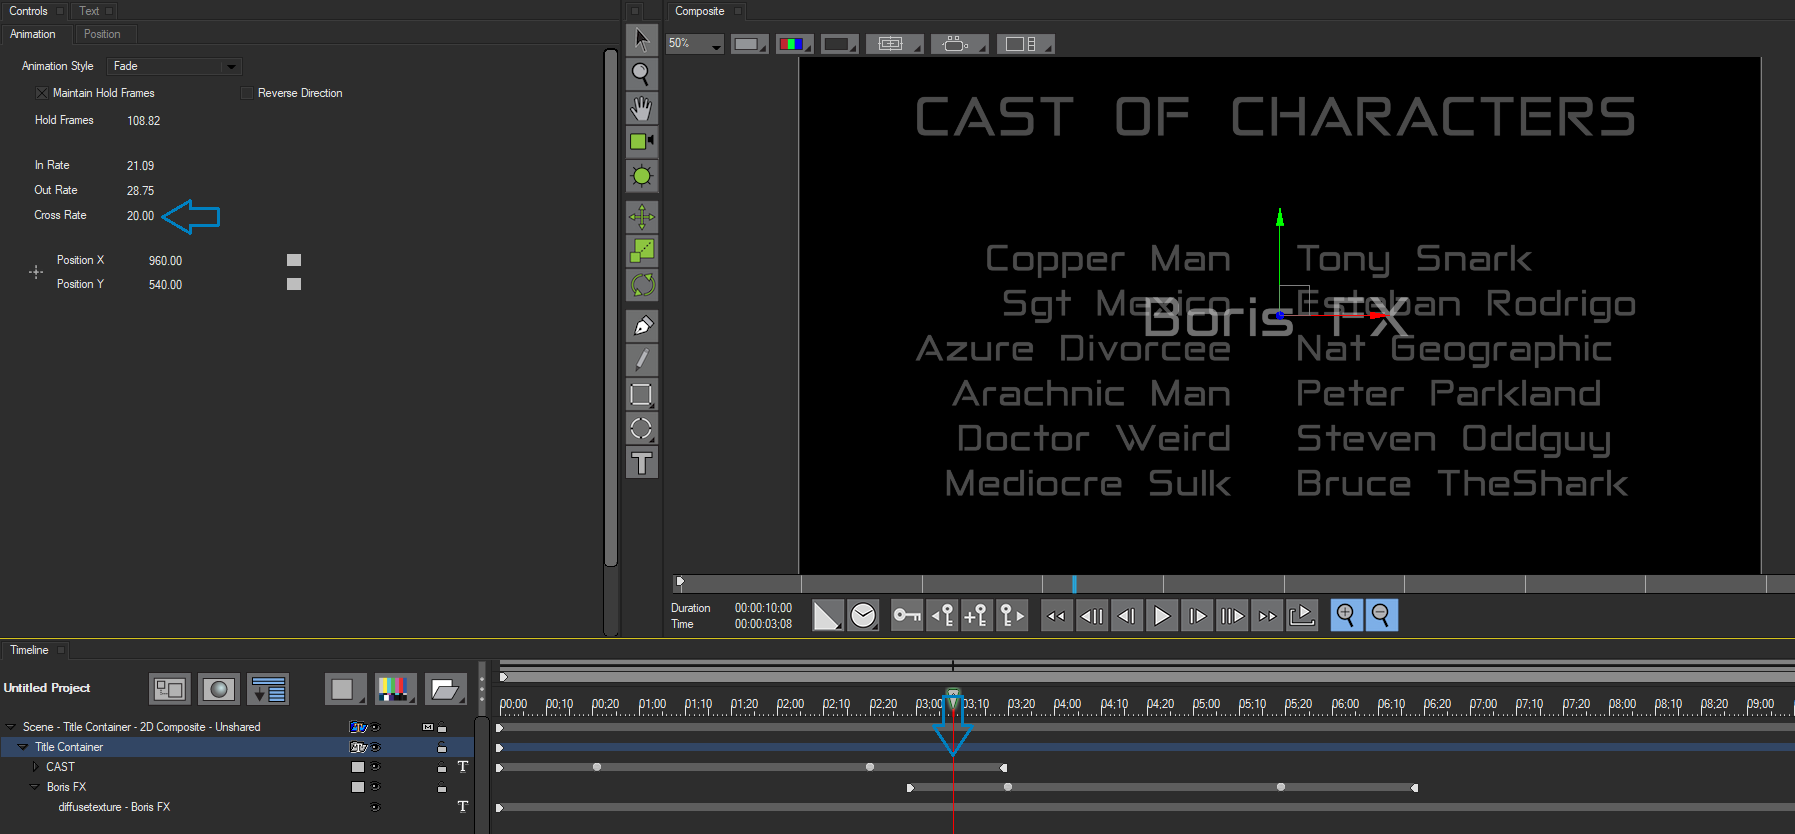
Fade effects are simple animations where the text pages fade in and out. While this can be done manually by adjusting the opacity, Title Containers allow us to auto animate the process for quick, easy and efficient effects.
- To set up a Fade Effect, select the Title Container track in the timeline. In this example we will use the text page from the Credit Roll tutorial, but feel free to create your own.
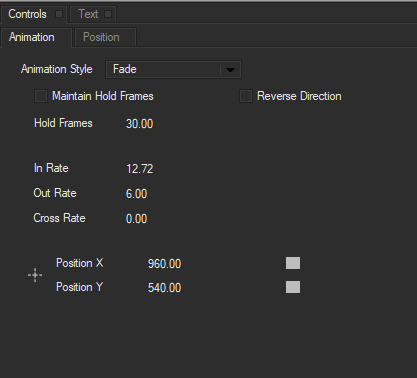
- set the Animation Style menu in the Animation Tab to Fade. When we play through the effect all the tracks fade in and out in the order they appear in the Title Container.
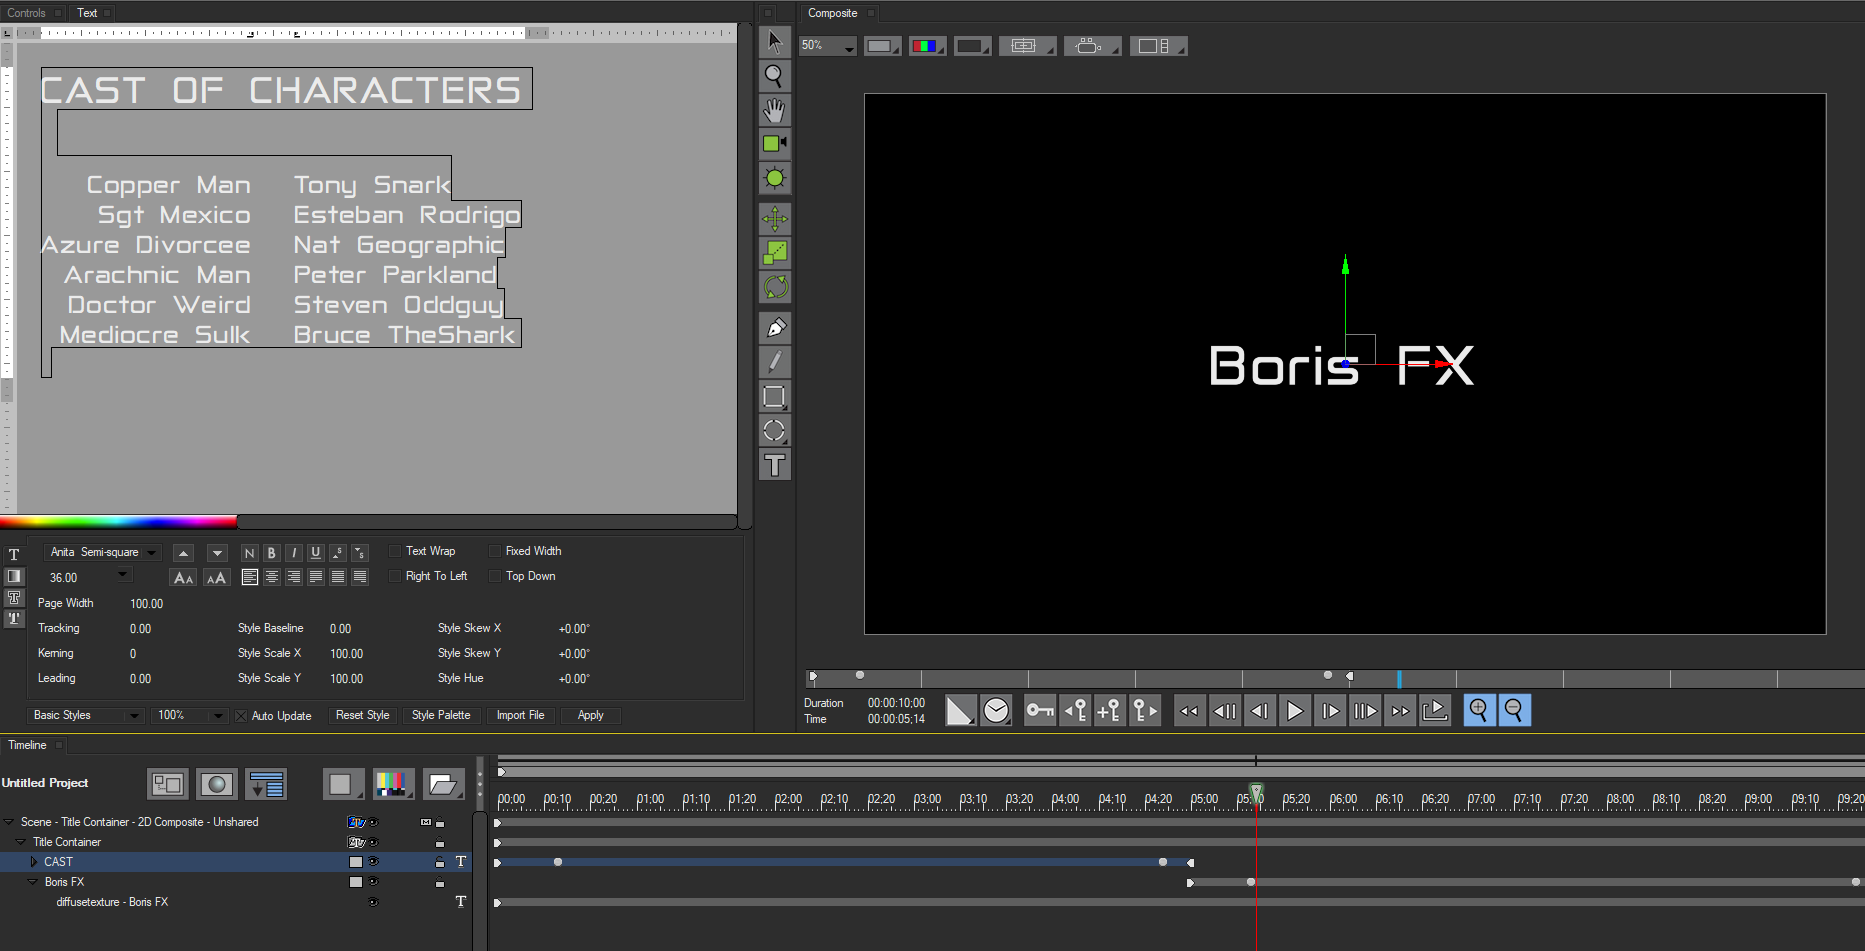
TIP: Any adjustments to the settings in the Animation Tab will automatically create Opacity keyframes in the text tracks, allowing us to easily control the duration of the fades.
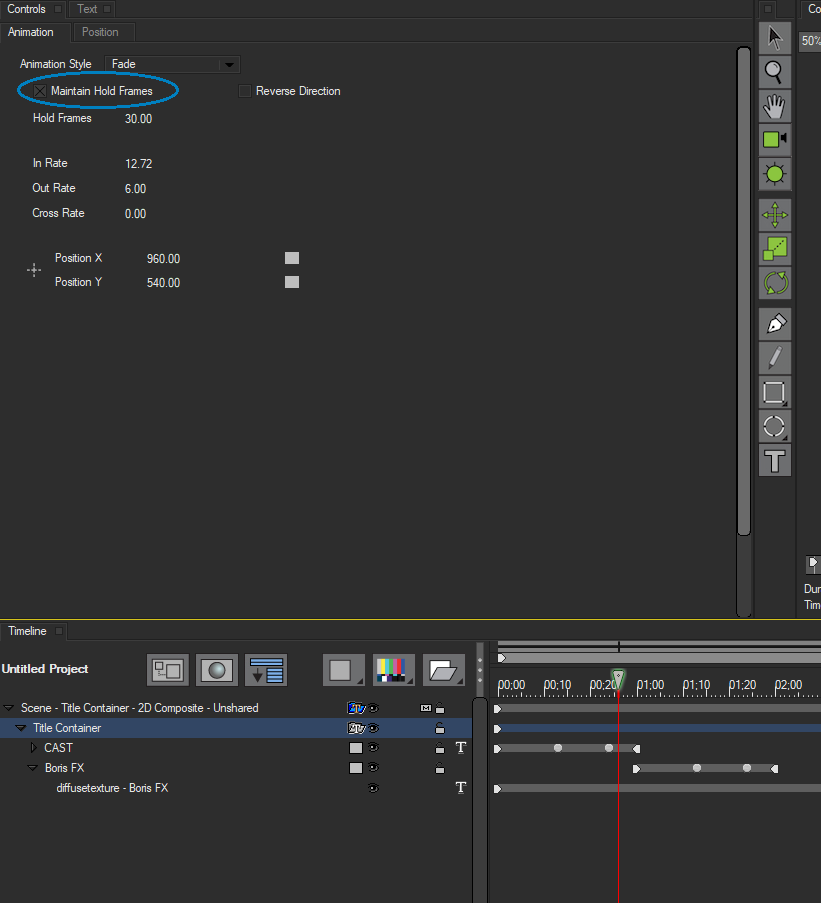
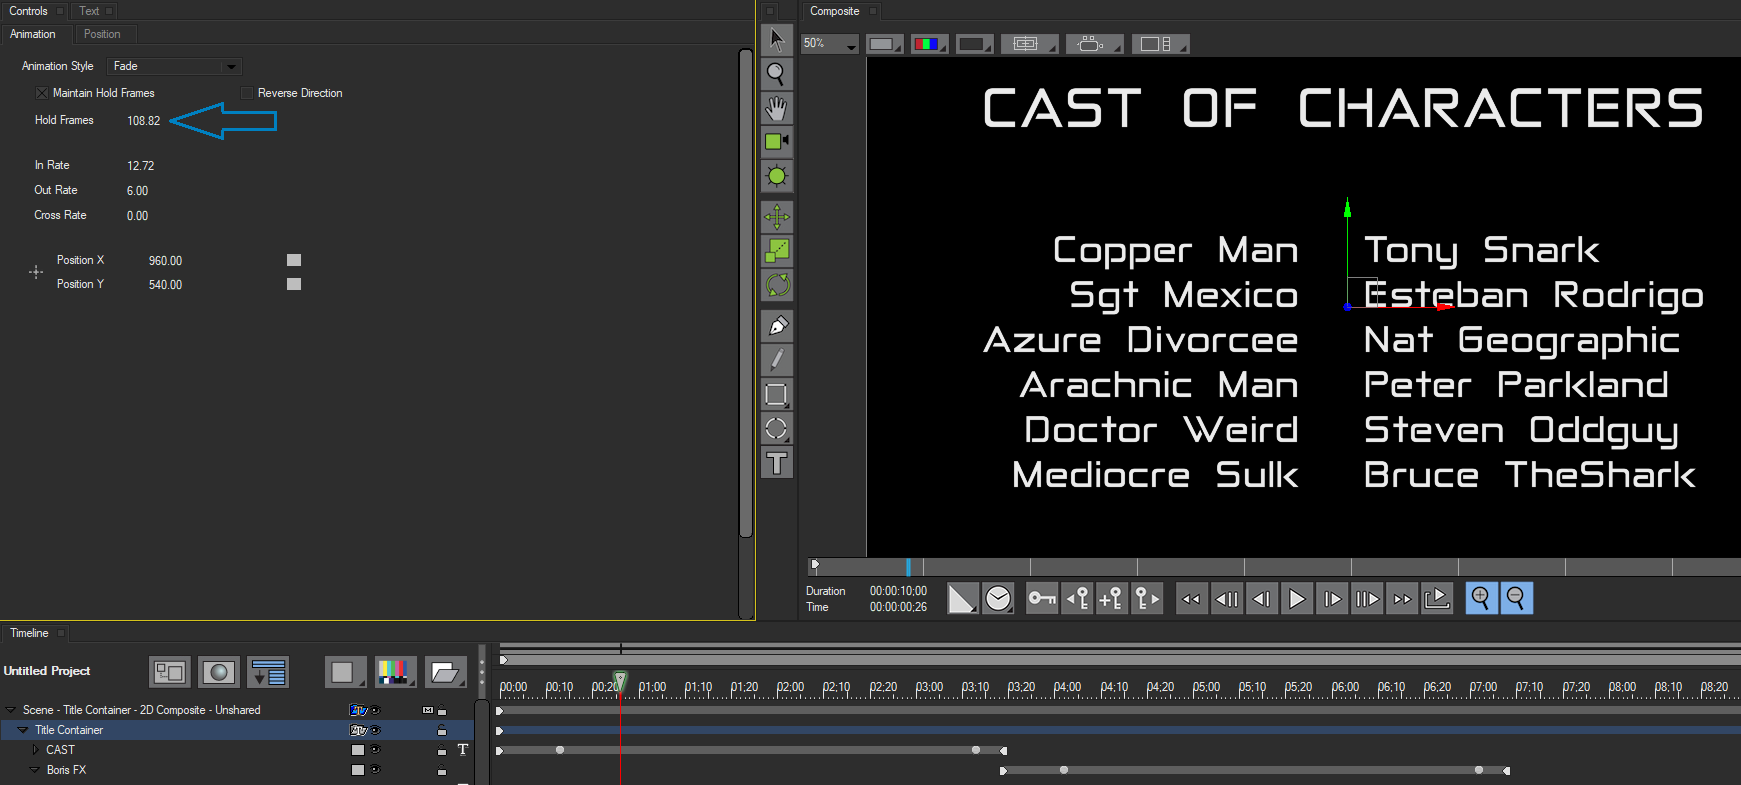
Hold Frames controls the number of frames each track remains fully opaque after it fades in. When the Animation Style menu is set to Fade, Title Studio automatically adjusts the number of Hold Frames to fit the number of tracks in the Title Container and the duration of the effect.
Higher Hold Frame values will extend the amount of time the titles are fully opaque and visible.
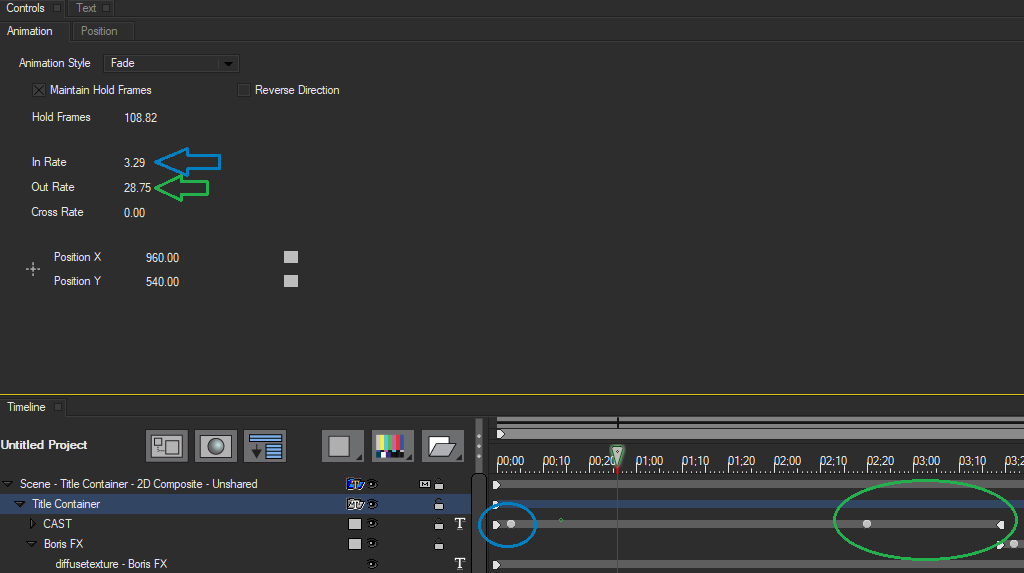
In Rate sets the number of frames each track takes to fade in—that is, to animate its Opacity value from 0 to 100.
Out Rate sets the number of frames each track takes to fade out—that is, to animate its Opacity value from 100 to 0.
By adjusting the values of each we can increase or decrease the amount of time it takes for the effect to fade in or out. In the below example, notice how the lower value for In Rate and Higher Value for Out Rate results in a quick fade in and a slower fade out.
Cross Rate sets the number of frames each track overlaps the track following it. A value of 0 causes each track to fade out completely before the following track fades in. Increasing this value increases the number of frames in which the tracks overlap.
NOTE: The In Rate, Out Rate, and Cross Rate settings cannot be animated; therefore, these parameters do not have corresponding tracks in the timeline
Lastly, Position X and Position Y set the coordinates of the container’s center point. By default, the fade centers all tracks in the Title Container, but you can adjust or animate these parameters to offset the tracks or animate them as they fade.
Return to Main Title Studio Page.
